Solution
You can adjust the size and data volume of an image according to the purpose of use by changing the recording pixels of the image.
For example, you increase the recording pixels when you want to print the image on a large piece of paper, and decrease them when you want to attach the image to your email.
This section explains the method for changing the recording pixels and compression ratio of an image taken.
Caution
1. Press the ⋖Power⋗ button on the camera.
2. Press the ⋖FUNC./SET⋗ (
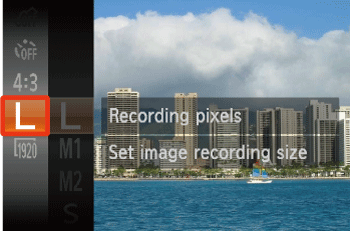
3. Change the recording pixel setting of the image.

Operate the ⋖directional buttons⋗ up or down to select [Large] (
Press the ⋖FUNC./SET⋗ (
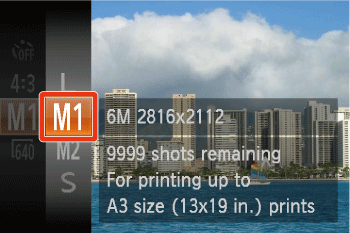
4. Select a recording pixel setting of your choice.

Operate the ⋖directional buttons⋗ up or down to select the recording pixel setting you want to change to. (The [Medium 1] (
After making a selection, press the ⋖FUNC./SET⋗ (
Caution
- Number of Still Images / Length of Movies That Can Be Recorded on a Memory Card
- Selecting the Appropriate Recording Pixels Depending on the Paper Size


