

Solution
By recording a time-lapse movie that combines images shot at a specified interval, you can create movies with fast-moving stars. You can adjust the shooting interval and recording duration as needed.
Note that each session takes a long time, and requires many shots. Check the battery level and memory card space in advance.
The procedure for shooting start time-lapse movies is explained below.
1. Press the power button to turn the camera on.
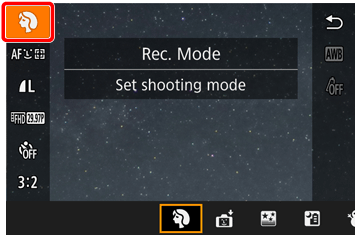
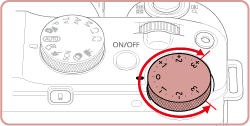
2. Set the mode dial to [SCN].

3. Press the [ 


*If the default settings have not been changed, [
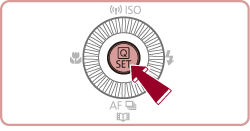

4. Press the [ 


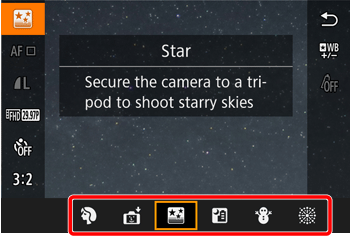
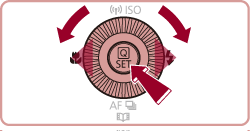
5. Press the [ 

Zoom is set to maximum wide angle and cannot be adjusted.
6. Press the [DISP.] button to display the screen shown in the example image below. Movie settings can be configured on this screen.
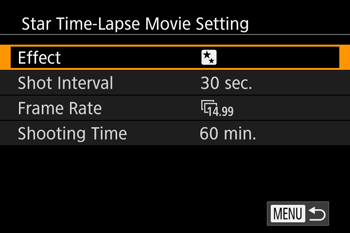
], [ ] buttons or turn the [ ] dial to choose an item, press the [ ], [ ] buttons to set the desired options, and then press the [ ] button.The options that can be configured in [Start Time-lapse Movie] mode are shown in the table below.
| Item | Options | Details |
|---|---|---|
| Effect |      | Choose movie effects, such as star trail. |
| Shot Interval | 15 sec., 30 sec., 1 min. | Choose the interval between each shot. |
| Frame Rate |   (NTSC) (NTSC)  (PAL) (PAL) | Choose the movie frame rate. |
| Shooting Time | 60 min., 90 min., 120 min., Unlimited | Choose the length of the recording session. To record until the battery runs out, choose [Unlimited]. |
Estimated playback time based on shooting interval and frame rate (for a one-hour session)
| Interval between Shots | Frame Rate | Playback Time | |
|---|---|---|---|
| NTSC | PAL | ||
| 15 sec. | | | 16 sec. |
| 15 sec. | | | 8 sec. |
| 30 sec. | | | 8 sec. |
| 30 sec. | | | 4 sec. |
| 1 min. | | | 4 sec. |
| 1 min. | | | 2 sec. |
Caution
7. Mount the camera on a tripod or take other measures to keep it still.
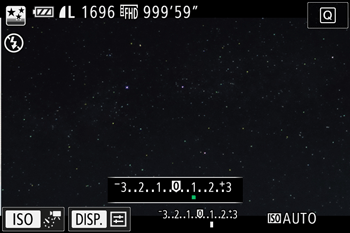
8. Check the brightness.
9. Press the movie button to shoot.
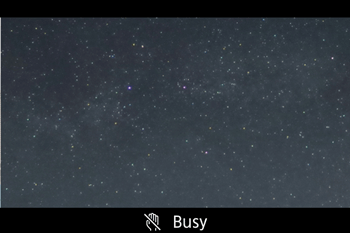
[Busy] is displayed briefly, and then shooting begins.
Caution
Caution
 2 ] tab ⋗ [Night Display] ⋗ [On] before shooting.
  5 ] tab ⋗ [Star Time-Lapse Movie Setting]. 5 ] tab ⋗ [Save Stills] ⋗ [On]. Note that these individual images are managed as a single group, and during playback, only the first image is displayed. To indicate that the image is part of a group, [
  ] is displayed in the upper left of the screen. If you erase a grouped image, all images in the group are also erased. Be careful when erasing images.