

Solution
Adjusting Settings for Using Web Services From CANON iMAGE GATEWAYConnecting to Web Services
First, sign up for a free CANON iMAGE GATEWAY account.
CANON iMAGE GATEWAY offers various services, such as the ability to share images in an online photo album. CANON iMAGE GATEWAY also serves as a bridge site to send images wirelessly to e-mail addresses, social networking services, and other Web services. Click http://canon.com/ cig, access the appropriate CANON iMAGE GATEWAY site for your country of residence, and follow the on-screen instructions to register as a member. You can continue to register other Web services other than CANON iMAGE GATEWAY to your account. For further details, check the websites for each web service you want to register.
Caution
Adjusting Settings for Using Web Services From CANON iMAGE GATEWAY
Adjust account settings for the Web services you want to use. Because CameraWindow is used to adjust settings, be sure to install it from the included CD-ROM beforehand.
For installation procedures, please see Installing Application Software.
1. Connect the camera to a computer with the interface cable.
Caution
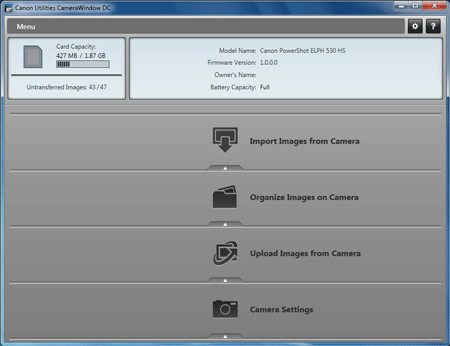
2. Start CameraWindow.
Press the ⋖
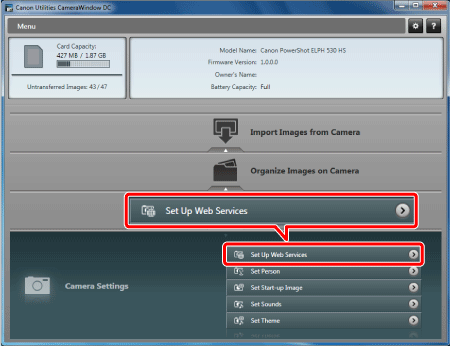
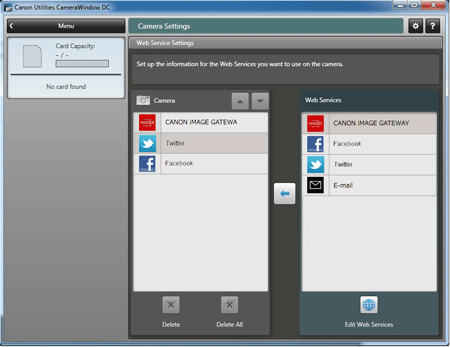
3. Choose [Set Up Web Services].
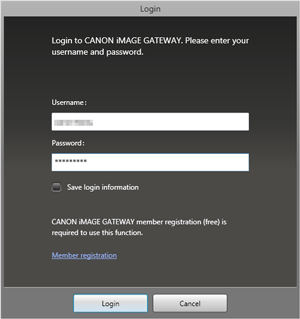
4. Login to CANON iMAGE GATEWAY.
5. Set a Web service you want to use.
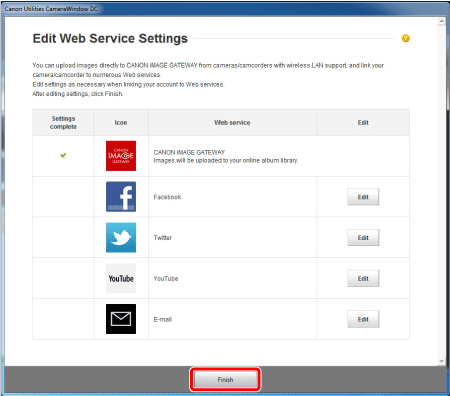
Follow the on-screen instructions to complete settings for Web services you want to use.
Once the Web service settings are complete, click [Finish] at the bottom of the window to close it.
Caution
6. Apply Web service settings to the camera.
 ] in the middle of the lists.
- The name of the Web service that will be saved to the camera will be displayed in the [Camera] list.
 ] or [
  ] to change the order of the Web services that will be displayed in the camera’s wireless LAN menu.
- Web service settings will be applied to the camera.
Caution
Connecting to Web Services
7. Press the ⋖
8. Press the ⋖Wireless LAN⋗ (

9. Choose a Web service.
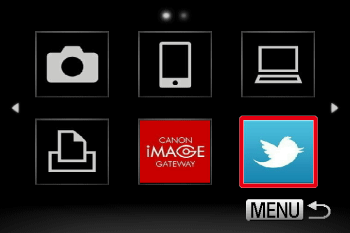
Press the⋖directional buttons⋗ or turn the ⋖

When you have selected email, choose the recipient on the [Select Recipient] screen and press the ⋖
10. Connect to an access point.
Press the ⋖directional buttons⋗ or turn the ⋖
- A list of detected access points will be displayed in the [Access Point Connect]screen.
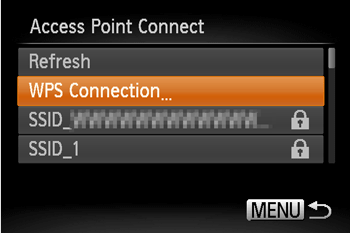
For information on the steps involved in connecting to an access point, please see either steps 5 through 9 in Connecting easily to a wireless LAN (WPS Setup) or steps 5 through 11 in Connecting to a wireless LAN (Manual Setup) .
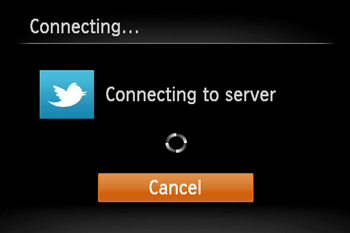
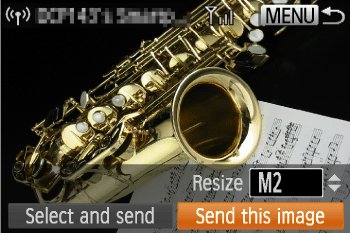
11. When the connection is made, the screen for sending images will appear.
Caution
Caution