

You can set camera to release the shutter automatically.
Using the self-timer
The self-timer can be used to shoot a group photo that includes the photographer or to prevent camera shake when pressing the shutter button.
Caution


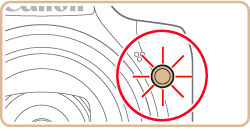
1. Press the ⋖Power⋗ button to turn the camera on.
2. Press the ⋖

3. The following screen appears.
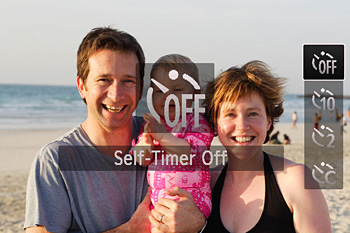

Press the ⋖

After the settings are completed, press the ⋖ 
Caution
When [Custom Timer] (
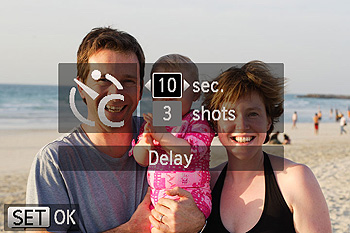
1. Choose [Custom Timer] (
2. Press the ⋖
3. Press the ⋖

4. Shoot.
Caution
⋗ button. ] in step 3.
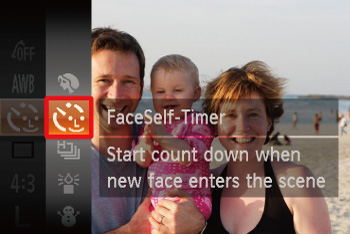
Using the Face Self-Timer
The camera will shoot about two seconds after detecting that the face of another person (such as the photographer) has entered the shooting area. This is useful when including yourself in group photos or similar shots.
Caution
When 
1. Set the mode dial to ⋖SCN⋗ and press the power button.
2. Press the ⋖
3. The following screen appears.

Press the ⋖
*If the settings have never been changed, [Portrait] (
Press the ⋖
4. Press the ⋖
Press the ⋖
Caution
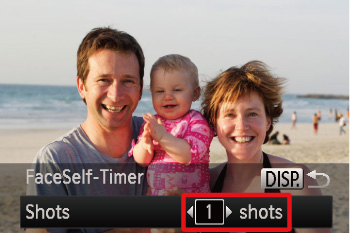
To change the number of shots, after choosing [ 

5. Compose the shot and press the shutter button halfway.
Make sure a green frame is displayed around the face you focus on and white frames around other faces.
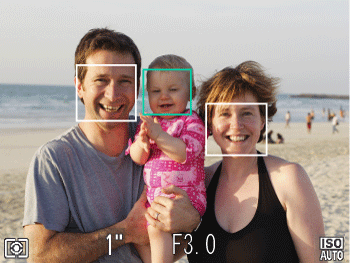
6. Press the shutter button all the way down.
The camera now enters shooting standby mode, and [Look straight at camera to start count down] is displayed.
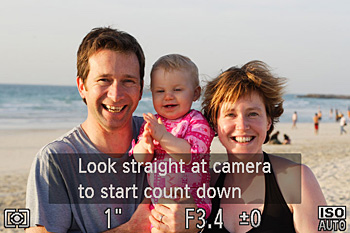
7. Join the subjects in the shooting area and look at the camera.
 ⋗ button.
Caution