Solution
Checking the printer environmentChecking if the printer supports the Cloud
Setting up the printer for the Cloud
Printing from the Cloud
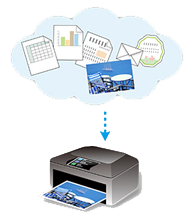
Using the Cloud functionality of the printer, you can print data that is uploaded to the Cloud services (such as Canon iMAGE GATEWAY and Evernote).
To use the Cloud from the printer, follow the procedures explained below.
Checking the printer environment
To use the Cloud, the printer needs the following environment.
If the printer is connected to a PC only via a USB cable, the Cloud cannot be used.
Caution
Connect the printer to an access point or router that is connected to the Internet, as shown below.
If the printer is not connected to the access point or router, download the manual [ Setup Guide ] (PDF file) from the Canon download site, and follow the instructions to establish the connection.
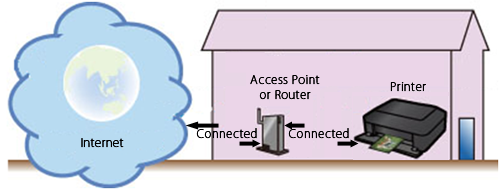
(For how to check the firmware version as well as the update procedures, see "Checking if the printer supports the Cloud" below.)
* To use those services on the intranet, open Port 5222 (both on the PCs and the intranet).
Checking if the printer supports the Cloud
To use the Cloud, the printer software (firmware) must be ver. 2.000 or later.
Check your printer software version in the following procedures, and update the firmware, if necessary.
Check the printer software version in the following procedures:
(1) Power on the printer.
(2) In the HOME menu of the printer, select [ Setup ].
(3) Select [ Device settings ], and press [ OK ].
(4) Select [ Firmware update ].and press [ OK ].
(5) Select [ Check current version ] , and press [ OK ].
(6) The current version will be displayed as "Ver. #.###."
- If the current version is 2.000 or later:
The printer supports the Cloud. You do not need to update the firmware.
- If the current version is earlier than 2.000:
You need to update the firmware to use the Cloud. Update the firmware in the following procedures:
(1) Power on the printer.
(2) Confirm that the printer is connected to the Internet.
(3) Select [ Setup ].
(4) Select [ Device settings ] , and press [ OK ].
(5) Select [ Firmware update ] , and press [ OK ].
(6) Select [ Install update ] , and press [ OK ].
(7) The message will be displayed, asking you if you wish to update the firmware. Select [ Yes ] , and press [ OK ].
(8) Select [ Start update ], and press [ OK ]. The update will start.
(9) When "Update succeeded" is displayed, press [ OK ].
Update of the firmware is completed.
Setting up the printer for the Cloud
To use Cloud, you need to register the printer. Register your printer in the following procedures:
1. Confirm that the printer is connected to the Internet.
2. In the HOME menu of the printer, select [ Cloud ] 
Caution
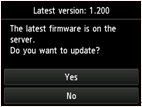
If the printer firmware is not the latest version, the following screen is displayed:
Select [ Yes ] and update the firmware.
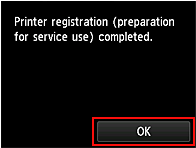
3. The printer will be registered to the server.
When the screen below appears, press the right function button to select [ OK ].
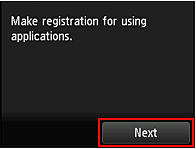
4. At the screen below, press the right function button to select [ Next ].
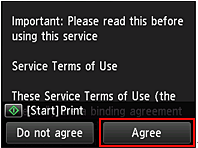
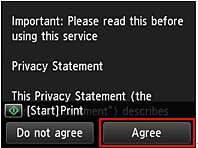
5. Read the "Service Terms of Use" and "Privacy Statement," and press the right function button to select [ Agree ], to each statement.
⋖ Service Terms of Use ⋗

⋖ Privacy Statement ⋗
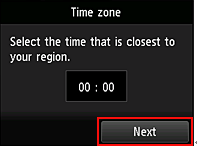
6. The Time zone screen will be displayed. Set the time closest to the current one, and press the right function button to select [ Next ].
7. A list of the time zones will be displayed. Select the region that is the nearest to your area, and press [OK].
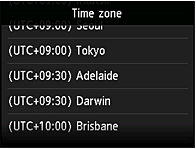
Caution
Depending on the selected region, the screen for the Summer Time settings will be displayed.
8. The screen below will be displayed, indicating that applications are ready for use. Press the right function button to select [ Apps ].
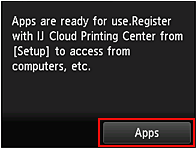
Registration of the printer is completed, and a list of available application software will be displayed.
Caution
The following application software will be displayed:
Status Tweet (Twitter)
Note: Photobucket, Facebook, and Dropbox will be available soon.
Printing from the Cloud
How to print photos on CANON iMAGE GATEWAY is shown below.
Caution
Caution
Files in the jpg, jpeg, pdg, docx, doc, xlsx, xls, pptx, ppt, txt, and rtf formats can be printed.
However, the specific file formats that can be printed vary according to the application software.
1. In the HOME menu of the printer, select [ Cloud ] 
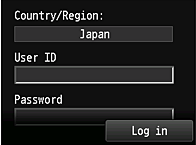
2. The screen below will be displayed. Enter your account and press the right function button to select [ Login ].
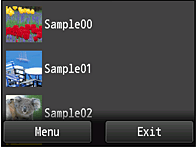
3. A list of albums will be displayed. Select the album where the photos you would like to print are contained.
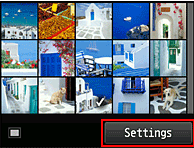
4. Select the photo(s) you would like to print, and press the right function button to select [ Settings ].
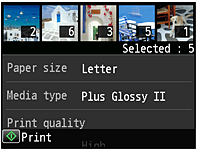
5. Make the print settings as you desire, then press the Color button 
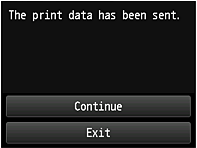
6. When printing is finished, the screen below is displayed.
To finish printing, press the right function button to select [ Exit ]. You will be returned to the list of application software. To continue printing, press [ Continue ] and repeat from step 3.