Solution
Wi-Fi Protected Setup (WPS) is a way to easily make the various settings for connecting a device to a wireless LAN using infrastructure mode. The settings for things like the SSID and the encryption method, which are necessary for making connections, can be set automatically.
Among WPS-compatible devices, there are those that use a push-button approach to making settings and others that use a PIN code.
This section will use the push-button approach to explain the steps involved in connecting to a computer using infrastructure mode.
The steps are the same when connecting to a smartphone using infrastructure mode.
Caution
Caution
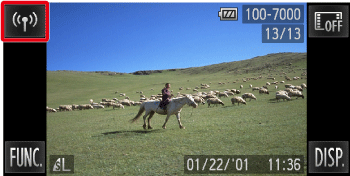
1. Press the ⋖Playback⋗ (
2. Touch (
Caution
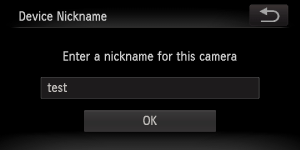
When making the settings for a wireless LAN for the first time, a screen will appear for you to register a nickname for the camera.
Touch inside the frame, enter a nickname using the keyboard, and then touch [OK].
This nickname will appear on other devices on the wireless LAN when connecting from them.
3. Touch (
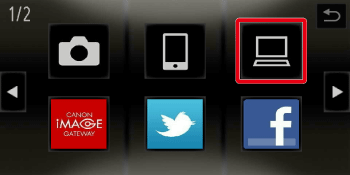
Caution
 ).
). 4. Touch [Add a Device].
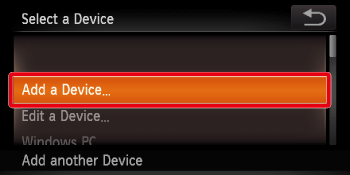
Caution
5. Touch [WPS Connection].
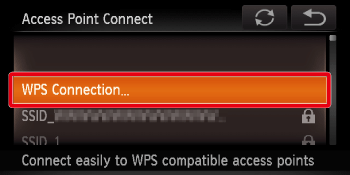
6. Touch [PBC Method].
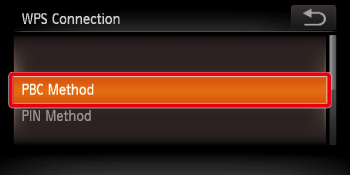
Caution
 ) in the top-right corner of the screen, and then touch [OK] on the confirmation screen.
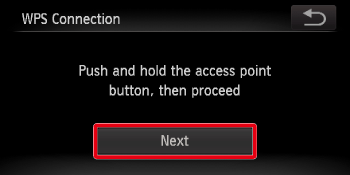
 7. Press and hold down the WPS connection button on the access point device, and then touch [Next].
8. The following screen appears.
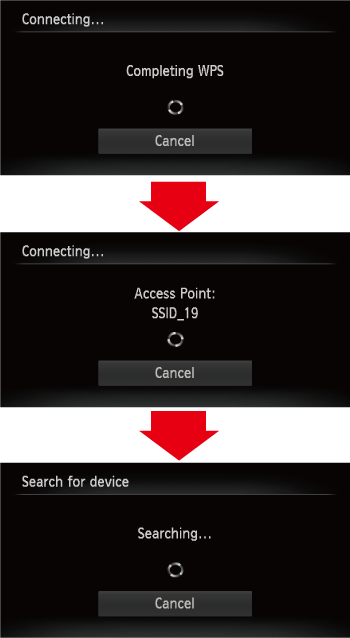
Caution
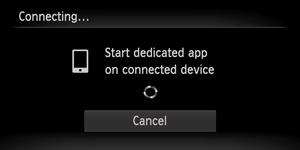
If connecting to a smartphone, the following screen appears.
Start [CameraWindow] on the smartphone.
9. If the device you want to connect to is found, a screen like the one below will appear.

Touch the device you want to connect to.
Caution
If a screen like the one below appears, check the settings on the device you want to connect to.
After checking the settings, touch [Search Again] to retry the connection.
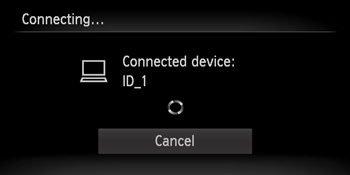
10. The following screen appears.
Caution
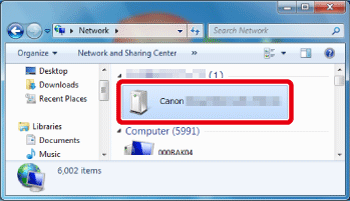
Click [Control Panel] ⋗ [Network and Internet] ⋗ [View network computers and devices], and then double-click the connected model on the [Other Devices] screen to start the installation of the driver.
11. After the driver installation has finished and the camera and computer connection has been completed, the [AutoPlay] screen will appear on the computer.
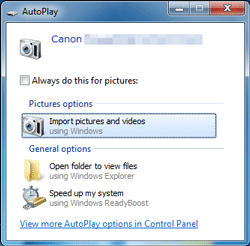
When this happens, nothing will appear on the camera's LCD screen. The connection is complete at this point.


