

Read Me First
- Before performing the wireless setup
Regarding the preparations and the procedures for using the printer in a wireless connection, refer to [ The necessary environment and the procedures for using the printer in a wireless connection ].
Perform the setup using a USB cable.
In most cases, "Wireless Setup Using the USB cable" will be used to connect the machine to your access point or router. Before you continue, you must gather the following information which will be required during the installation.
Refer to the instruction manual for the access point or the router you are using, or you may contact each manufacturer for help.
- Access Point Name/Network Name
* Also referred to as SSID.
An identifier to identify the specific access point.
- Network Key
* Also referred to as encryption key, WEP key or WPA/WPA2 passphrase, Pre-Shared key.
A password to prevent unauthorized access to the network.
Caution
Screens are based on Windows 7 operating system Home Premium. Actual screens may differ depending on the OS version.
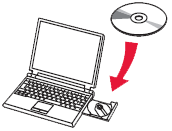
1. Insert the CD-ROM into the computer.
Caution
If the USB cable is already connected, unplug it. If a message appears on the computer, click Cancel.
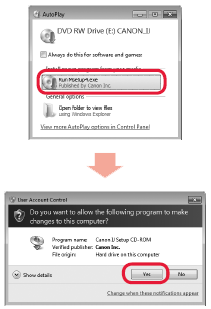
2. Click Run Msetup4.exe on the AutoPlay screen, then click Yes or Continue on the User Account Control dialog box.
If the User Account Control dialog box reappears in following steps, click Yes or Continue.
Caution
If the CD-ROM does not autorun:
Double-click (My) Computer ⋗ CDROM icon ⋗ MSETUP4.EXE.
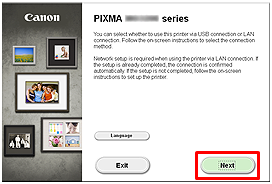
3. Click Next.
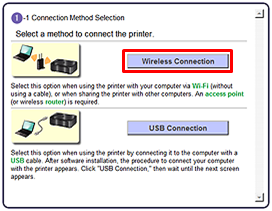
4. Click Wireless Connection.
5. Click Connect to the network.

Follow the instruction and go to step 6.
Caution
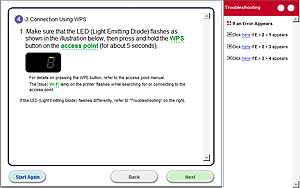
If an error message is displayed, see "Troubleshooting" at the right.
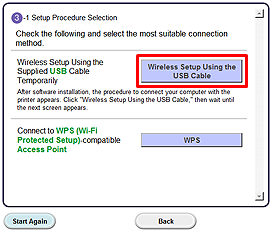
6. Click Wireless Setup Using the USB Cable.
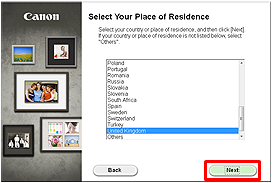
7. Select your place of residence, then click Next.

8. Select a country or region, then click Next.
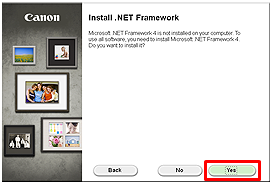
Caution
When the .NET Framework screen appears, click [Yes].
Install the Software (Information)
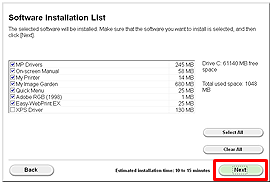
Let’s perform the software installation.
1. Click Next.
Caution
Easy-WebPrint EX is Web print software that is installed on the computer when installing the supplied software. Internet Explorer 7 or later (Windows) is required to use this software. An Internet connection is required for installation.
Follow any on-screen instructions to proceed with the software installation.
Caution
Select the access point for printer to connect to, and click Connect.
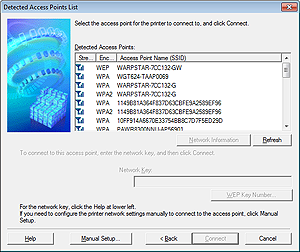
When Connect is grayed out, the access point you selected may be encrypted.

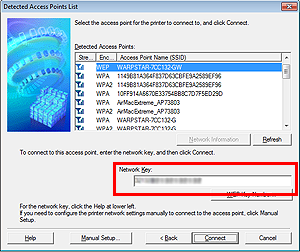
To connect to this access point, enter the network key and then click Connect.
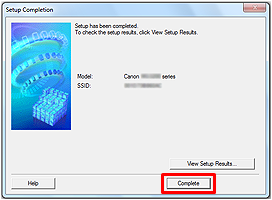
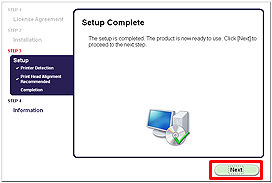
2. When the Setup Completion dialog box appears, click Complete.
3. Click Next.
- Important Information for the Installation
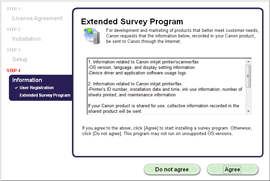
If you can agree to Extended Survey Program, click Agree.
If you click Do not agree, the Extended Survey Program will not be installed.
(This has no effect on the machine's functionality.)
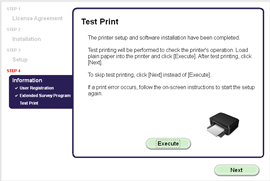
Test printing will be performed to check the printer's operation.
Load plain paper into the printer and click [Execute].
After test printin, click [Next].
To skip test printing, click [Next] instead of [Execute].
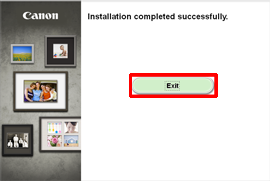
4. Click Exit to complete the installation.
Remove the Setup CD-ROM and keep it in a safe place.
5. Quick Menu starts.
The end of the procedure of the wireless LAN setup.