Solution
Connecting the cameras wirelesslySending one image at a time to a camera
Sending multiple images to a camera
Using a wireless LAN, you can send and receive still images and movies between two cameras.
The two cameras will connect using the wireless LAN's Ad hoc mode.
Caution
Connecting the cameras wirelessly
Perform the following operations on both of the cameras to be connected.
1. Press the ⋖Playback⋗ (
2. Touch (
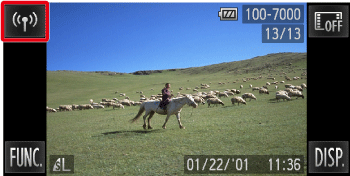
3. Touch (
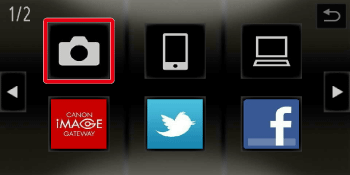
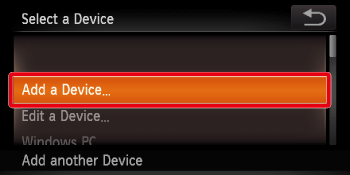
4. Touch [Add a Device].
Caution
5. The following screen appears.
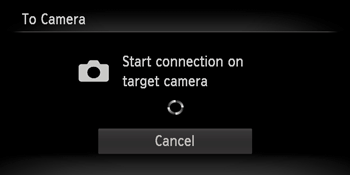
When the [Start connection on target camera] screen appears on both cameras, the registration will start.
Once the other camera is registered, the screen for sending images will appear. Please see step 7 and later steps for instructions on how to send images.
6. Once both cameras are connected, a screen like the one below will appear.
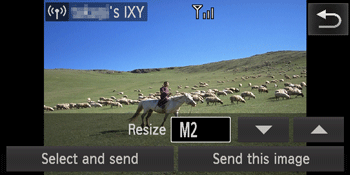
Caution
 ) in the top-right corner of the screen, and then touch [OK] on the confirmation screen.
 Sending one image at a time to a camera
7. If you touch [Send this image], the image will be sent.
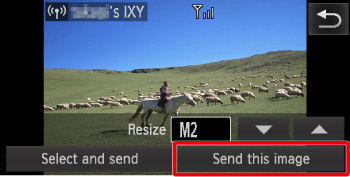
To select the image you want to send, touch the left/right edge of the image or drag right or left across the screen to choose an image.
To make the image smaller before sending it, touch either (

8. The following screen appears.

After the image has been sent to the target camera and the [Image sent] message appears, return to step 7.
Sending multiple images to a camera
9. Touch [Select and send].
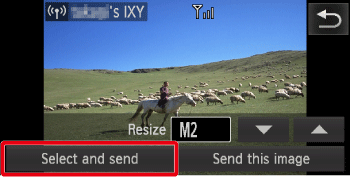
10. The following screen appears.
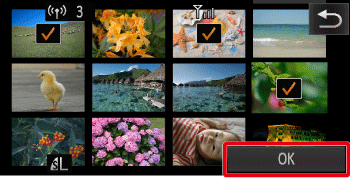
When you touch an image you want to send, (
Touching the image again will deselect it, and (
If you move the zoom lever toward (
After you finish choosing images, touch [OK].
11. The following screen appears.
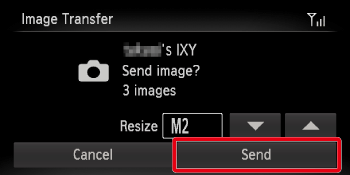
To make the image smaller before sending it, touch either (

If you touch [Send], the images will be sent to the target camera.
After the [Image sent] message appears, return to step 7.


