

Solution
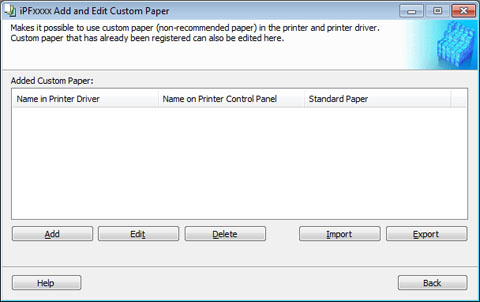
To add other than Canon genuine paper to the printer control panel and the printer driver, and to export and import the media information file for that paper, click the Add and Edit Custom Paper button in the Media Configuration Tool main window.
Check the printer operation panel and confirm the media information is updated.
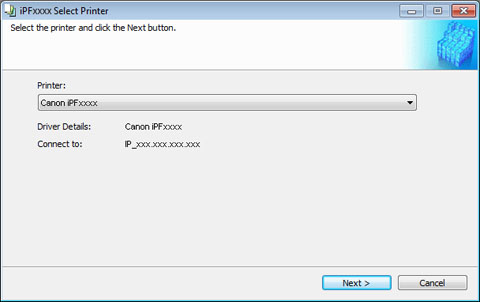
Windows
Mac OS X
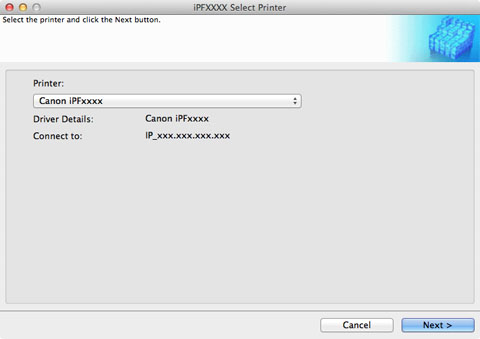
Communication with the printer begins.
The Add and Edit Custom Paper dialog box is displayed.
Caution
Windows
Mac OS X

Added custom paper is displayed here.
-Name in Printer Driver
Added custom paper is displayed in the printer driver using this name.
-Name on Printer Control Panel
Added custom paper is displayed on the printer control panel using this name.
-Standard Paper
Displays the paper selected as the standard paper when the custom paper was added.
To add new custom paper to the printer control panel and printer driver, click this button.
To change the settings of added custom paper, select the paper to edit and click this button.
To delete added custom paper from the printer control panel and printer driver in your computer, select the paper to delete and click this button.
To add custom paper to the printer control panel and printer driver by importing a Custom Media Information File saved in a folder, click this button.
To export media information for added custom paper to a file, select the paper to export and click this button.
Caution
Caution