Solution
IntroductionStep 1 : Intalling Image Transfer Utility 2
Step 2 : Connecting the Camera to the Computer
Step 3 : Setting Up Auto Image Transfer
Step 4 : Sending Images to the Computer
On-Screen Keyboard
Introduction
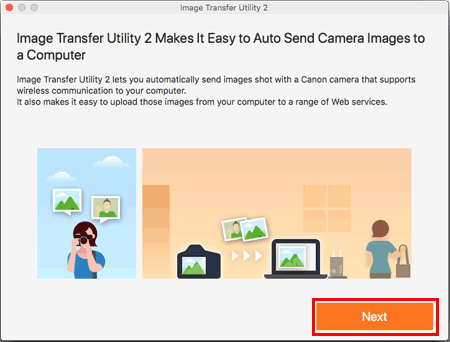
How to send images from the camera to a computer using Image Transfer Utility 2.
Caution
 icon, and camera setting procedures are indicated by the
  icon.
icon.Step 1 : Intalling Image Transfer Utility 2



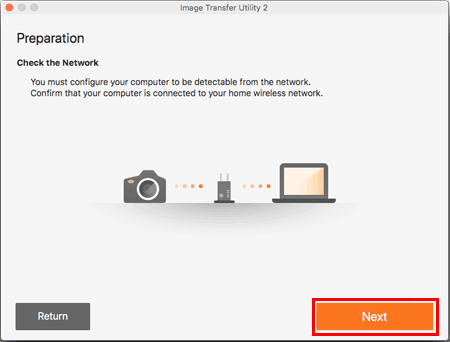

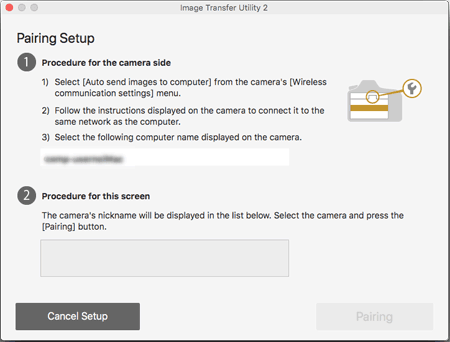
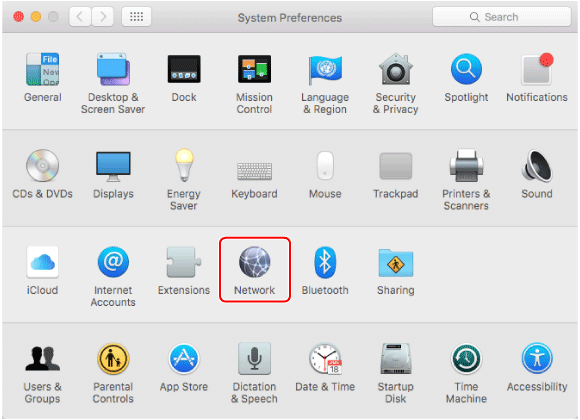
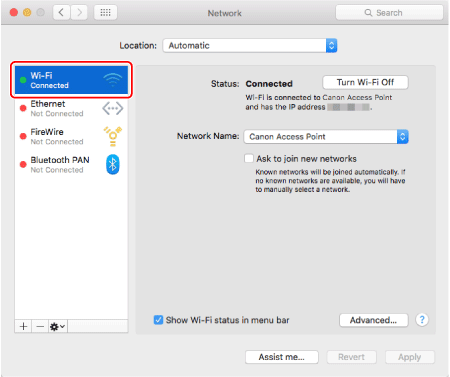
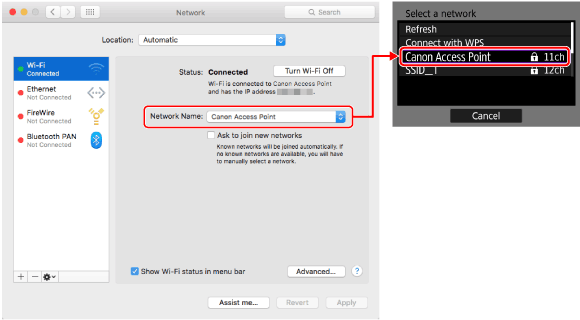
Step 2 : Connecting the Camera to the Computer


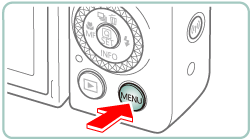


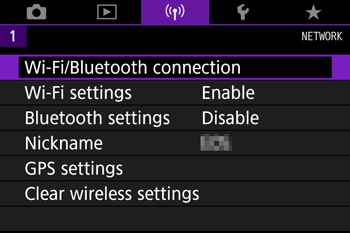




Caution
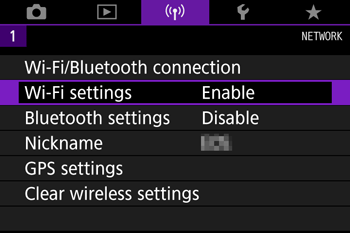
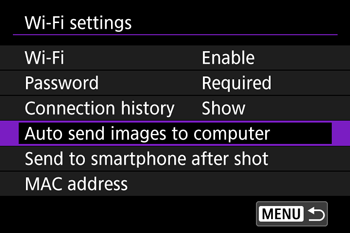
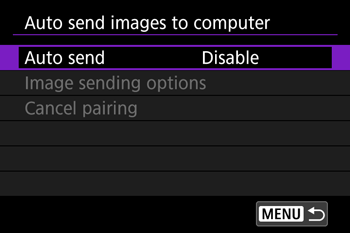
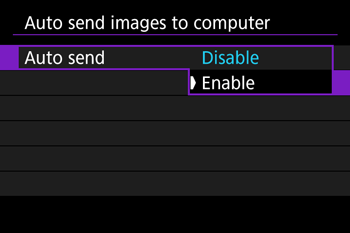
If [ Wi-Fi ] settings has [ Disable ] selected, change settings to [ Enable ] .
























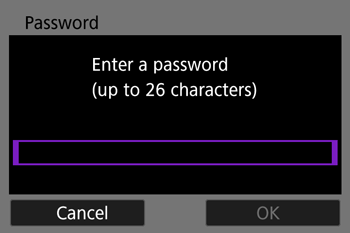

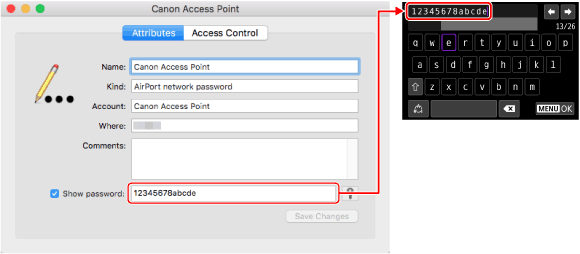
 button after the letters have been confirmed, before returning to the previous screen.


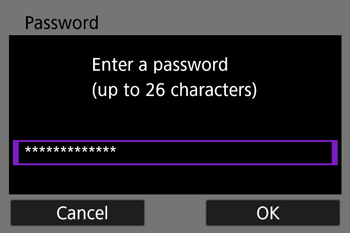


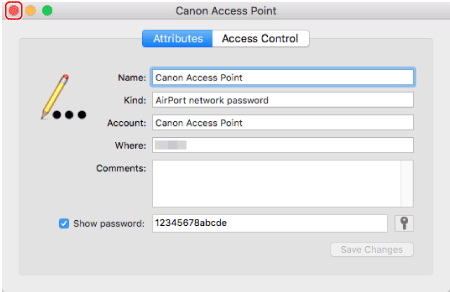


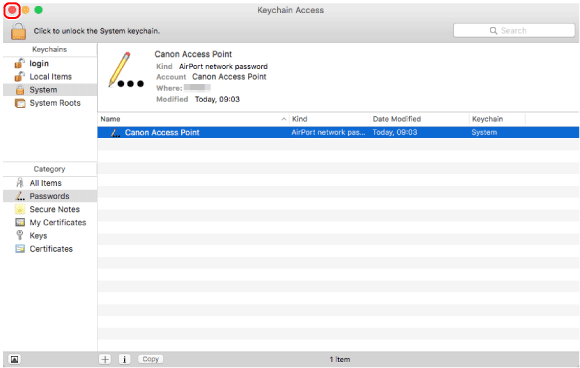


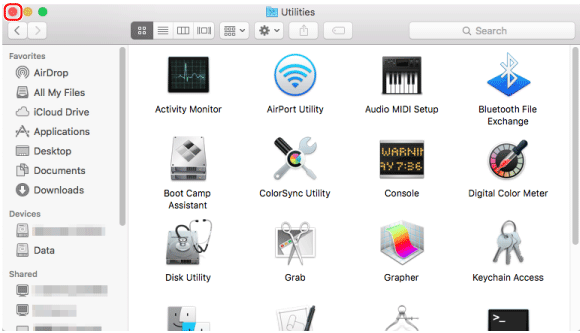


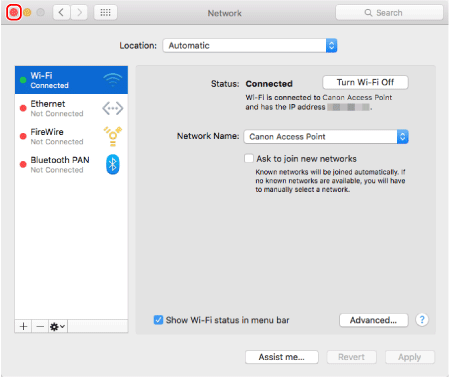


 /
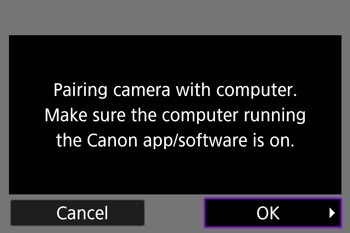
/  buttons to choose [ OK ] , press the
  button to go to the next step.


 /
/  buttons to choose [ OK ] , press the
  button to go to the next step.

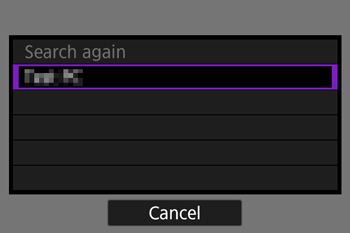

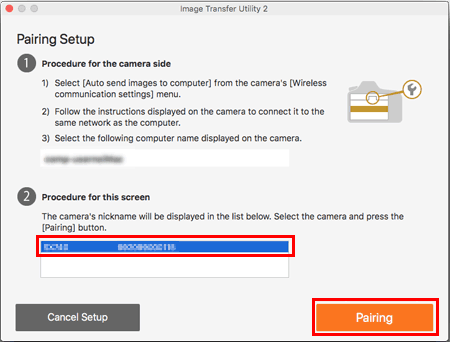

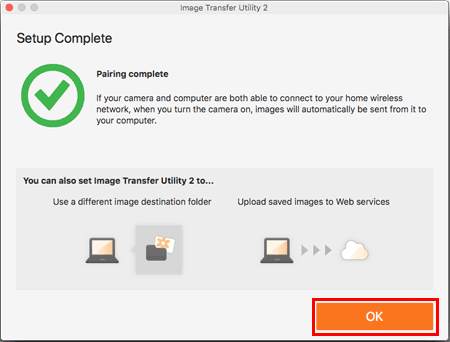

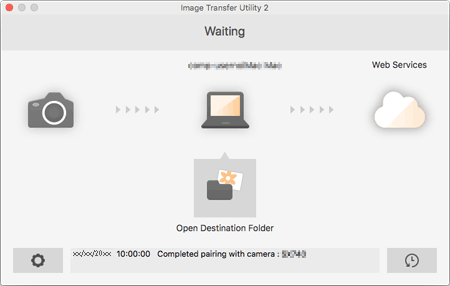
Caution
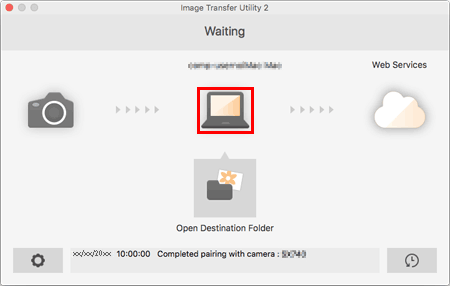
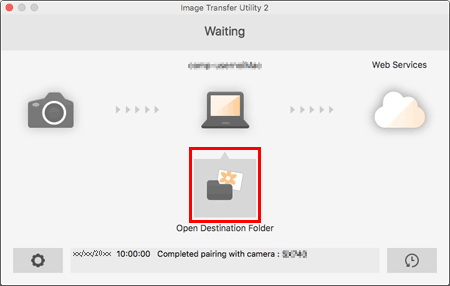
To save images in a different folder, click on the computer icon to open [ Set Destination Folder ] window.
Step 3 : Setting Up Auto Image Transfer


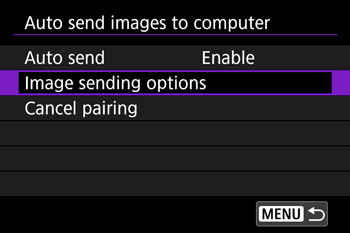

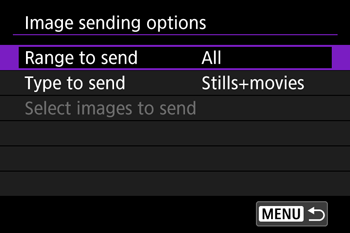

Step 4 : Sending Images to the Computer


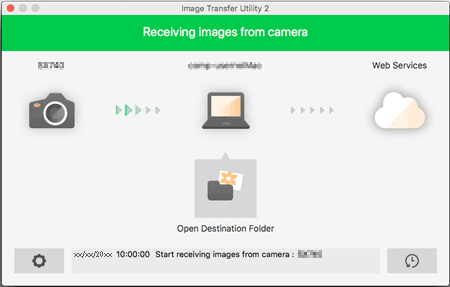

Caution
Caution
 of the Image Transfer Utility 2 screen, choose [ Quit ] , this will disable auto-transfer even when the camera is turned on. To Enable wireless transfer again, turn on Image Transfer Utility 2.
On-Screen Keyboard
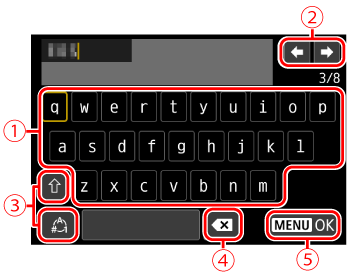
Use the on-screen keyboard to enter information. Note that the length and type of information you can enter varies depending on the function you are using.
 | •Entering characters Touch the characters to enter them. |
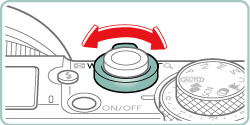
 | •Moving the cursor Choose [  ] or [ ] or [  ] and press the ] and press the  button. button.You can also move the cursor by turning the  ring. ring.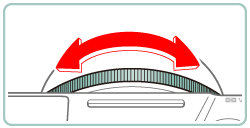 |
 | •Switching input modes Choose [  ], press the ], press the  button to switch to capital letters. button to switch to capital letters.Choose [  ], press the ], press the  button to switch to numbers or symbols. button to switch to numbers or symbols. |
 | •Deleting characters Choose [  ] and press the ] and press the  button. The previous character will be deleted. button. The previous character will be deleted. |
 | •Confirming input After pressing the  button, press the button, press the  / /  buttons to choose [OK], press the buttons to choose [OK], press the  button. button. |
