When the camera and iPad are connected via Wi-Fi, the images on the camera can be imported to the iPad and displayed in Photo Professional Express. The two ways to import images are as follows.
Use Digital Photo Professional Express to import JPEG images/RAW (CR3) images
Use Camera Connect to import JPEG images/RAW (CR3) images
Caution
It is recommended to save the images imported to Digital Photo Professional Express to a memory card or another location other than the iPad, should there be a need to use the images outside of Digital Photo Professional Express.
Before connecting the camera, you must install the free Camera Connect app to the iPad, which can be downloaded from the App Store.
Use Camera Connect version 2.5.0 or over.
See "Related Information" for details on what iPad can be connected to the camera via Wi-Fi.
Interface or functions of Digital Photo Professional Express or Camera Connect are subject to change, for application improvements or update. In such a case, features may differ from sample screens or operation instructions in this explanation.
Caution
Procedures starting with an

illustration, are steps for the iPad. procedures starting with a

illustration, are steps for the camera.
Keep your fingers or other objects off the Wi-Fi antenna area. Covering this may decrease the speed of your image transfers.
Depending on the condition of the network you are using, it may take a longer time to transfer images.
A memory card must be in the camera for the connection.
Using Digital Photo Professional Express to import images in JPEG and RAW(CR3)
 1. Install Camera Connect.
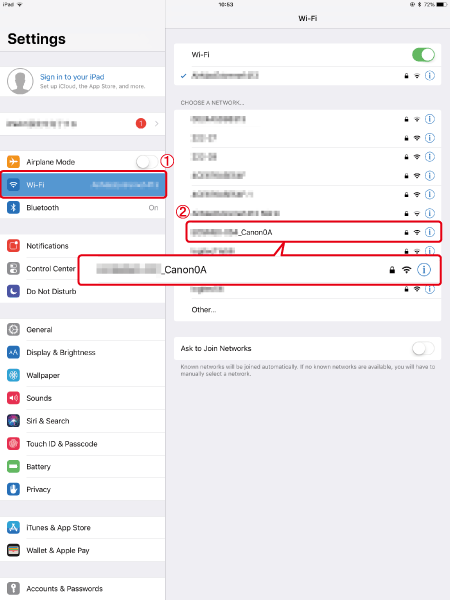
 2. Open [ Settings ] on iPad, make sure the [ Airplane Mode ] is [ OFF ].
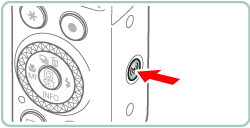
 3. Press the
  button.
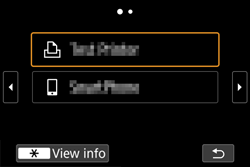
Caution
If the following screen appears, press the

/

buttons to switch to other screens.
 11. Open Digital Photo Professional Express.
 12. Tap [Import from Canon Camera Connect (RAW/JPEG)] from [
  ] on the upper left hand.
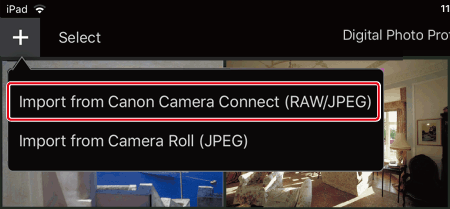
Caution
If Camera Connect is not installed, the App Store page will be displayed. In order to connect the camera to the iPad using Wi-Fi, the connection must be made through Camera Connect. Please install Camera Connect first.
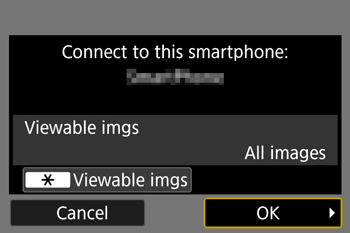
 13. Tap [ OK ].
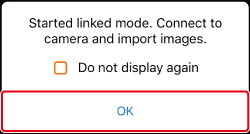
 14. Tap [ Canon PowerShot G7 X Mark III ].
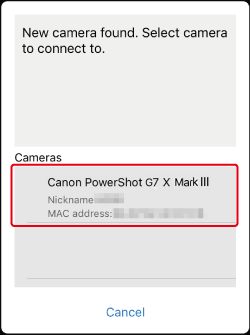
 15. Confirm that [ Operate the camera to establish a connection ] is displayed.
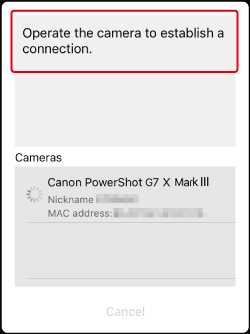
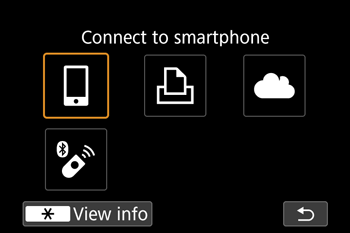
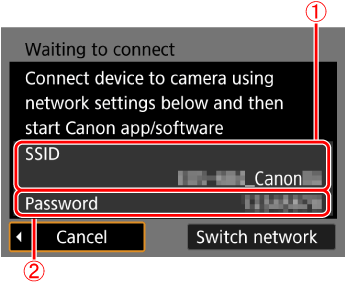
 17. [ Wi-Fi on ] will be displayed on the camera screen.
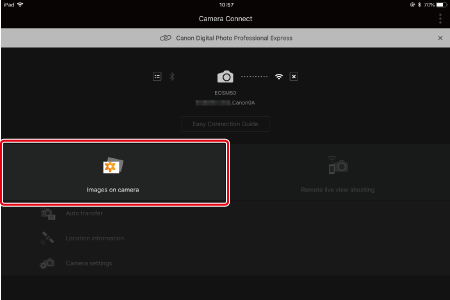
 18. Tap [ Images on camera ].
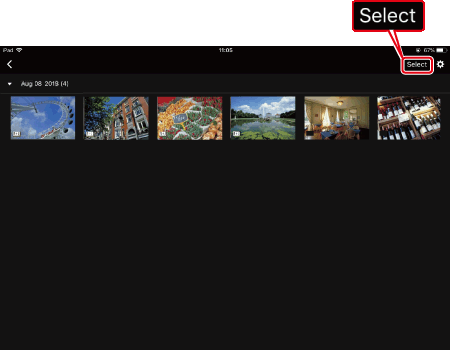
 19. Tap [ Select ].
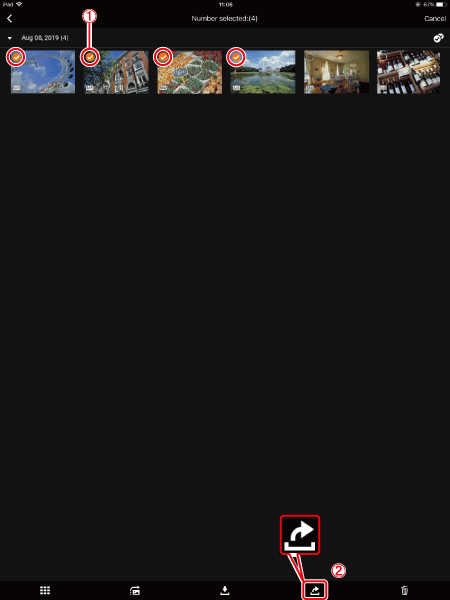
 20. Tap on the imported images to select images.
Selected images will have a

displayed (

).
Tap on [

] to select all.
After selecting, tap on

(

).
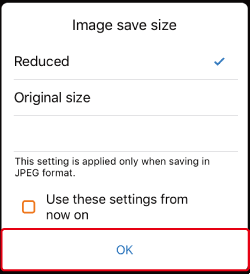
 21. Select image size, and tap [ OK ].
 22. The selected images will be imported into Digital Photo Professional Express.
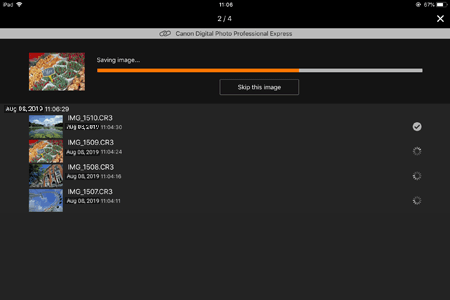
 23. Once the images have been imported, tap [ Open linked app ].
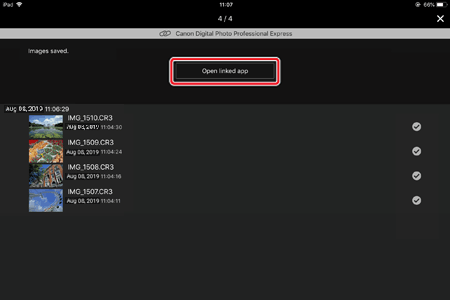
 24. Tap [ Yes ].

 25. Digital Photo Professional Express will open, tap [ OK ].
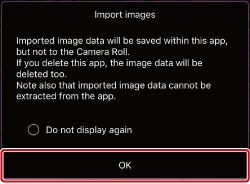
 26. The imported images will be displayed in the thumbnails screen in Digital Photo Professional Express.
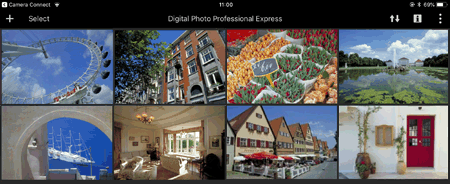
Using Camera Connect to import images in JPEG or RAW (CR3)
 1. Install Camera Connect.
 2. Open [ Settings ] on iPad, make sure the [ Airplane Mode ] is [ OFF ].
 3. Press the
  button.

Caution
If the following screen appears, press the

/

buttons to switch to other screens.

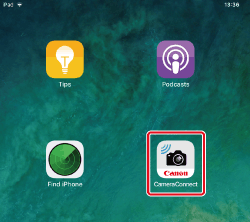
 11. Go to home screen, and open Camera Connect.
 12. Tap [ Canon PowerShot G7 X Mark III ].

 13. Confirm that [ Operate the camera to establish a connection ] is displayed.

 15. [ Wi-Fi on ] will be displayed on the camera screen.
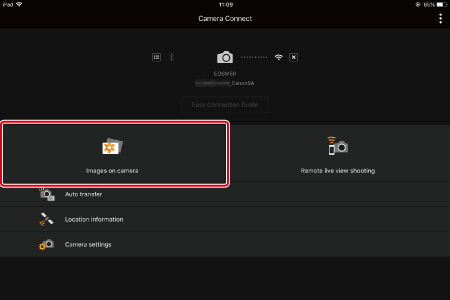
 16. Tap [ Images on camera ] .
 17. Tap [ Select ].

 18. Tap on the imported images to select images.
Selected images will have a

displayed (

).
Tap on [

] to select all.
After selecting, tap

(

).

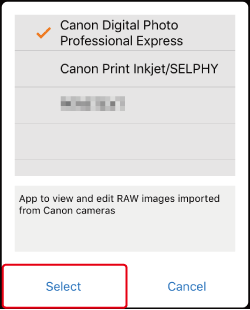
 19. Tap [Digital Photo Professional Express], to choose and tap [ Select ].
 20. Select image size, and tap [ OK ].

 21. The selected images will be imported into Digital Photo Professional Express.

 22. Once the images have been imported, tap [ Open linked app ].

 23. Tap [ Yes ].

 24. Digital Photo Professional Express will open, tap [ OK ].

 25. The imported images will be displayed in the thumbnails screen in Digital Photo Professional Express.

 illustration, are steps for the iPad. procedures starting with a
  illustration, are steps for the camera.


 /
/  buttons to switch to other screens.


















 displayed (
 ).
). ] to select all.
  (
( ).
).


 /
/  buttons to switch to other screens.




 displayed (
 ).
). ] to select all.
  (
( ).
).


 ] or [
  ] and press the
  button.
 ring.
ring.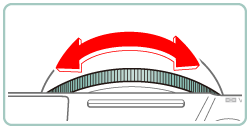

 ], press the
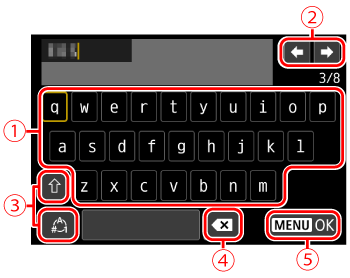
  button to switch to capital letters.
 ], press the
  button to switch to numbers or symbols.
 ] and press the
  button. The previous character will be deleted.
 button, press the
  /
/  buttons to choose [OK], press the
  button.