

Solution
Confirming Access Point CompatibilityConnecting Selphy to the Access Point
Preparing the Computer
Printing from the Computer
The procedure for wirelessly printing images saved to Wi-Fi®*1-compatible computers is explained in the sections below.
*1 Wi-Fi is a brand name that indicates interoperability certification of wireless LAN devices.
Caution
Caution
For convenience, wireless routers and other base stations are referred to as "access point".
Confirming Access Point Compatibility
| Standards | IEEE802.11b/g |
|---|---|
| Supported Channels | 1 – 11 |
| Transmission Methods | DSSS (IEEE 802.11b) and OFDM (IEEE 802.11g) |
| Security | No security, 64- and 128-bit WEP (open system authentication), WPA-PSK (TKIP), WPA-PSK (AES), WPA2-PSK (TKIP), and WPA2-PSK (AES) |
| WPS-Compatible Access Points | Connect as described in WPS-Compatible Access Points*. |
|---|---|
| Non-WPS Access Points WPS Support Unknown | Check the following information and connect as described in Non-WPS Access Points - Network name (SSID/ESSID) - Network authentication / data encryption (encryption method or mode) - Password (network key) |
Caution
Connecting Selphy to the Access Point
How to connect varies depending on whether the access point is WPS compatible or not.
For more information on non-compatible access points, please refer toNon-WPS Access Points .
1. Check the access point.
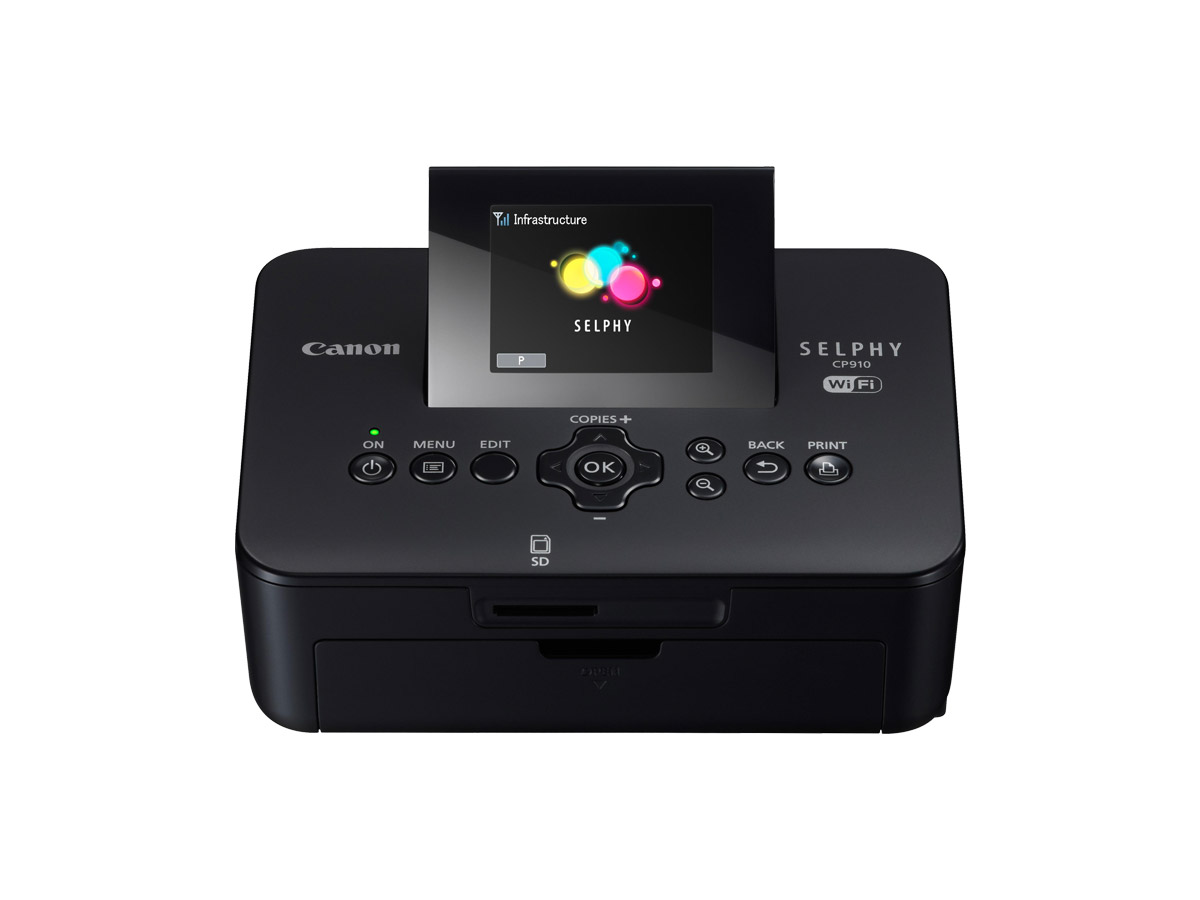
2. Prepare SELPHY.
For more information, please refer to Printing images with your new SELPHY CP910 photo printer.
3. Access the setting screen.
 ⋗.
⋗. ⋗⋖
⋗⋖  ⋗ buttons to select [Wi-Fi Settings], and then press the ⋖OK⋗ button.⋗⋖ ⋗ buttons to select [Connection Settings], and then press the ⋖OK⋗ button.

4. Check the printer name.

5. Choose the connection method.
⋗⋖ ⋗ buttons to select [Via Wi-Fi Network], and then press the ⋖OK⋗ button.
6. Choose the access point connection method.
⋗⋖ ⋗ buttons to select [WPS Connection], and then press the ⋖OK⋗ button.
7. Choose the WPS connection method.
Press the ⋖
8. On the access point, hold down the WPS connection button for a few seconds.
Caution
For details on where the button is located and how long to press it, check the access point user manual
9. Establish the connection.

・The screen at below is displayed, indicating the name of the access point.
Please proceed to Preparing the Computer

Caution
[ 


1. Check the access point.
2. Prepare SELPHY.
・Remove any inserted memory cards or USB flash drives.
・Insert a loaded paper cassette and an ink cassette in SELPHY.
For more information, please refer to Printing images with your new SELPHY CP910 photo printer.
3. Access the setting screen.
⋗.⋗⋖ ⋗ buttons to select [Wi-Fi Settings], and then press the ⋖OK⋗ button.⋗⋖⋗ buttons to select [Connection Settings], and then press the ⋖OK⋗ button.
4. Check the printer name.
5. Choose the connection method.
⋗⋖ ⋗ buttons to select [Via Wi-Fi Network], and then press the ⋖OK⋗ button.
6. Choose the access point connection method.
⋗⋖ ⋗ buttons to select [Search for an access point], and then press the ⋖OK⋗ button.
7. Choose the access point.
⋗⋖ ⋗ buttons to select the access point, and then press the ⋖OK⋗ button.
8. Enter the password.
9. Check the access point.
Caution
 ⋗ button and select [Manual Settings] in step 6 to specify the access point manually. Follow on-screen instructions and enter the SSID, security settings, and the password.
[
Caution
Subsequent Connections
] will be displayed. Check access point settings.Preparing the Computer
Check your computer environment.
SELPHY can connect via Wi-Fi to computers running the following operating systems.
| OS | Windows 8 Windows 7 SP1 |
|---|---|
| Free Disk Space | Approx. 5 MB* |
Installing the Printer Driver
Caution
The example procedures below are shown in Windows 7. The setting items and screens displayed may differ in Windows 8.
1. Confirm that SELPHY is connected to the access point.

2. Begin the installation.
2-1. Insert the included CD-ROM in the computer and double-click the disc icon in [Computer] or [My Computer].
2-2. Double-click the [Driver] folder.
2-3. Depending on whether your computer is 32-bit or 64-bit (as shown in [System type]), double-click the [32Bit] or [64Bit] folder.
[System type] can be accessed by right-clicking [Computer] or [My Computer] and choosing [Properties].
2-4. Double-click [Setup.exe].
2-5. Click [Next].
2-6. The following screen appears.


2-7. The following screen is displayed. Click [Yes].
2-8. If the User Account Control window is displayed, follow the on-screen instructions.
3. Choose the connection method.
When the screen below is displayed,
4 To complete the installation process, choose the printer to connect to.
Choose the printer to connect to from the list, and then click [Next].
Printing from the Computer
Use photo software to print as follows.
1. Confirm that SELPHY is connected to the access point.
Confirm that the screen below is displayed on SELPHY.
Computer settings are explained from step 2.
2. Access the printing dialog box.
Start the photo software, select images to print, and access the printing dialog box.
3. Choose printing options.
4. Print.
Caution
⋗ button. Use the computer to stop printing.