Solution
If your camera is not compatible with the OS on your computer, you can download photos or movies shot with the camera using a card slot on the computer or a commercially available card reader.
Caution
In such cases, connect your camera to the computer with the interface cable, then transfer the images to your computer using EOS software.
Caution
Windows 7 is used as an example.
To download images, follow the instructions below.
1. Insert the memory card into the card slot on your computer or commercially available card reader. When using a card reader, make sure to connect the computer to the card reader before inserting the card into the reader.
2. The memory card data is loaded to the computer.
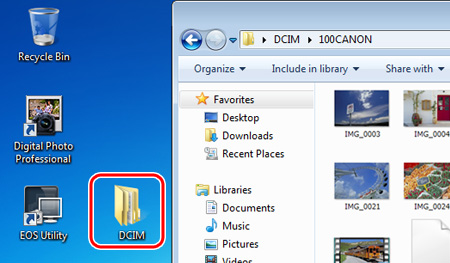
3. Images shot with the camera are saved in the memory card's [DCIM] folder with the following folder structure and file names.
Caution
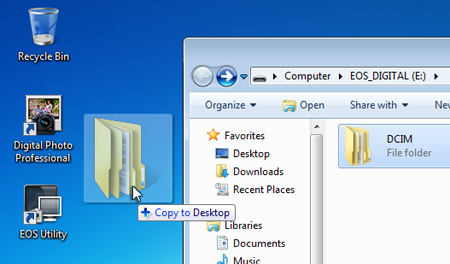
4. Copy images in the folder to the computer. (As an example, the following screenshot shows that the DCIM folder is moved to the desktop of the computer by dragging.)
Caution
If another [DCIM] folder already exists in the saving location, a warning message similar to the one below will appear. If you click [Yes], this [DCIM] folder will be overwritten, so click [No] and close this window.
Next, rename the [DCIM] file in your saving location and then copy the new [DCIM] folder once again.
5. After the folder is copied, open the copied folder to check the images inside.