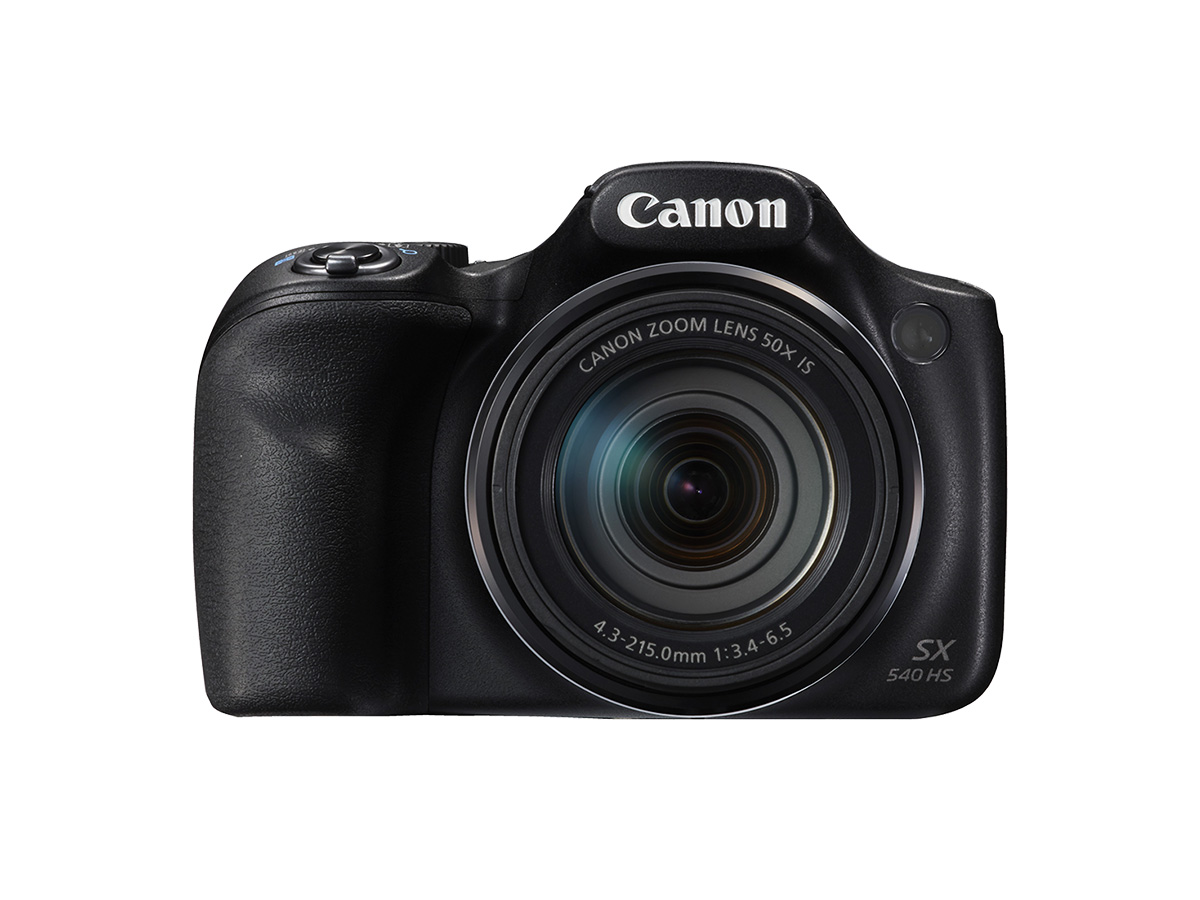
This camera sends images to smartphones and tablet computers that have Wi-Fi functions.
This article explains [how to connect to a smartphone by pressing the Wi-Fi button to send the images in the camera].
Caution
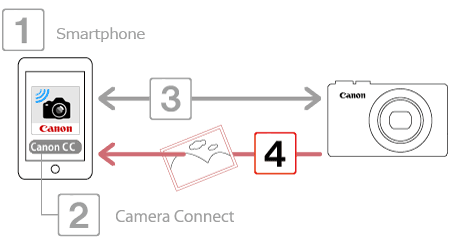
In the text, the operation instructions that begin with this illustration

are for smartphones. The operation instructions that begin with this illustration

are for cameras.
For convenience in this article, iPhones and tablets (iPad) are collectively referred to as "smartphones".
Caution
Do not cover the Wi-Fi antenna area with your hands or other objects. Covering the antenna may decrease the speed of image transfers.
Connections require that a memory card be in the camera.
Depending on the condition of the network you are using, it may take a long time to send movies. Be sure to keep an eye on the battery level.
The supported image quality varies depending on the smartphone you are using. For details, refer to the smartphone user manual.
On the camera screen, wireless signal strength is indicated by the following icons.
- [  ] : high, [
  ] : medium, [
  ] : low, [
  ] : weak
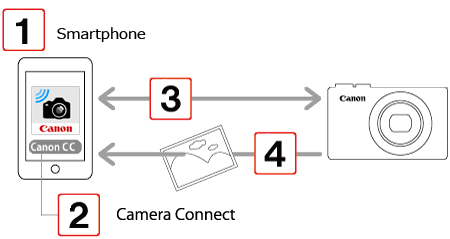
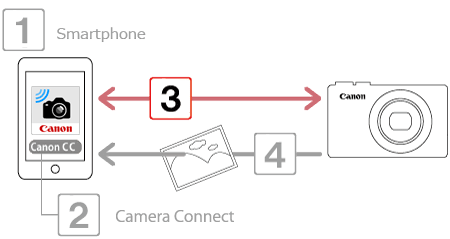
The following 4 steps explain how to use a smartphone to control the camera and shoot remotely via the Wi-Fi function. Start the operation from step 1.
 : Check the OS version on your smartphone.
 : Install Camera Connect on your smartphone and turn Wi-Fi on.
 : Connect the camera and smartphone.
 : Use the smartphone to shoot.
Step 1: Check the OS version on your smartphone
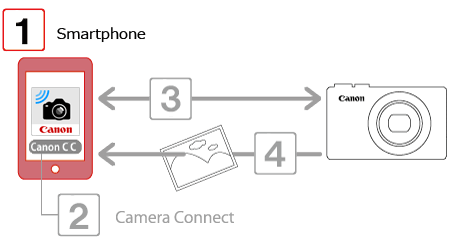
 1. Check the environment on your smartphone.
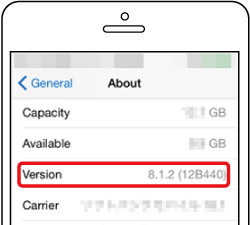
You can check your iOS version by accessing [Settings]

[General]

[About] on your smartphone.
Caution
Please refer to the related information for details on the smartphones which can be connected with a camera wirelessly.
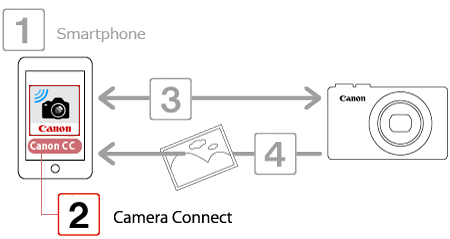
Step 2: Install Camera Connect on your smartphone and turn Wi-Fi on
Caution
iOS 8.1 is used as an example in these instructions.
The text includes an example of a smartphone screen. The items displayed on the screen may differ depending on your version of iOS.
Interface or functions of Camera Connect are subject to change, for application improvement or update. In such a case, features of Camera Connect may differ from sample screens or operation instructions in this explanation.
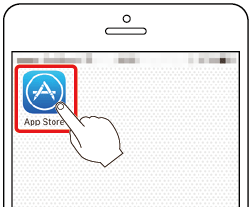
 1. Touch the [App Store] icon on your smartphone to open the App Store.
Caution
You can download Camera Connect for free. However, you will be charged communication fees when connecting to the App Store.
You need an Apple account to download Camera Connect.
When you use a cell phone line, downloading may take longer than when you use a Wi-Fi connection.
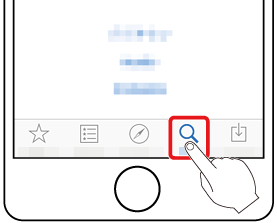
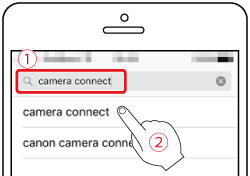
 2. Touch the search icon at the bottom of the screen.
 4. Select [Camera Connect] in the search results and install it.
The home screen will reappear when the installation of Camera Connect is complete.
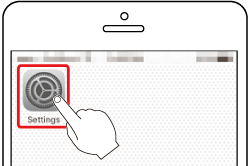
 5. Touch [Settings] on the smartphone.
 6. Check the settings on your smartphone.
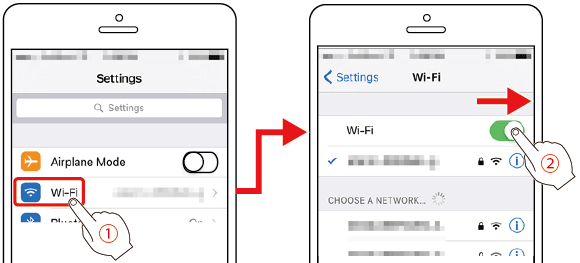
Make sure your smartphone is not in airplane mode.
 Touch [Wi-Fi].
 Turn the [Wi-Fi] switch [On].
Step 3: Connect the camera and smartphone
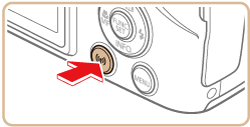
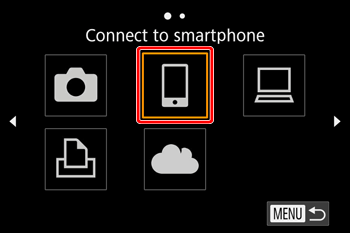
 1. Press the [
  ] button on the camera.
Caution
With the default settings, the device name (

) is displayed.
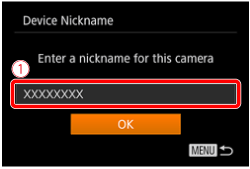
To change the camera’s nickname, press the [

], [

] buttons to choose the [Nickname] field, press the [

] button to display the keyboard, and then enter the desired nickname. After you have finished entering the nickname, press the [ MENU ] button to return to the registration screen, press the [

], [

] buttons, choose [OK], and then press the [

] button.
This nickname will be displayed on [Select a Device] screen when connecting to other devices via Wi-Fi.
 4. The camera’s SSID and password are displayed.
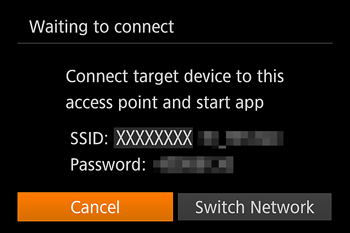
 5. In the smartphone’s Wi-Fi setting menu, choose the SSID (network name) displayed on the camera to establish a connection. In the password field, enter the password displayed on the camera.
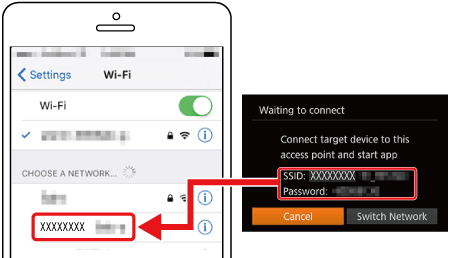
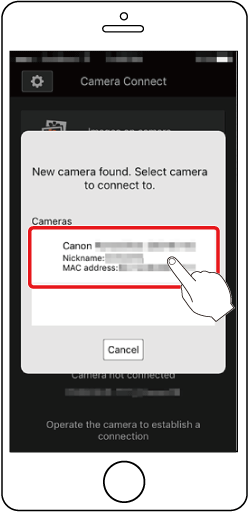
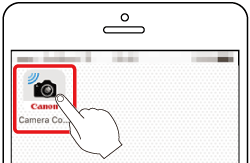
Make sure that the camera and the smartphone are connected and then touch the home button to return to the home screen.
When the screen for choosing the target camera is displayed on your smartphone, choose the camera to pair them.
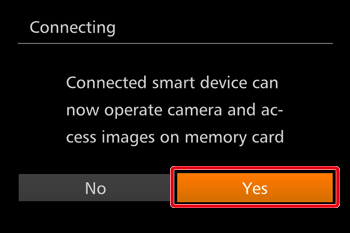
 7. Press the [
  ], [
], [  ] buttons to select [Yes], and then press the [
  ] button.
Caution
You can now use the smartphone to browse, import, or geotag images on the camera or shoot remotely.
Once you have registered a smartphone, you can change the privacy settings for it on the camera.
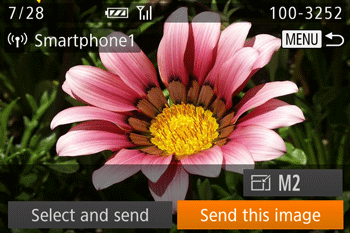
 8. The following screen is displayed when the connection with the smartphone is established.
Caution
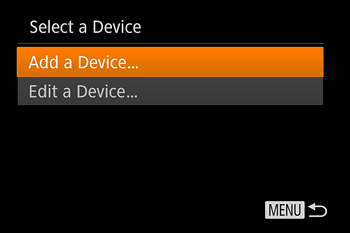
Once you have connected to a smartphone, it will be displayed on the [Select a Device] screen in step 3. Select the smartphone to connect to it.
When you press the [

] button to open the Wi-Fi menu after the first time, recent destinations will be listed first when you access the Wi-Fi menu. You can easily connect again by pressing the [

], [

] buttons to choose the device and then pressing the [

] button.To add a new device, display the device selection screen by pressing the [

], [

] buttons and configure the setting. If you prefer not to display recent target devices, choose [MENU] ⋗ [

] tab ⋗ [Wireless settings] ⋗ [Wi-Fi Settings] ⋗ [Target History] ⋗ [Off].
To add multiple smartphones, repeat the above procedure starting from step 2.
Step 4: Send images to a smartphone
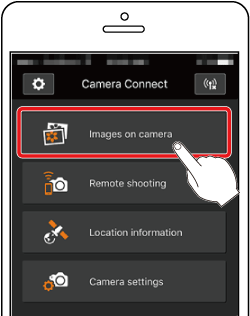
 1. Touch [Images on camera] in Camera Connect.
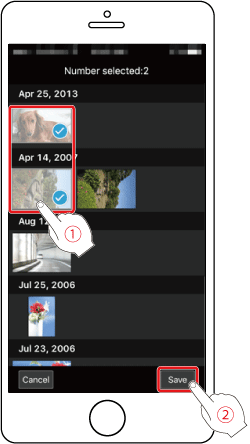
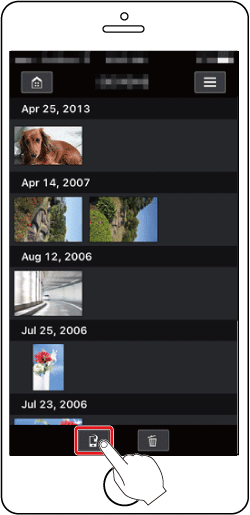
 2. Use your smartphone to save images from the camera to the smartphone.
When the camera and smartphone are connected, a list of images in the camera appears in "Camera Connect". Tap the menu key at the bottom of the screen.
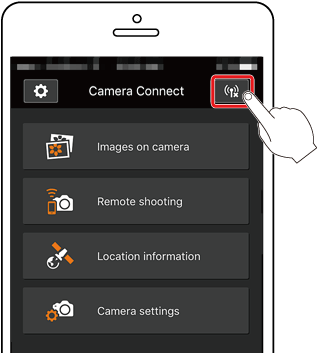
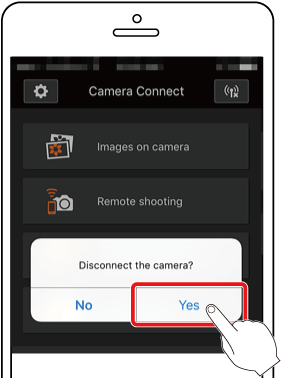
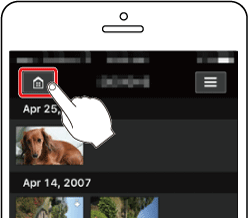
 4. When the images have been saved, tap the home button on the top left to return to the menu screen.
 are for smartphones. The operation instructions that begin with this illustration
  are for cameras.


 [General]
  [About] on your smartphone.




 ) is displayed.
 ], [
], [  ] buttons to choose the [Nickname] field, press the [
  ] button to display the keyboard, and then enter the desired nickname. After you have finished entering the nickname, press the [ MENU ] button to return to the registration screen, press the [
  ], [
], [  ] buttons, choose [OK], and then press the [
  ] button.








 ] button to open the Wi-Fi menu after the first time, recent destinations will be listed first when you access the Wi-Fi menu. You can easily connect again by pressing the [
  ], [
], [  ] buttons to choose the device and then pressing the [
  ] button.To add a new device, display the device selection screen by pressing the [
  ], [
], [  ] buttons and configure the setting. If you prefer not to display recent target devices, choose [MENU] ⋗ [
  ] tab ⋗ [Wireless settings] ⋗ [Wi-Fi Settings] ⋗ [Target History] ⋗ [Off].


