Solution
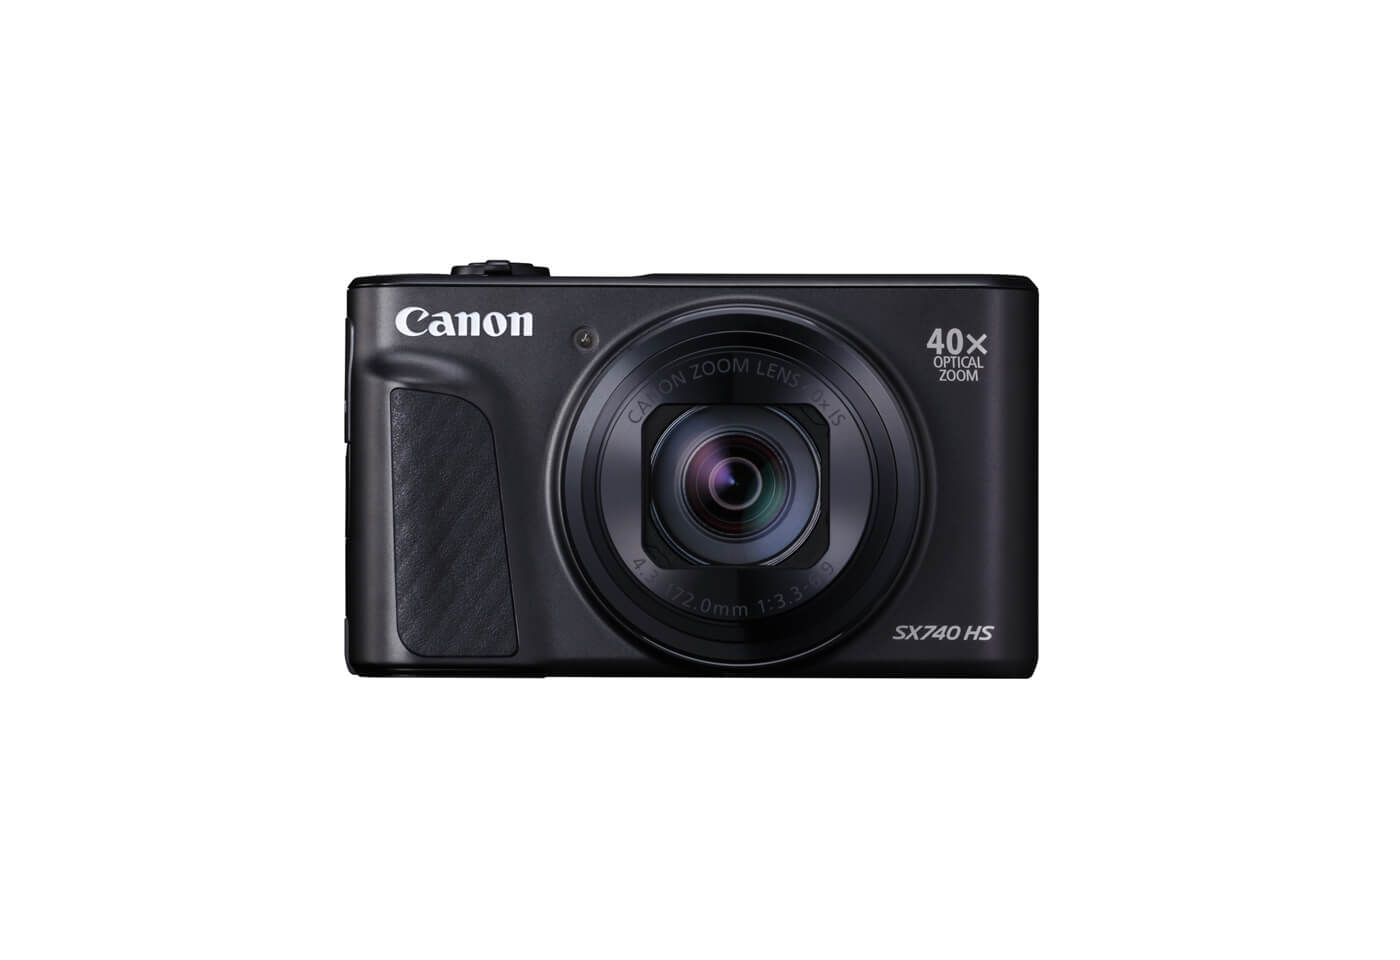
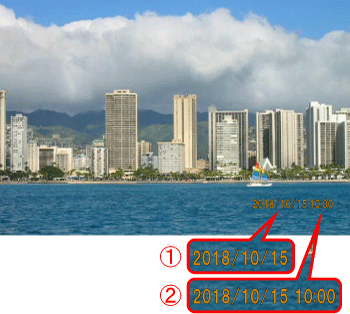
The camera can add the shooting date to images, in the lower-right corner.
However, note that date stamps cannot be edited or removed, so confirm beforehand that the date and time are correct.
Caution
For a list of shooting modes in which the [Date stamp] setting can be configured.
[ 


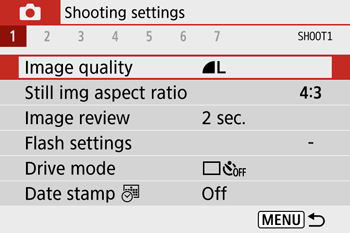
The procedure for adding a date stamp to images during shooting is explained below.
1. Turn the camera on.
2. Press the 
3. Press the 


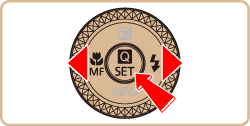
4. Press the 


5. Press the 



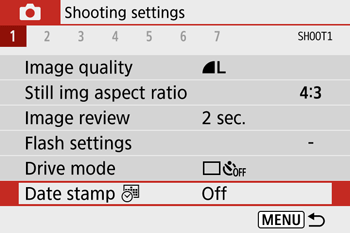
6. Press the 


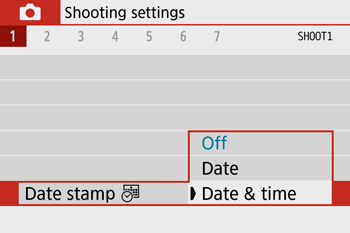
7. Press the 
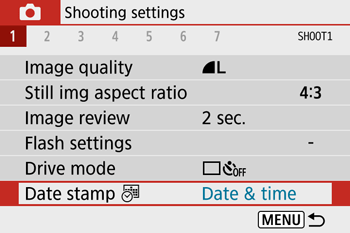
8. Press the 
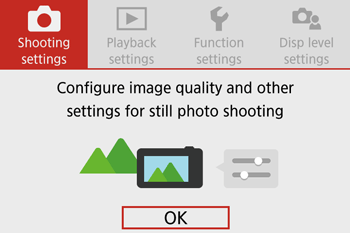
9. [ 

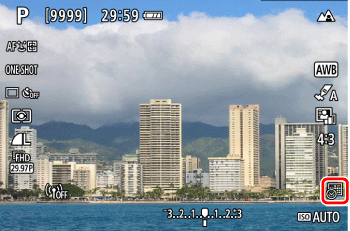
Caution
If the icon does not appear, press the 
10. The [Date stamp] will be added to the images as shown below:


Caution
Shots taken without adding a date stamp can be printed with one. Please see the Camera User Guide for details.


