


Solution
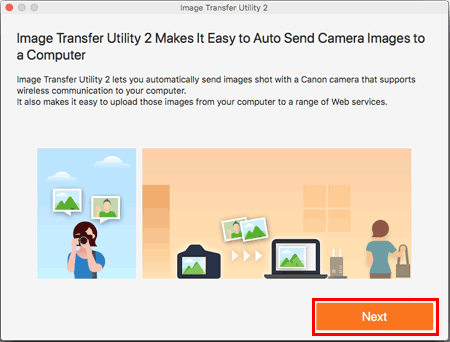
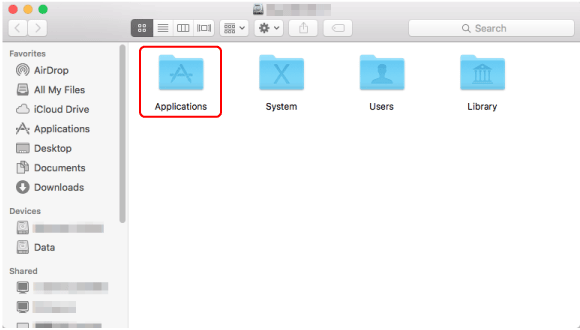
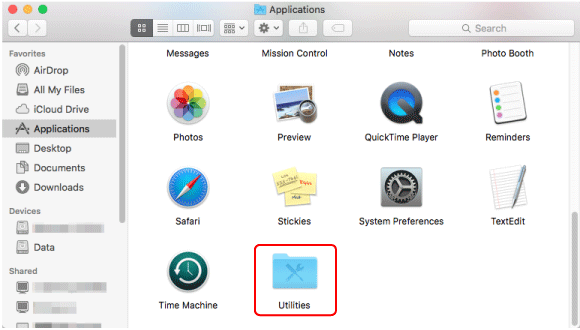
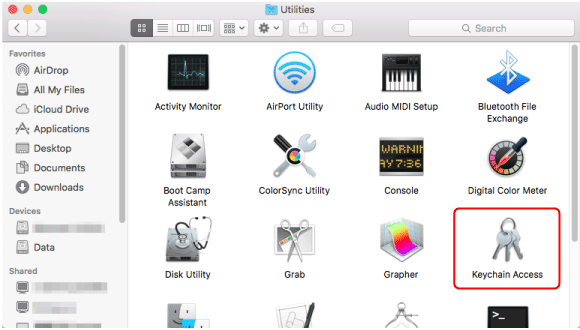
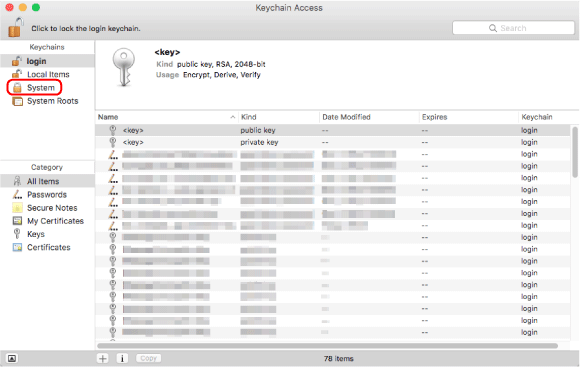
Getting StartedStep 1 : Intalling Image Transfer Utility 2
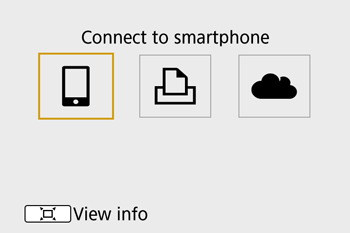
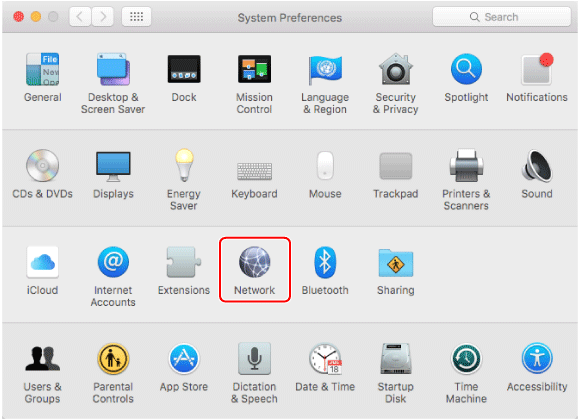
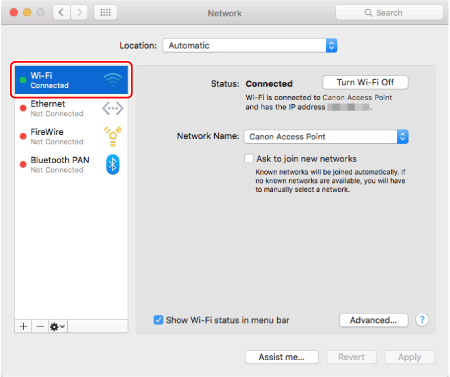
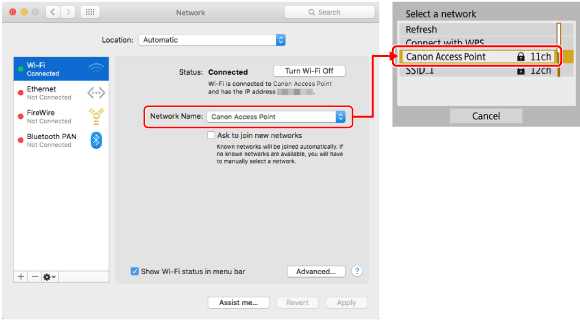
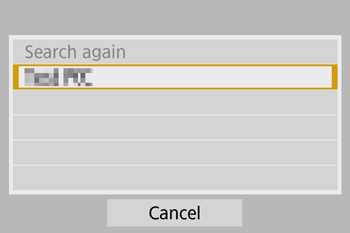
Step 2 : Connecting the Camera to the Computer
Step 3 : Setting Up Auto Image Transfer
Step 4 : Sending Images to the Computer
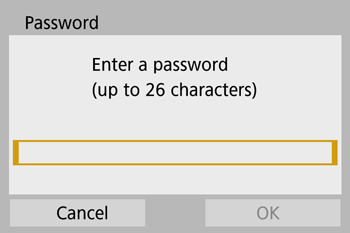
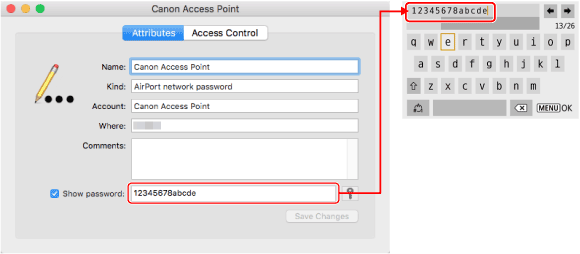
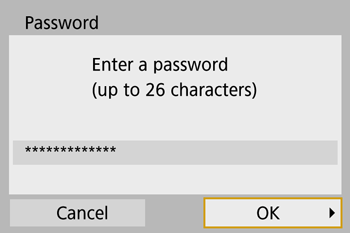
Using the On-Screen Keyboard
Getting Started
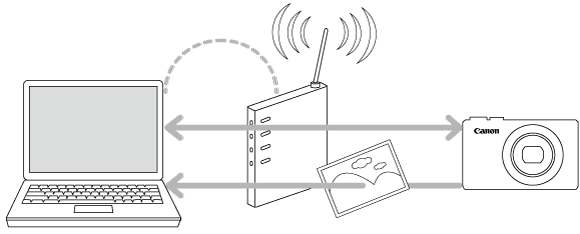
How to send images from the camera to a computer using Image Transfer Utility 2.
Caution
 icon, and camera setting procedures are indicated by the
  icon.
icon.Step 1 : Intalling Image Transfer Utility 2

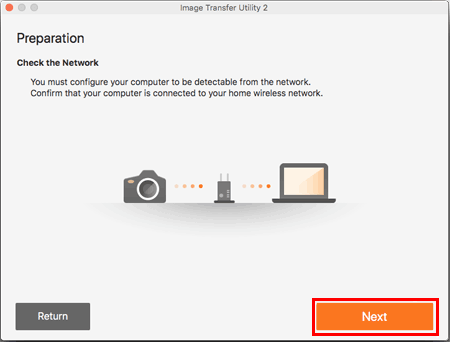

Step 2 : Connecting the Camera to the Computer


Caution


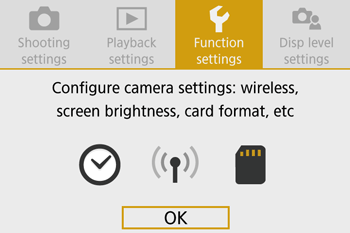
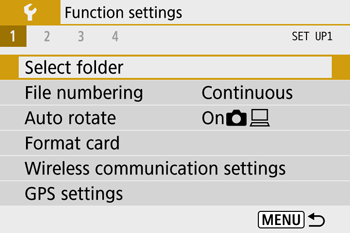
Return to the function settings menu.


Caution
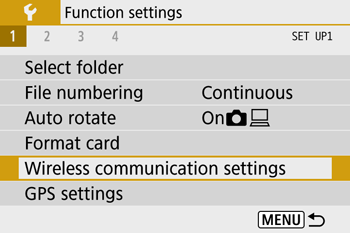
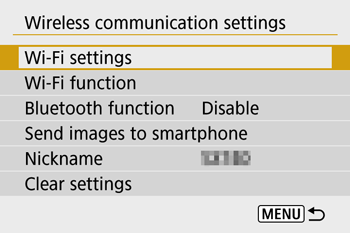
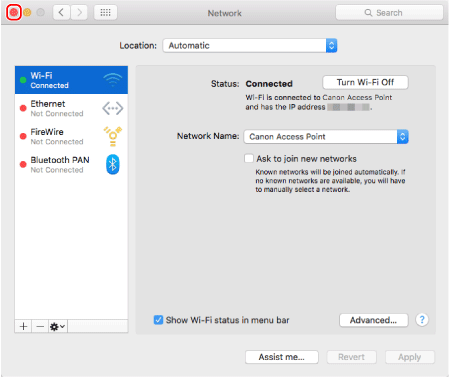
If [ Wi-Fi ] settings has [ Disable ] selected, change settings to [ Enable ] .


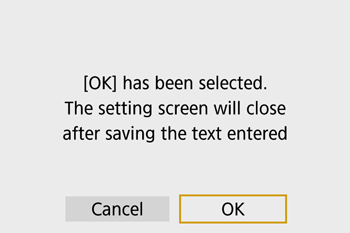
button after the letters have been confirmed, before returning to the previous screen.


/ buttons to choose [ OK ] , press the button to go to the next step.
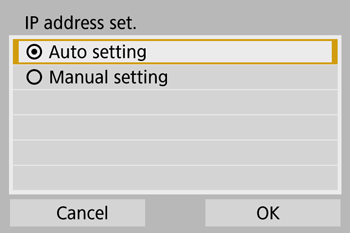
/ buttons to choose [ OK ] , press the button to go to the next step.

Caution
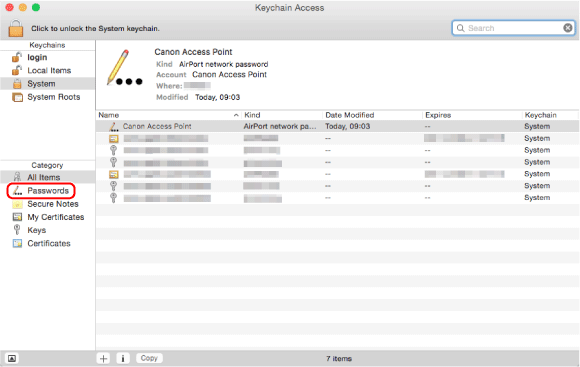
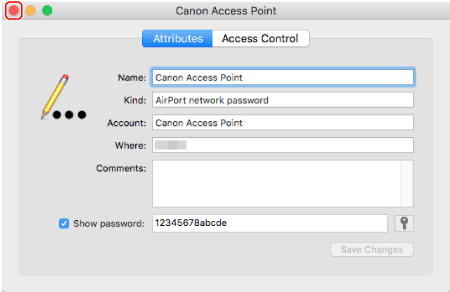
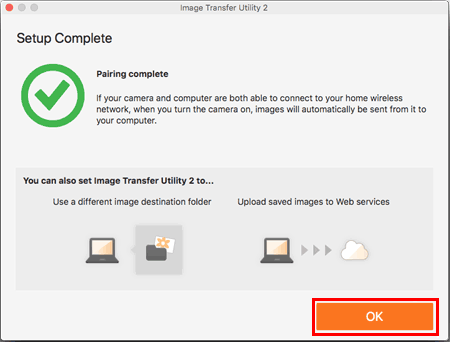
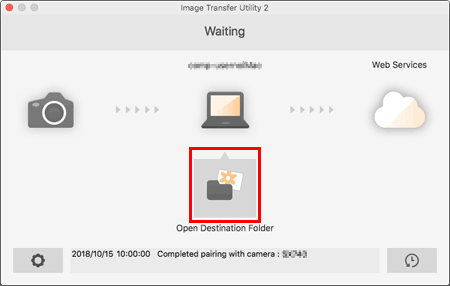
To save images in a different folder, click on the computer icon to open [ Set Destination Folder ] window.
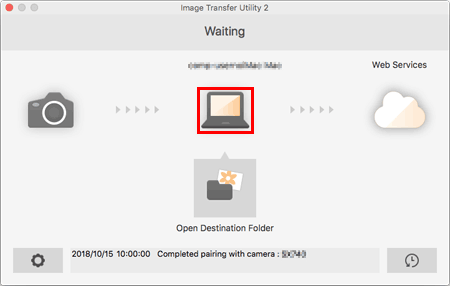
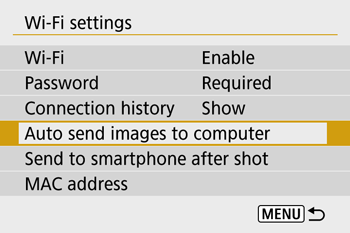
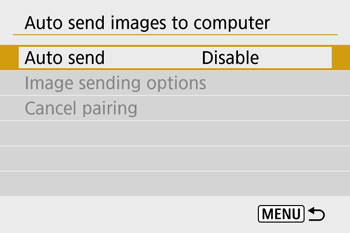
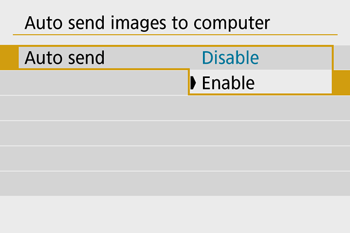
Step 3 : Setting Up Auto Image Transfer


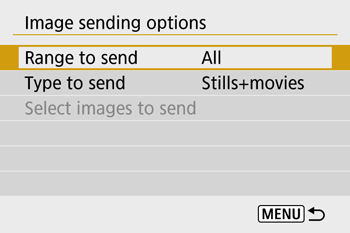
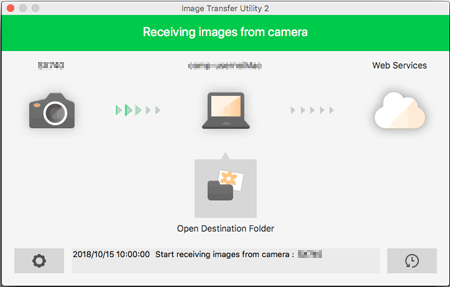
Step 4 : Sending Images to the Computer
Caution
Caution
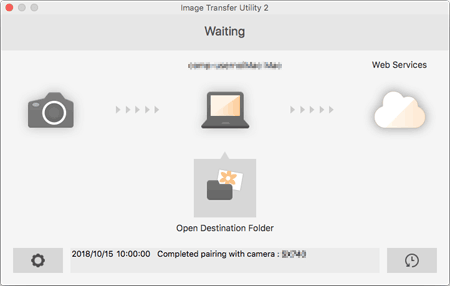
 of the Image Transfer Utility 2 screen, choose [ Quit ] , this will disable auto-transfer even when the camera is turned on. To Enable wireless transfer again, turn on Image Transfer Utility 2.
 Using the On-Screen Keyboard
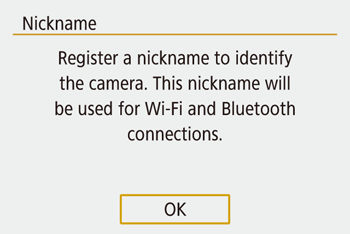
Use the on-screen keyboard to enter information. Note that the length and type of information you can enter varies depending on the function you
are using.
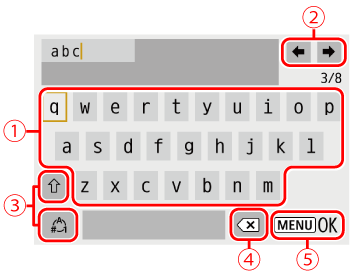
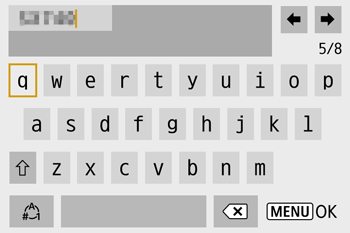
 | • Entering characters Press the / / / buttons or turn the  dial to choose the key of your desired character, and then press the button. dial to choose the key of your desired character, and then press the button. |
 | •Moving the cursor Choose [  ] or [ ] or [  ] and press the button. ] and press the button. |
 | •Switching input modes Choose [  ] , press the button to switch to capital letters. ] , press the button to switch to capital letters.
Choose [  ] , press the button to switch to numbers and characters. ] , press the button to switch to numbers and characters. |
 | •Deleting characters Choose [  ] and press the button.
The previous character will be deleted. ] and press the button.
The previous character will be deleted. |
 |
•Confirming input After pressing the  button, press the / buttons to choose [OK] , press the button. button, press the / buttons to choose [OK] , press the button.
|
Caution
button.