Solution
Preparing the CameraConnecting Your Camera and Printer via Wi-Fi
Using the On-Screen Keyboard
Print images over a Wi-Fi connection from printers compatible with PictBridge (wireless LAN) technology.
This section describes how to connect the camera directly to a printer via Wi-Fi and to print images.
Preparing the Camera
1. Press the 
Caution
 button.
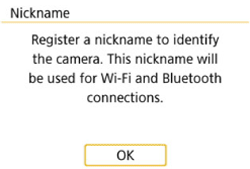
 button.
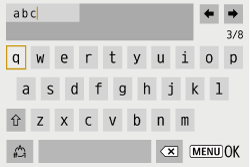
 /
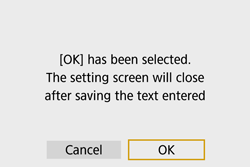
/  buttons to choose [OK] and press the
  button.
Connecting Your Camera and Printer via Wi-Fi
1. Press the 


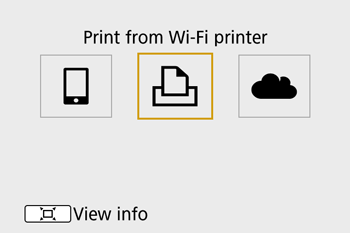
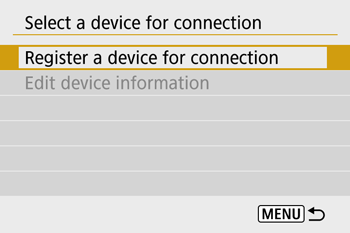
2. Choose [Register a device for connection], and then press the 
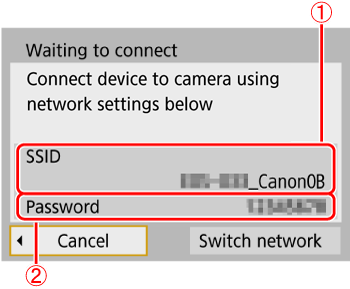
3. Check the SSID (

4. Use the printer to connect to the camera via Wi-Fi.
5. Press the 


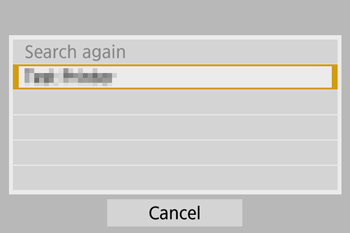
6. Press the 


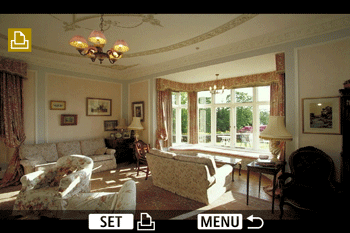
7. Press the 


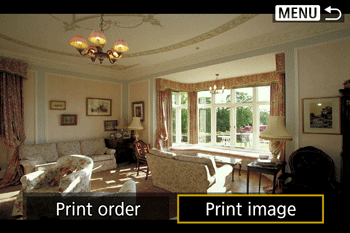
8. Press the 


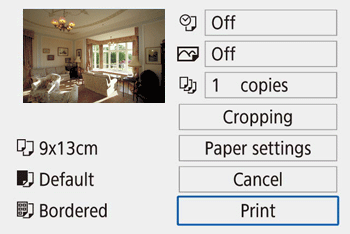
9. [ Start printing ] will be displayed, press the 


Caution
Wi-Fi signal transmission can be turned off as follows.
Choose [ 
Using the On-Screen Keyboard
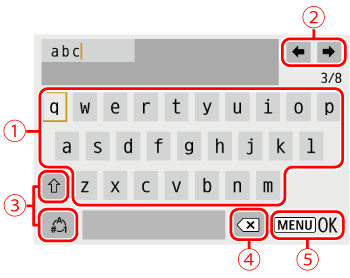
Use the on-screen keyboard to enter information. Note that the length and type of information you can enter varies depending on the function you are using.
 | •Entering characters Press the  / /  / /  / /  buttons or turn the buttons or turn the  dial to choose the key of your desired character, and then press the dial to choose the key of your desired character, and then press the  button. button. |
 | •Moving the cursor Choose [  ] or [ ] or [  ] and press the ] and press the  button. button. |
 | •Switching input modes Choose [  ] , press the ] , press the  button to switch to capital letters. button to switch to capital letters.Choose [  ] , press the ] , press the  button to switch to numbers and characters. button to switch to numbers and characters. |
 | •Deleting characters Choose [  ] and press the ] and press the  button. button.The previous character will be deleted. |
 | •Confirming input After pressing the  button, press the button, press the  / /  buttons to choose [OK] , press the buttons to choose [OK] , press the  button. button. |
Caution
 button.


