Solution
Sign in to CANON iMAGE GATEWAYMaking Camera and Web Service Settings
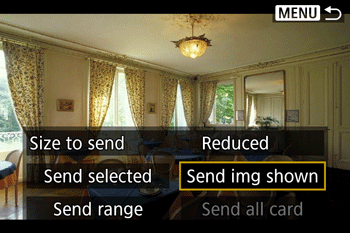
Sending Images from the Camera
Using the On-Screen Keyboard
CANON iMAGE GATEWAY is a free service for Canon users. When you perform the settings to link the camera to CANON iMAGE GATEWAY, you will be able to send images from the camera to social network services supported by CANON iMAGE GATEWAY (CANON iMAGE GATEWAY/SNS/Email).
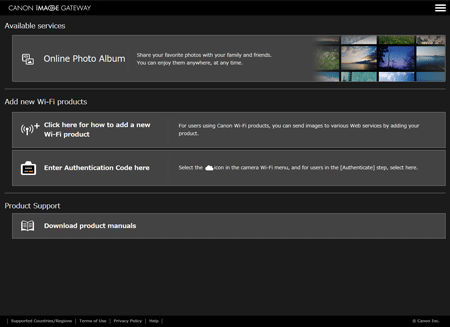
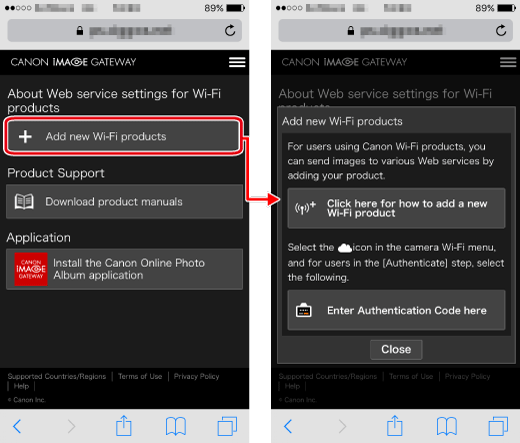
This section explains how to access Canon Image Gateway to use various Web services.
Please check [Help] at the CANON iMAGE GATEWAY top page to learn about the Web service settings.
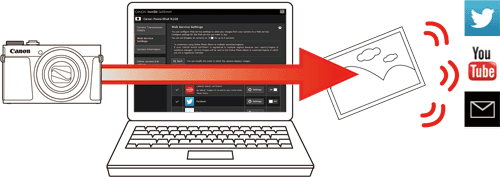
Supported Web Services:
Caution
Caution
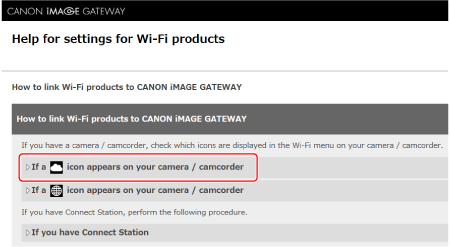
 icon.
icon. icon.
icon.Sign in to CANON iMAGE GATEWAY




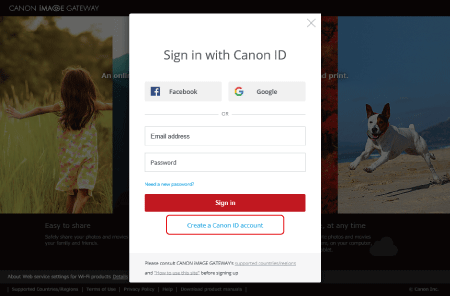

Making Camera and Web Service Settings


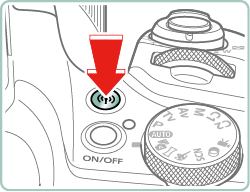
Caution
 button.
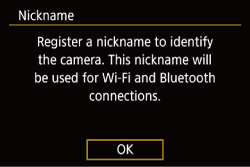
 button.
 /
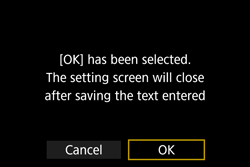
/  buttons to choose [OK] and press the
  button.


Caution
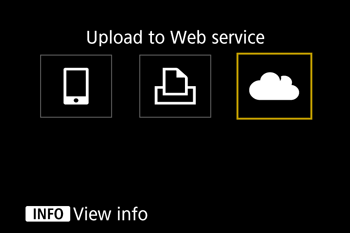
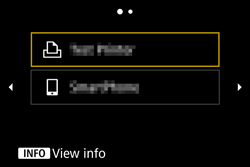
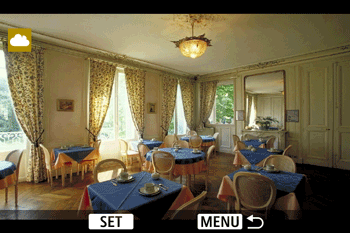
On the screen shown below, you can switch to other screens by pressing the 


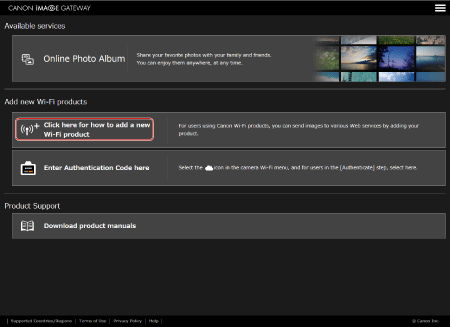




Caution
Caution
Sending Images from the Camera


In this example, the procedures are shown for CANON iMAGE GATEWAY.



Press the 



Press the 


Using the On-Screen Keyboard
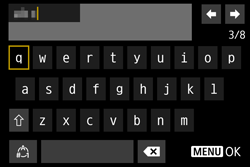
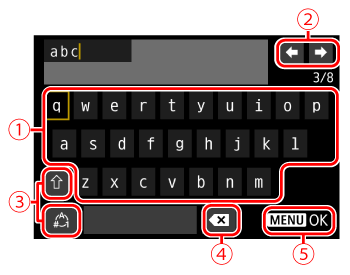
Use the on-screen keyboard to enter information. Note that the length and type of information you can enter varies depending on the function you are using.
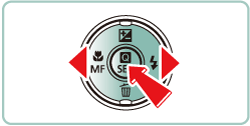
 | •Entering characters Press the  / /  / /  / /  buttons to choose the key of your desired character, and then press the buttons to choose the key of your desired character, and then press the  button. button. |
 | •Moving the cursor Choose [  ] or [ ] or [  ] and press the ] and press the  button. button. |
 | •Switching input modes Choose [  ], press the ], press the  button to switch to capital letters. button to switch to capital letters.Choose [  ], press the ], press the  button to switch to numbers or symbols. button to switch to numbers or symbols. |
 | •Deleting characters Choose [  ] and press the ] and press the  button. The previous character will be deleted. button. The previous character will be deleted. |
 | •Confirming input After pressing the  button, press the button, press the  / /  buttons to choose [OK], press the buttons to choose [OK], press the  button. button. |
Caution
 button.


