
- 6 Simple Low Light Photography Tips With Pro Photographer Julian Lallo
-

Hello!
We've noticed that you are in .
Visit Canon .
How do you nail a super sharp image in a low light situation? Professional photographer Julian Lallo guides you through his top tips and tricks to producing beautiful photography with very little light.
Low Light Photography - it’s a phrase that has some photographers licking their lips, while others break a sweat just thinking about it.
If you fall into the later this article covers six techniques that can be used across a multitude of photography styles that all have one thing in common - light; and sometimes the lack of.
I wanted to start off with this tip as setting your camera up to shoot RAW files as opposed to JPEG, is something that is of super importance in whatever genre of photography you choose and in whatever lighting situations you face.
Put very simply a RAW file is uncompressed and contains a far greater amount of digital information about your image than it’s JPEG counterpart.
It’s advantage when it comes to low light photography is the ability to increase the overall exposure of an image in post-production, as well as retrieve some amazing detail that could otherwise get lost in the shadows.
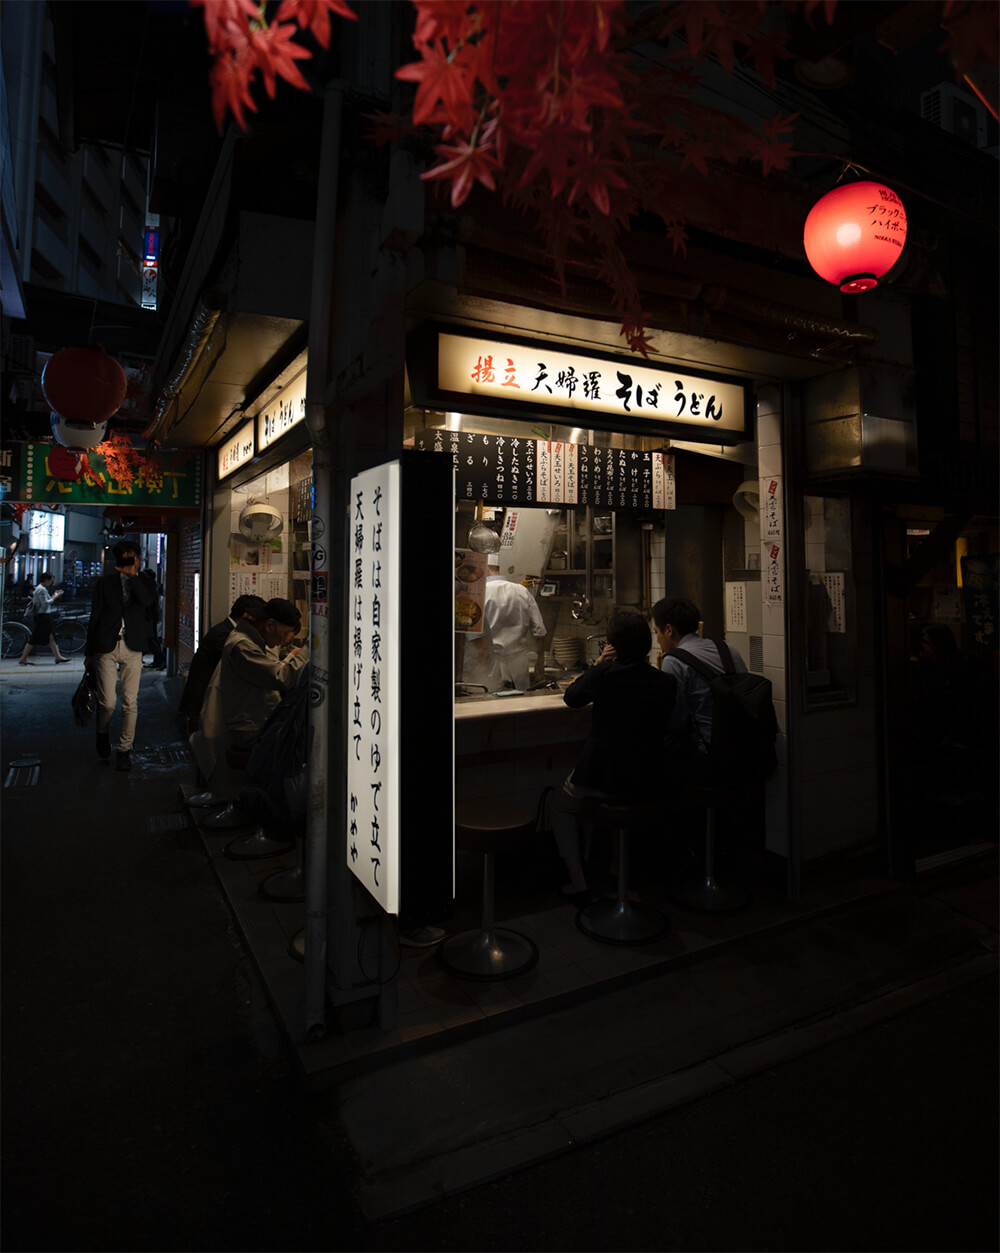
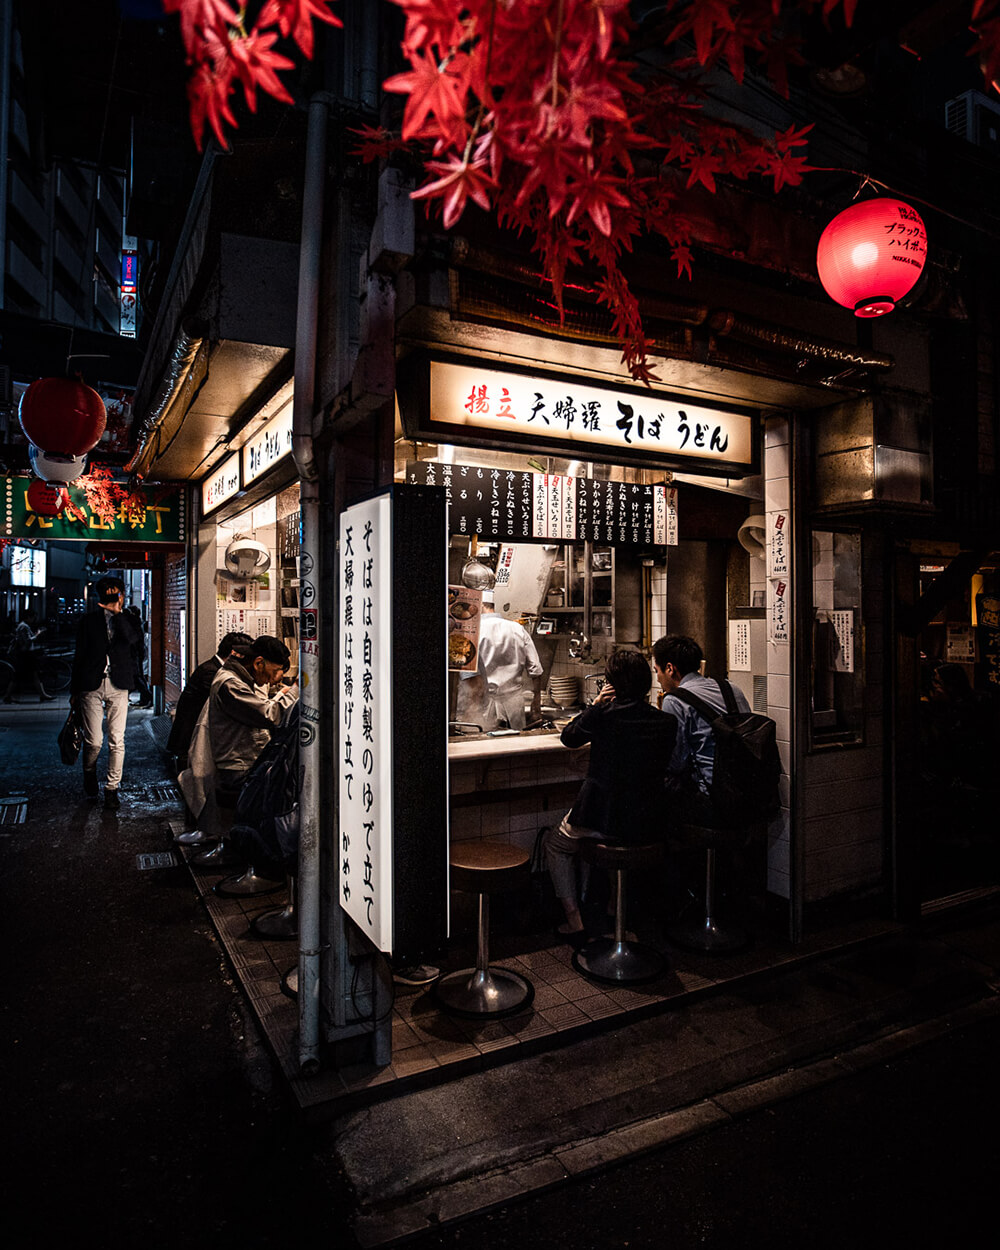
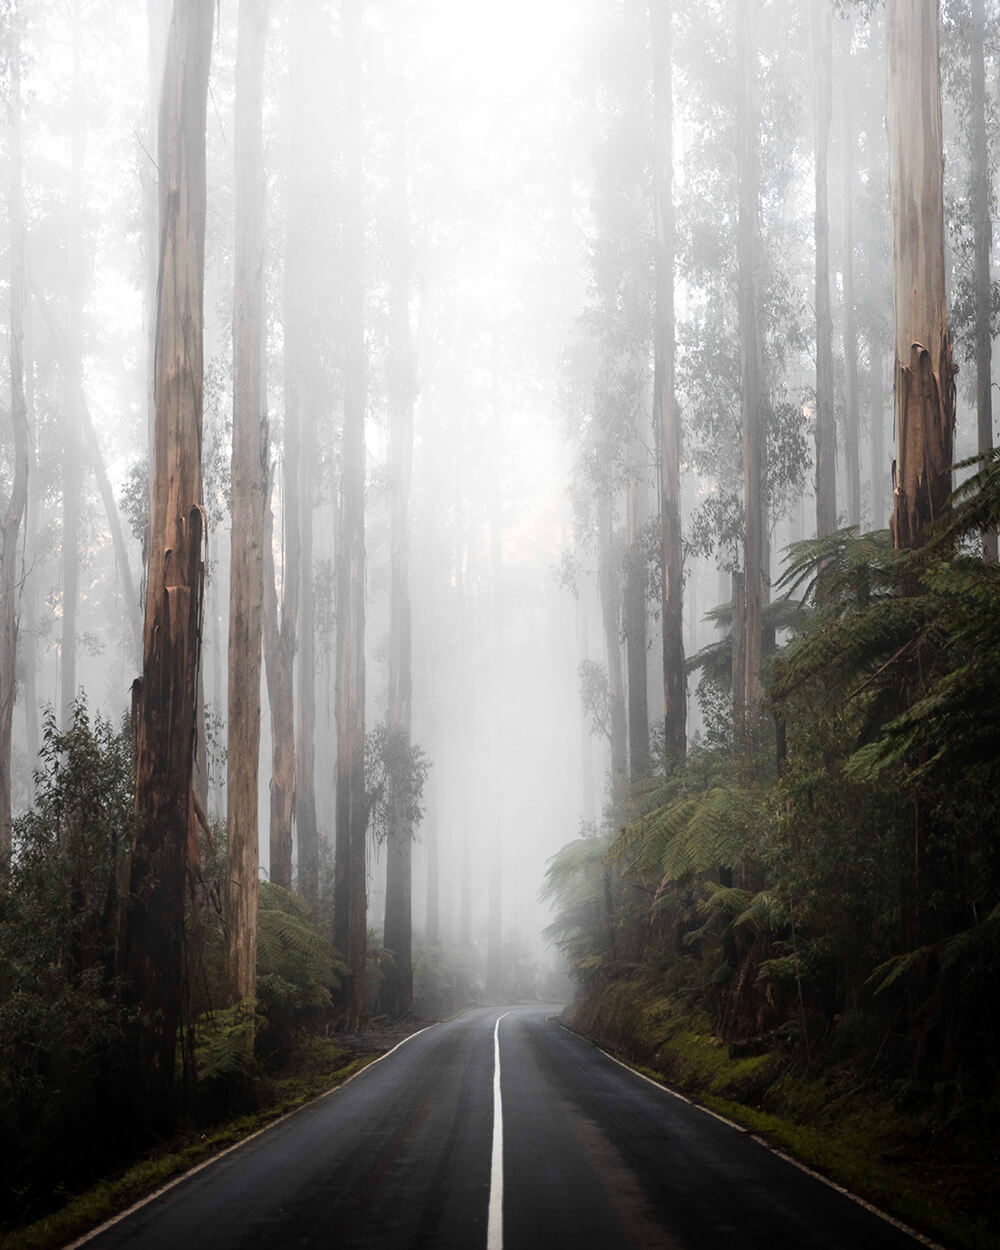
Canon EOS R - EF 16-35mm f/2.8 L II USM
ISO1000 18mm f/2.8 1/320sec
Shooting wide open refers to your aperture setting and more specifically the aperture diaphragm within the lens - the more open it is the more light it lets in. This is controlled via your f-stop or f-number, with lower numbers correlating to a wider aperture. As an example f/1.8 will give a far brighter image than f/3.5 at the same ISO and shutter speed settings.
How low you can set your f-stop is dependent on your lens. Most kit lenses have a variable aperture such as f/3.5-5.6 dependent on focal length, while professional zoom lenses like (my favourite) the Canon EF 24-70 f/2.8L II USM have a minimum aperture of f/2.8 throughout. Prime lenses (fixed focal length) such as the Canon EF 50mm f/1.4 USM can have even lower apertures hence being even better in low light situations.
One thing to be conscious of when shooting wide open is to know your subject matter. Shooting with a low aperture also gives you a shallow depth of field. So if shooting something with layers, like a group of people you need to ensure your f-stop is sufficient enough that they are all in focus.
Canon EOS R - RF 50mm f/1.2L USM
ISO1600 50mm f/2.5 1/1000sec
Tip: Play with low apertures and shallow depth of field with lights at night to create a blurry, or Bokeh effect.
Simply put, slowing down your shutter speed, keeps it open longer and allows more light to the sensor, in turn giving you a brighter image. As a general rule of thumb, I try not to go any slower than 1/50 of a second hand held. Any slower and you risk camera shake while the shutter is open giving you a blurry image. For speeds slower than this I would recommend using a tripod and two second timer or remote trigger.
With all that said, the advancement of inbuilt image stabilisation on bodies such as the EOS R5 really allows you to push that rule and slow your shutter further while shooting hand held. I have seen amazingly sharp night images shot hand held on the EOS R5 at 1/10 of a second!
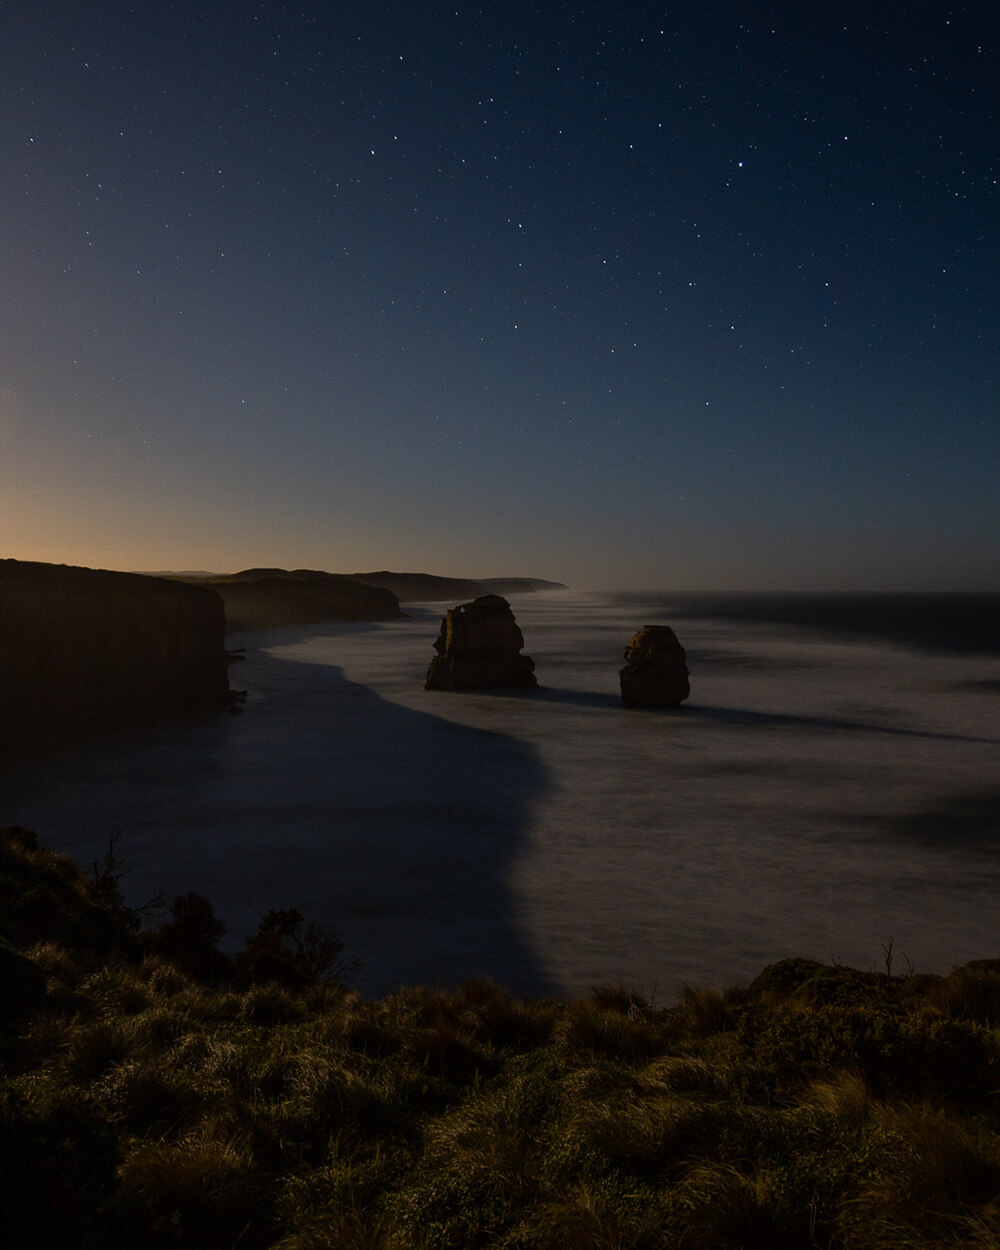
Canon EOS R - EF 16-35mm f/2.8 L II USM
ISO 400 25mm f/5.6 25.0sec
Tip: Try using slow shutter speeds to add a sense of movement to your images. Whether it be panning shots, light trails or people that you’re trying to capture, experiment with different shutter speeds to achieve your desired effect.
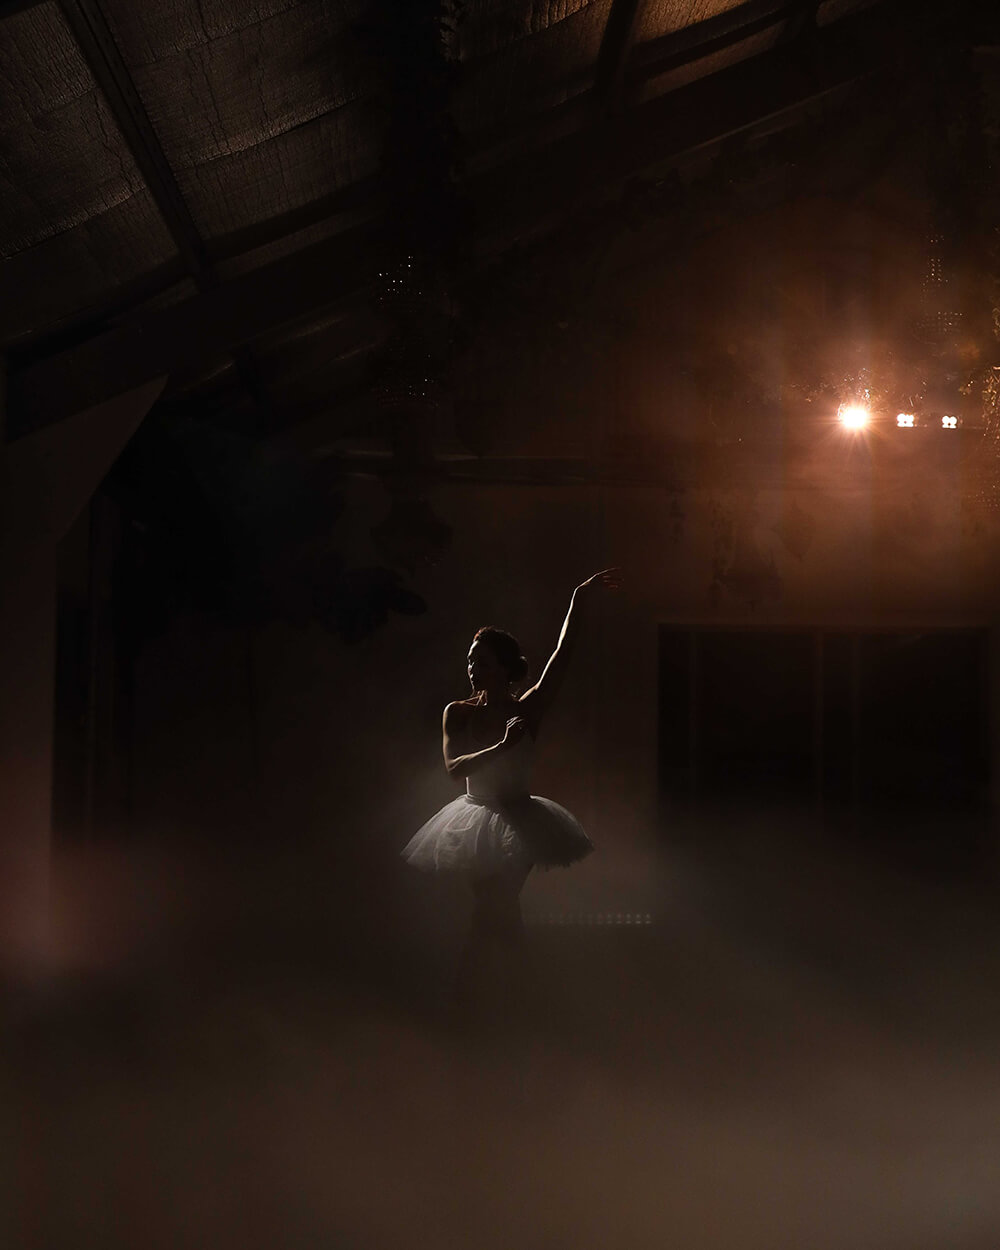
Without getting into the technical - increasing your ISO is a means to digitally introduce more light into an image. There can often be a negative notion around the use of ISO and when starting out so many photographers are too scared to push their ISO too high and risk a grainy image.
However, modern cameras, particularly full frame and mirrorless are so good at handling a higher ISO and still keeping digital noise to a minimum. In my opinion a little noise is better than an out of focus/blurry image because your aperture was too wide or your shutter to slow.
Canon EOS R - EF 24-70mm f/2.8L II USM
ISO 800 70mm f/3.5 1/160
Tip: Depending on your subject you can also choose to embrace the grain and use it to add a little mood or grit to you image.
I have already touched on the use of a tripod to keep your camera steady, but what about instances such as street and indoor event photography, where using a tripod isn’t really an option? There are a couple of ways relating to body position and posture that I find really useful when trying to reduce camera shake.
I find it really helps to have as many anchor, or touch points between your camera and body as possible. As opposed to shooting through the camera’s LCD screen with arms out in front of you - try using the viewfinder and have your elbows tucked in tight.
With your camera pressed into your eye and your arms (an extension of your camera) tucked into your body, you are essentially using yourself as a form of stabilisation.
In addition creating the touch points mentioned above, you can then anchor your entire body to a solid object. This is as simple as leaning into a wall, pole, tree or whatever immovable object is on your shoot location.
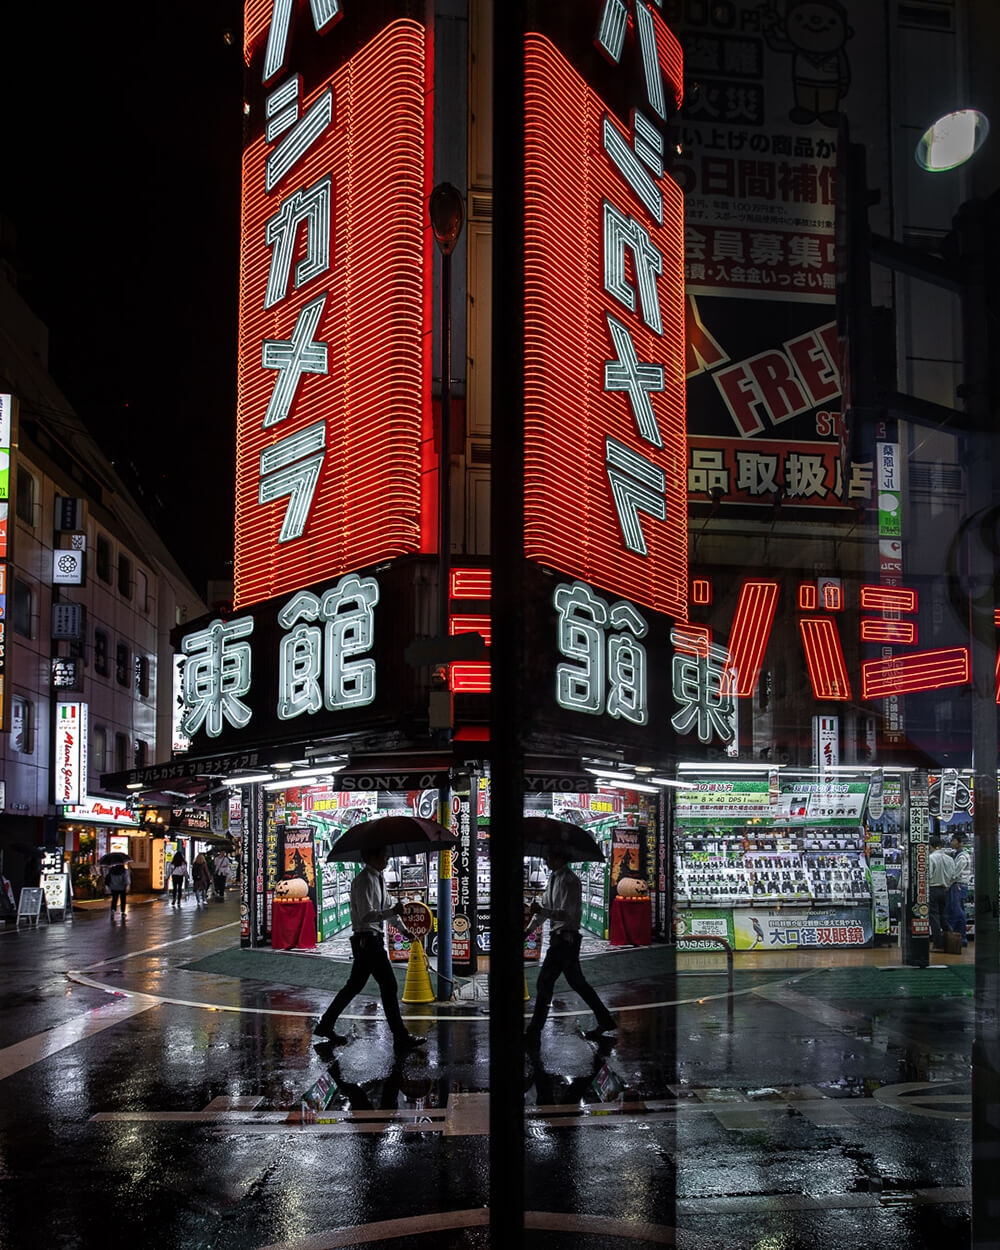
Canon EOS R - EF 16-35mm f/2.8 L II USM
ISO800 17mm f/4.0 1/320sec
Getting a nice sharp image can often be tricky in low light situations. Particularly if your Auto Focus/AF Assist are struggling to lock on to your subject. There are two methods I often use to get focus in these situations and nail a sharp shot.
While lighting up you subject with a torch, half press you shutter allowing the autofocus to dial in. You can then switch your lens to manual focus to lock in on your point of focus.
While shooting in live view, digitally zoom in to your subject and use your manual focus ring to make sure its tack sharp.
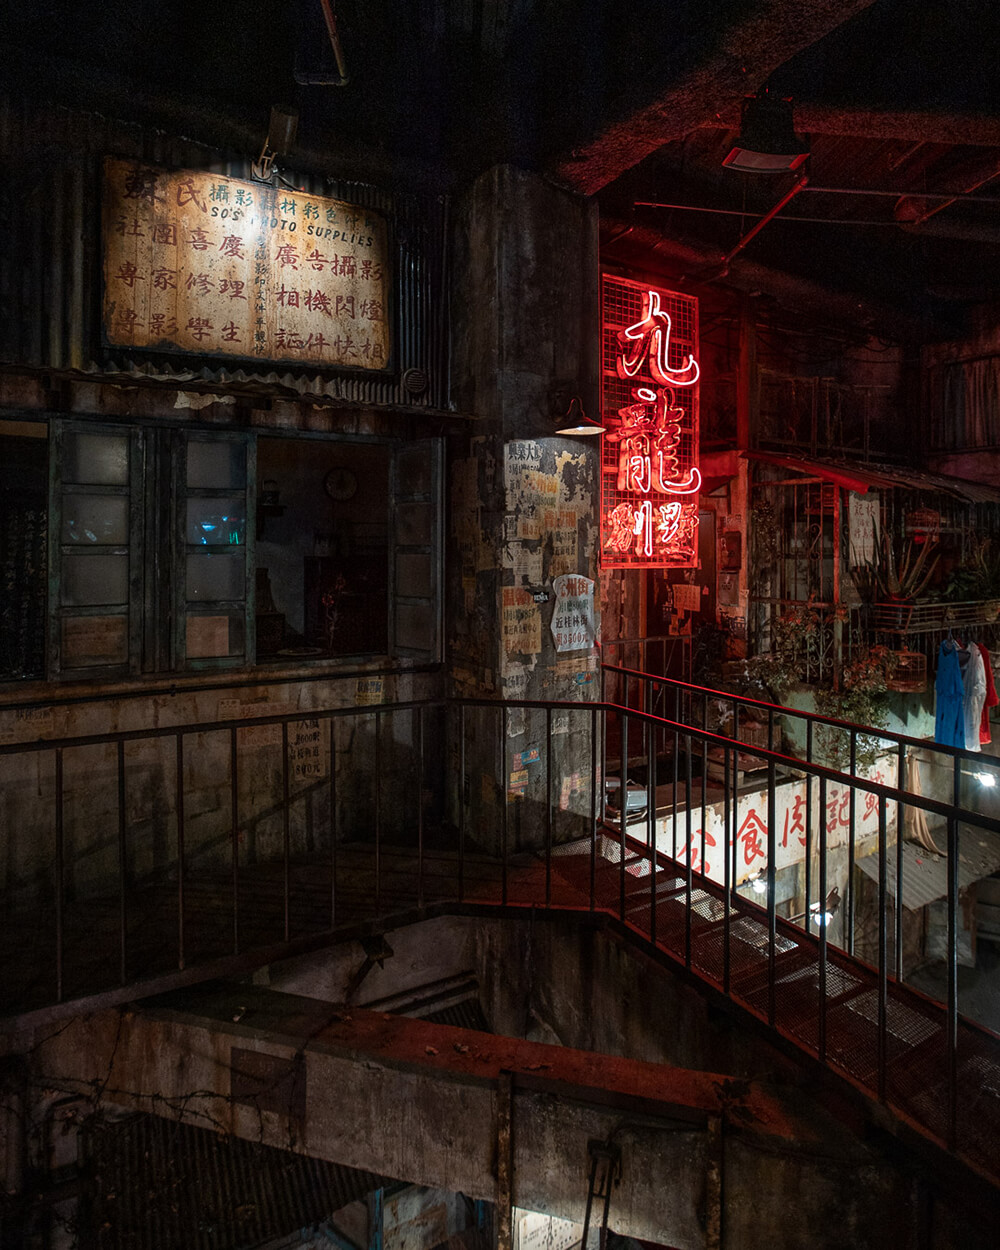
Canon EOS R - EF 16-35mm f/2.8 L II USM
ISO800 20mm f/3.2 1/100sec
So that’s it guys - they’re my six tips for shooting low light photography.
My only other advice is to put them into practice - nothing beats getting hands on, experimenting and having fun with your camera.
It’s always been my opinion the true beauty of photography is that there is no right or wrong - so get out and develop a style that works for you!
Jules
Camera Lenses:
EF 24-70mm f/2.8 L II USM
EF 50mm f/1.2L USM
The Mount Adapter EF-EOS R allows you use your EF lenses on an EOS R Mirrorless Camera.
Alternatively, try these cameras and lenses optimised for low light performance:
EOS R5 Mark II
EOS R6 Mark III
RF 24-70mm f/2.8 L IS USM
RF 50mm f/1.2L USM
RF 50mm f/1.4L VCM
Learn more about low light photography and videography here.

Bioluminescence is one of the most beautiful displays light from the natural world that you can witness.The iridescent blue light emitted from the algae when it is disturbed is mesmerising and almost otherworldly. Find out how to photograph this phenomena with tips from Canon Community Member, David Rogers.

Time-lapse filmmaker Matthew Vandeputte shares his Astrophotography tips for making your next shoot a success.

Discover how easy it is to shoot in your compact's star modes for stunning night images.