
- Macro Photography Tips with Jacqui Dean
-

Hello!
We've noticed that you are in .
Visit Canon .
Jacqui Dean is a Grand Master, Fellow and Honorary Fellow of the Australian Institute of Professional Photography, and a Fellow of the New Zealand Institute of Professional Photography.
Here, Jacqui provides an introduction to the fascinating world of macro photography. This detailed guide includes tips on everything from focus stacking and macro lighting techniques to using specialised macro photography gear and editing software.
“In its purest form, macro photography allows us to zoom in on the world in microscopic detail and experience it at the same scale as its inhabitants.”
Jacqui Dean
Whether photographing flowers, insects or subjects from the man-made world, macro photography allows us to shoot up-close and in extreme detail. To enter this wondrous world, macro photographers need to know and understand their camera and equipment intimately.
The terms ‘macro’, ‘micro’ and ‘close-up’ photography can be confusing. The important thing to remember is that macro means ‘large’ and micro means ‘small’. Therefore, if the subject you are photographing is small but you make it look big, you end up with a macro view of a micro subject.
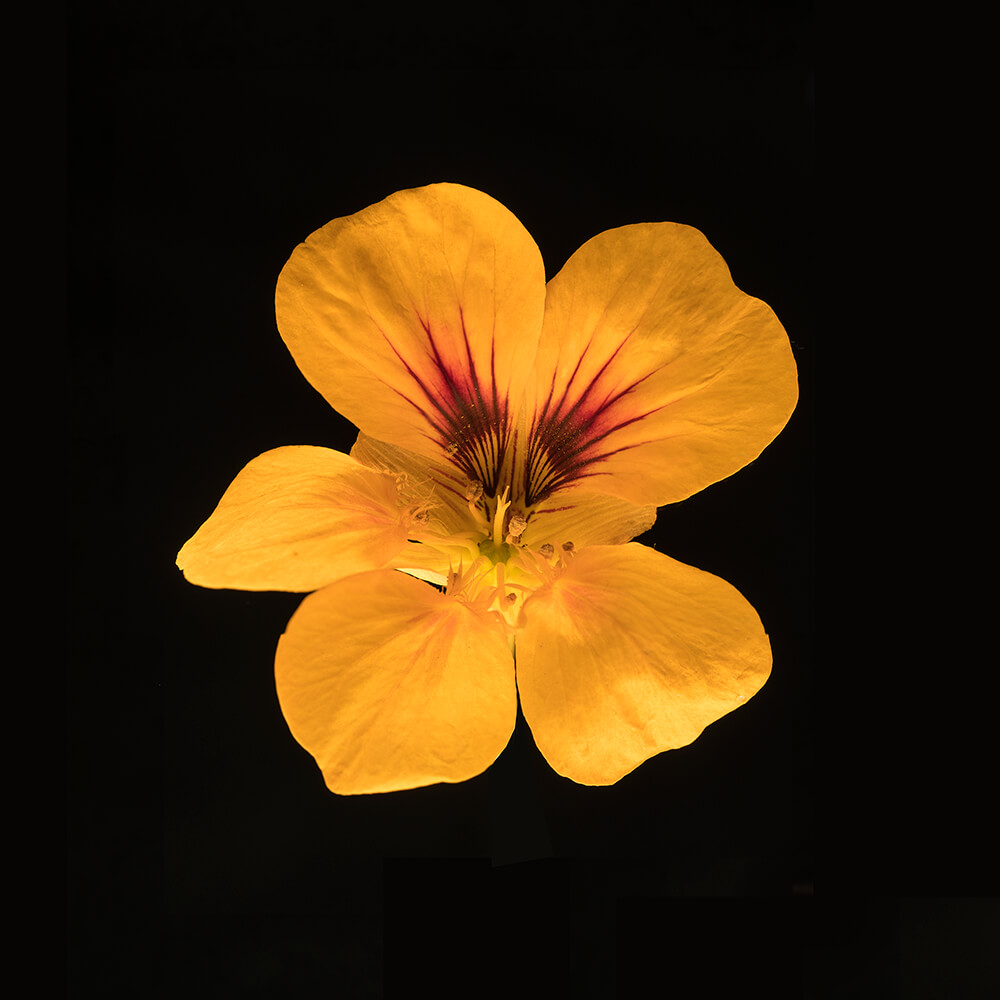
True macro photography is where you photograph something very small and the lens has the capability of seeing the finest detail. For example, the finest detail of a flower can only be captured with a macro lens.
“In short, with macro photography the size of the subject in the photograph is greater than it is in reality.”
Jacqui Dean
Macro lenses are capable of reproduction ratios of at least 1:1, although the amount of magnification you can achieve depends on the equipment you use.
I recently photographed a tiny Money Spider that was barely 5 mm in length. I was amazed at the detail revealed with the Canon EOS 5D Mark IV, Canon EF 100mm f2.8 Macro IS USM and Canon Macro Ring Lite MR-14EXll flash.

When shooting macro photography, set your camera to manual mode and switch your lens to manual focus.
The smaller your aperture, the slower your shutter speed will need to be – i.e. you will require a slower shutter speed when shooting at f/16 than at f/4. If you’d like to use a smaller aperture in order to maintain greater depth of field, you can increase your ISO setting and shutter speed to compensate. But remember that a higher ISO number will result in more grain or noise in your images.
Always try to keep your aperture to a value that enables a fast enough shutter speed to capture your subject in focus without motion blur, especially if you are working with moving subjects.
Also remember that you can use the camera’s histogram to check exposure.
Macro Photography Challenges
Like all areas of photography, macro is a specialised area that requires immense skill and patience. Whether trying to focus on a tiny insect that keeps scuttling out of frame or a flower that won’t stop dancing in the breeze, even the smallest of movements are amplified in macro photography.
Tackling low light and working with shallow depths of field can also be more of a challenge when photographing at this scale. Depth of field becomes narrower the closer the lens is to the subject.
Remember that almost all lenses have an optimum aperture that is usually 2 to 3 stops down from wide open. For example, a lens with a wide open aperture of f/2.8 would have an optimum aperture of f/5.6 or f/8. Stopping down to f/22 widens the depth of field but does not necessarily give a sharper image due to diffraction.
The narrow depth of field achieved using macro lenses can be overcome using focus stacking software such as Helicon Focus, Zerene and Photoshop (more on these below). Focus stacking is the act of stacking slices of sharp focus areas in a frame and combining them to create one, perfectly-focussed image.
Choosing a Dedicated Macro Photography Lens
The best lens for macro photography will be a specialised macro lens that’s designed specifically for the job. Canon has an excellent range of macro lenses, including the MP E65mm f/2.8 1-5x macro lens. This fantastic manual-focus lens can render subjects at up to five times life size with an impressive minimum focusing distance of 238.76 mm.
Get Close With a Close-Up Filter
Although the results won’t be as good, it is also possible to get close to your subject using a ‘normal’ lens with close-up filters. Close-up filters such as the 500D comes in four sizes and fits on the front of 52mm, 58mm, 72mm and 77mm non-macro lenses.
These filters are a practical option for anyone looking to dip their toe into the world of macro photography without having to invest in a specialist lens.
Increase Magnification with Extension Tubes
Extension tubes allow you to get closer to your subject by decreasing your minimum focusing distance.
Extension tubes are simply hollow tubes that sit between the back of the lens and the camera mount. By moving the back of the lens farther away from the sensor and closer to your subject, you can achieve greater magnification.
There will be some loss of light when shooting with extension tubes, so you will likely need to increase your ISO, open up your aperture or lower your shutter speed.
Reverse Your Lens for Higher Magnification
An inexpensive way to get in close on your subjects is to attach a reversing ring to your non-macro lens. You can achieve high magnification by doing this, although the reversed lens will no-longer function automatically, meaning your aperture and focus settings will have to be controlled manually.
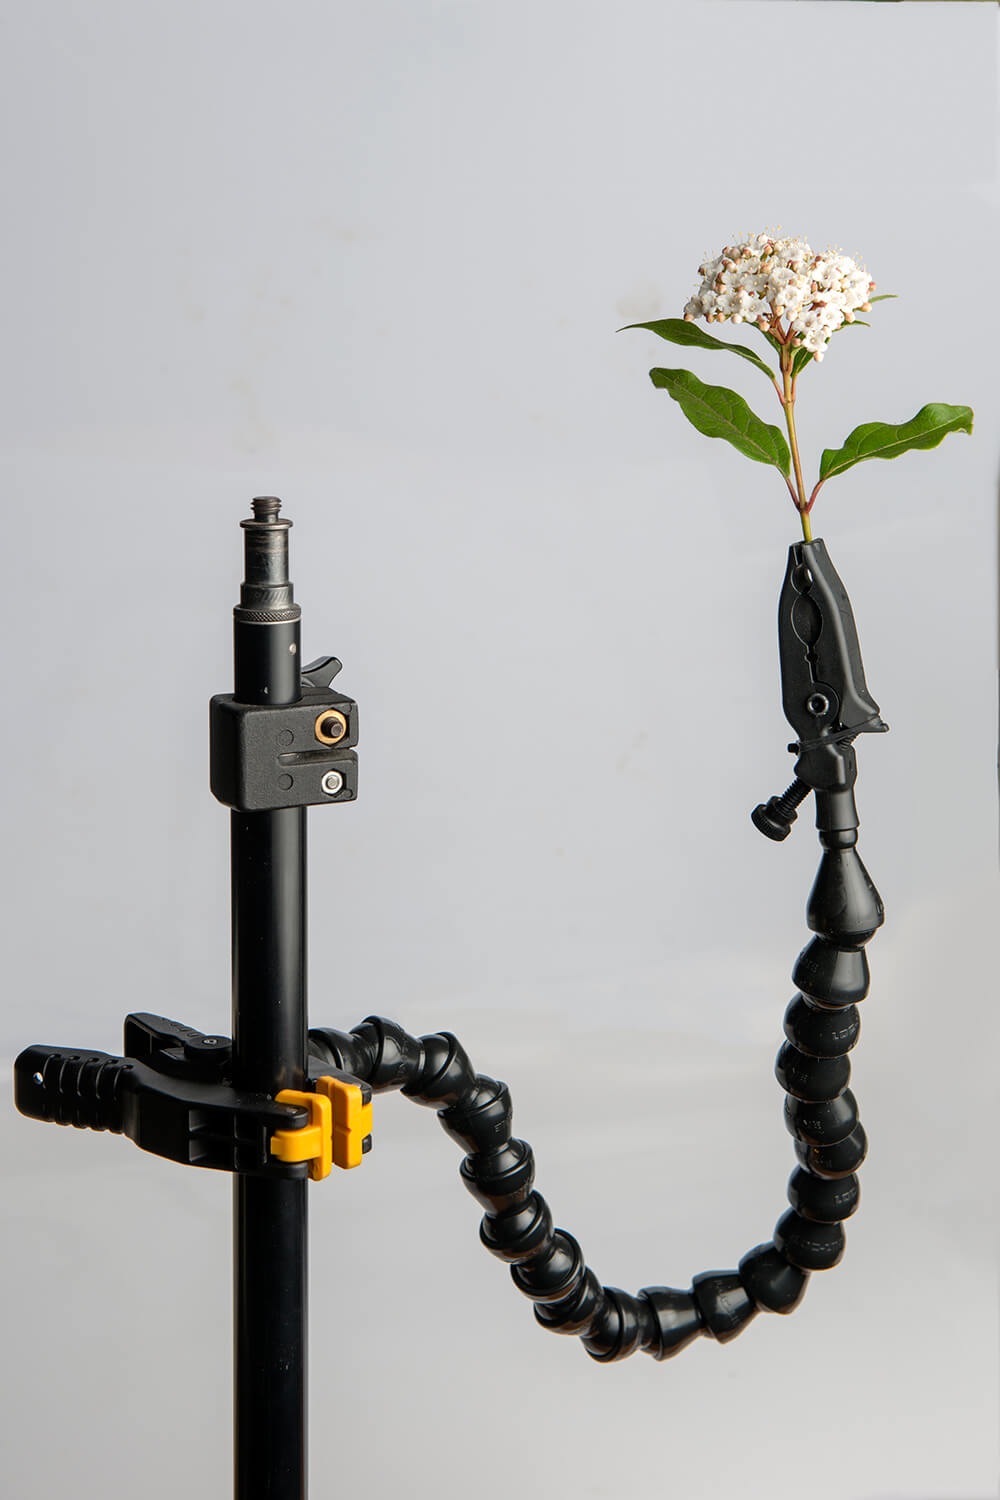
Stabilise Your Subject with a Field Clamp
I would like to mention the Wimberley Plamp, a must have piece of equipment for macro photography work. It is basically a small clamp designed to hold and stabilize your subject in place, whether it be a delicate flower, leaf or anything else that’s likely to move in the wind.
You can also use these clamps to hold light reflectors, filters and lens shades in place, making them useful for studio work as well as outdoor macro work.
Illuminate Your Scene with a Macro Photography Flash
Using a reflector to maximise your available light is a good start if you don’t have a flash. However, using a flash will help you freeze movement within the frame. Using a flash is also better when focus stacking.
I have used two Canon flash units to great effect and found the Ring Lite to be perfect for lighting subjects when shooting at close distances.
The Canon MR 14EX Ring Lite has circular twin flash tubes that can fire at even or varying power levels over a 6 stop range.
The Macro Twin Lite MT-26EX-RT flexible lighting system for macro has two flash heads. One or both of the lights can be removed from the ring to provide backlight behind the subject.
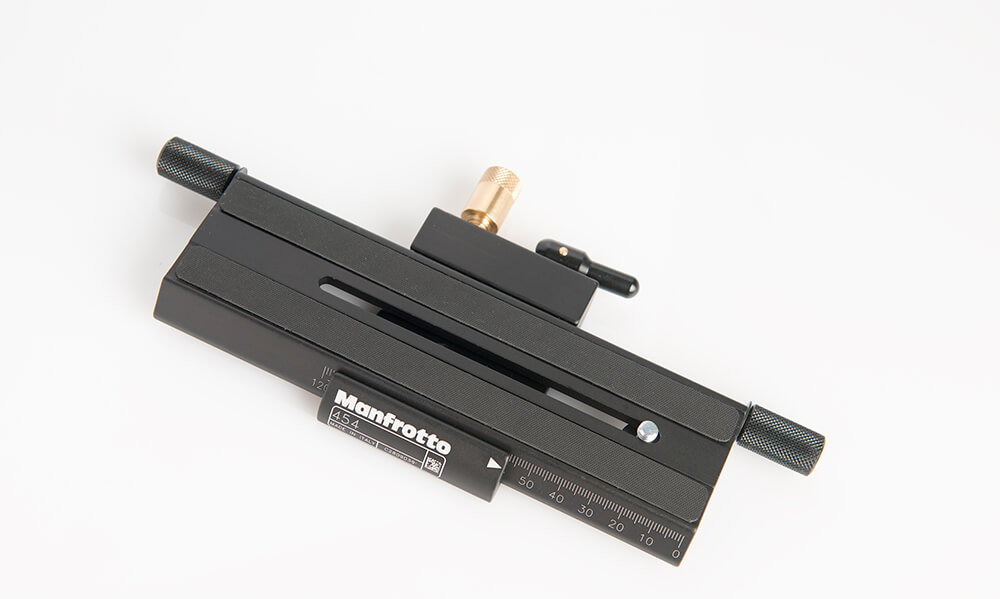
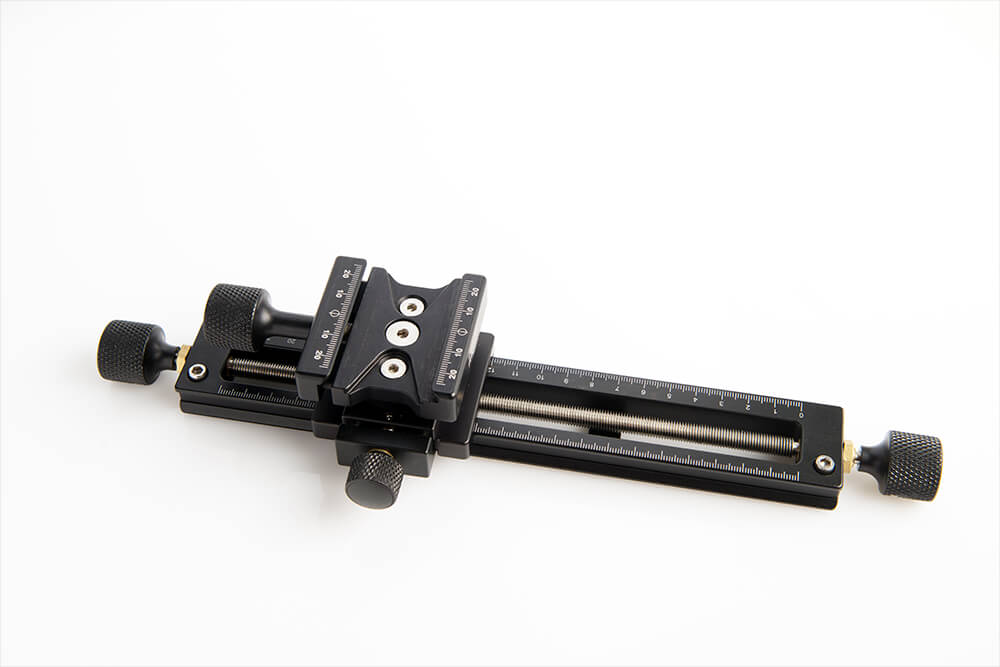
Be Precise with Macro Focus Rails
When shooting macro photography, your depth of field can be extremely shallow, so it’s important to be able to be precise with your focus and camera positioning. A macro focus rail can help you fine tune and lock the perfect focus point in a repeatable way.
There are many brands on the market that vary in quality and price, as well as many companies offering cheap copies that, in my opinion, are not worth buying.
I have personally purchased and recommend the Hejnar and Manfrotto macro rail.
Focus stacking software allows you to take multiple photos at different focal distances and combine them together to create a perfectly focused image. Focus stacking has become a key element of macro photography, whether it be shooting insects, plants, jewellery, still-life scenes or products.
Focus
This post-processing technique extends the depth of field in your photographs. It allows you to take several images of the same subject, focusing on a different area for each shot and blending the sharp areas together.
Helicon Remote
This allows you to tether your camera to your computer and automate your focus bracketing and depth of field. This makes focus stacking more precise and uniformed, allowing for more reproducible results than can be achieved when focussing manually.
Helicon FB Tube
A Helicon FB Tube is an extension tube with an integrated electronic microcontroller that enables automated focus bracketing in single or continuous shooting modes. Focus is automatically shifted by one step with each shot, producing a stack of images that can then be combined.
Zerene Stacking
Perfect for achieving a more precise control over your focus and depth of field, this focus stacking software was designed specifically for macro subjects. It also works well with less challenging subjects, such as close-up portraits or even landscapes.
Written by Jacqui Dean Dip Photog. APP.L, GM.Photog., FNZIPP, FAIPP, Hon FAIPP
Sydney 2018
Click here for more on Macro Photography including recommended lenses, tips, inspiration.

Bring your shots to life with this comprehensive guide to long exposure photography—includes tips on everything from camera gear and settings to working with ND filters and processing.

Short and sweet, macro explained.

Experiment with macro photography with Jackie Ranken's easy to follow expert tips.