
- Beginner Photography Tips: 9 Things You Might Not Realise You Can Do with Your Canon Camera
-

Hello!
We've noticed that you are in .
Visit Canon .
Ready to dig a little deeper into the advanced features of your Canon camera? This eye-opening beginner’s guide reveals commonly underutilised features that will help you take your photography to the next level.
1. Master Tricky Lighting Conditions
The exposure lock button (also called ‘AEL’) on your Canon camera allows you to lock the exposure to your desired area of the frame. This is useful for those times when you want to capture detail in tricky lighting conditions, such as when your subject is backlit. When you are shooting portraits, for example, you can lock your exposure on your subject and move your camera to re-compose and capture the perfect shot.
Canon Tip: By using the exposure lock button, you can isolate and control the exact area of the frame that you want to be perfectly exposed. Make sure you’re shooting in P, AV, TV or M mode for this feature to work.
How to use the feature: Marked with an asterisk (*), the exposure lock button is located on the back of your camera. You will find it within easy reach of your right-hand thumb.
2. Level Horizons
Your Canon camera has a built-in electronic level that allows you to shoot perfectly level horizons. This feature is especially useful when using a tripod and is viewable on your camera’s rear LCD screen.
Canon Tip: When creating a multiple image stitch panorama make sure your tripod is level at both the start and end of the sequence by using the built-in electronic level. This will ensure a perfect pano and make the process easier when stitching it together in post-production.
How to use the feature: Press the INFO or DISP button on the rear of your camera and cycle through the different LCD options until the electronic level function displays.
Available on all Canon Mirrorless, DSLR and G Series compact cameras.
3. Quickly Monitor Your Exposure
You can monitor your exposure both before and after taking a photo by using your camera’s built-in histogram. A histogram is a graphical representation of an image’s tonal values and helps you quickly see whether your image is correctly exposed. If too much of the exposure is displayed on the left of your histogram, parts of your image will be dark and underexposed. If too much of the exposure is shown on the far right of your histogram, the image will be overexposed with blown highlights.
Canon Tip: Using the histogram effectively is one of the best ways to learn about exposures in a practical way. It is especially important to use the histogram in extremely bright situations to manage the tonal values as the LCD may make your images look too bright.
How to use the feature: Press the INFO or DISP button on the rear of your camera to cycle through different LCD display options. Your histogram also functions in playback mode.
Available on all Canon cameras.
4. Connect and Share
The Canon Camera Connect app (via the App Store & Google Play) allows you to send images directly from your camera to your smartphone. It also enables you to use your smartphone as a wireless control and take photos with your camera remotely.
Canon Tip: Using the Camera Connect app to shoot remotely via your smartphone screen can make it easier to create photos in low light conditions, such as night shoots or astrophotography.
How to use the feature: Get connected via the App store or Google Play store and follow the steps to get your camera set up.
Available on most Canon cameras.
5. Get the Look You Want
Canon Picture Styles are built-in colour profiles that allow you to control the colours, contrast, sharpness, and tones of your jpg images directly in your camera. These creative profiles are also fantastic for taking beautiful black and white photographs with your Canon camera. Picture Styles can be tailored to suit the specific scene you are shooting—i.e. the Landscape Picture Style brings out more greens and blues in the image, while the Portrait Picture Style softens sharpness and highlights skin tones.
Canon Tip: Picture Styles can only be applied to jpg image files. If you shoot in RAW, however, you can still select your desired Picture Style in post-production, as long as you have a Canon camera with in-camera RAW processing. You can also apply Picture Styles to RAW image files by using the Canon Digital Photo Professional (DPP) software.
How to use the feature: Use the function menu to select and apply the Picture Style of your choice, you even have the ability to customise these picture styles by pressing “info”. Some Canon cameras also feature a quick access Picture Style button.
Available on all Canon cameras.
6. Shoot Square
Canon cameras can shoot at a multitude of different aspect ratios, including 3:2, 4:3, 16:9 or 1:1 (square). Shooting square images is a fun way to frame your subjects and create images that are ready to be uploaded directly to Instagram without needing to be cropped.
How to use the feature: Simply open the settings menu, go to “Still Image Aspect Ratio” and select 1:1 (square).
Available on all Canon cameras.
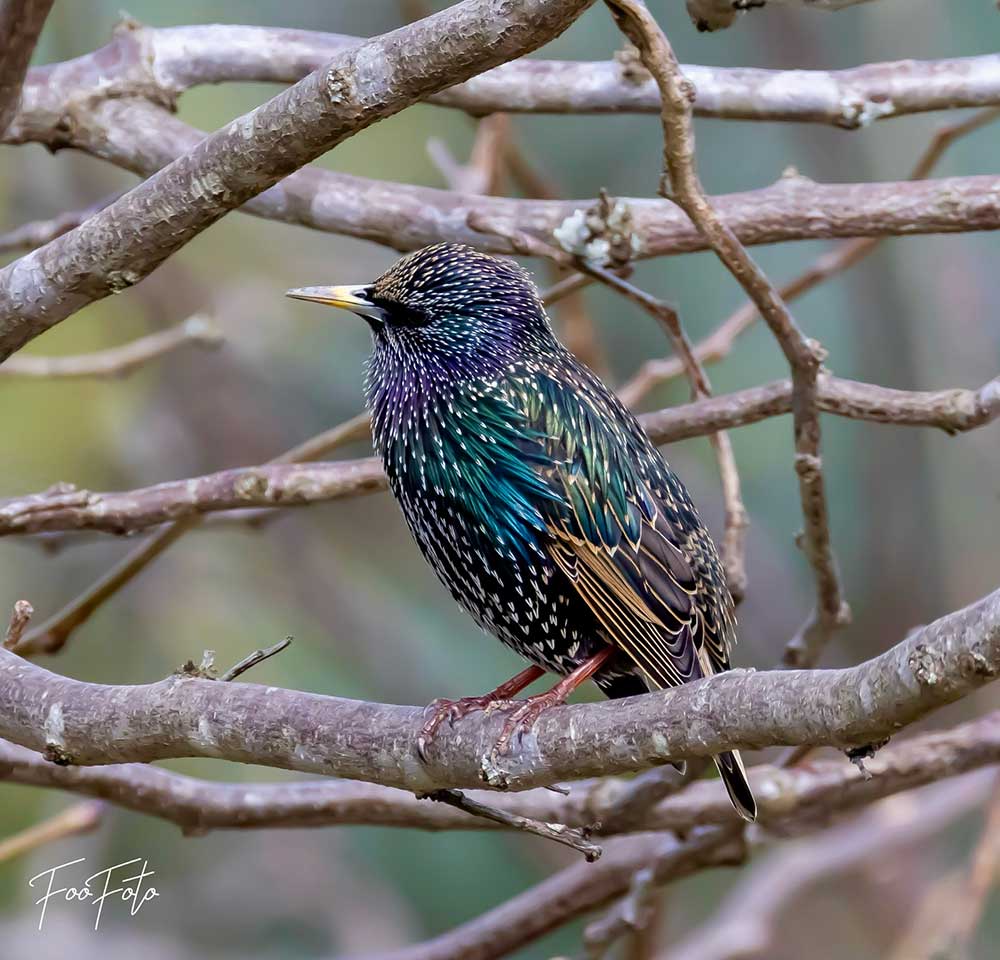
7. Focus on Moving Subjects
The Canon AI Servo autofocus mode is perfect for shooting subjects that are constantly moving, such as children, pets, musicians at concerts or athletes at sporting events. The autofocus system intelligently tracks movement and waits until the precise moment you take your shot to lock autofocus. This function will enable you to capture sharp images of even the fastest-moving subjects.
Canon Tip: When used in conjunction with back-button focusing, this is a fantastic option for sports photography, or even for nature photography when trying to capture birds in flight.
How to use the feature: In the function menu, select between the “one shot”, ”AI focus” or “AI Servo” modes.
Available on all Canon cameras.
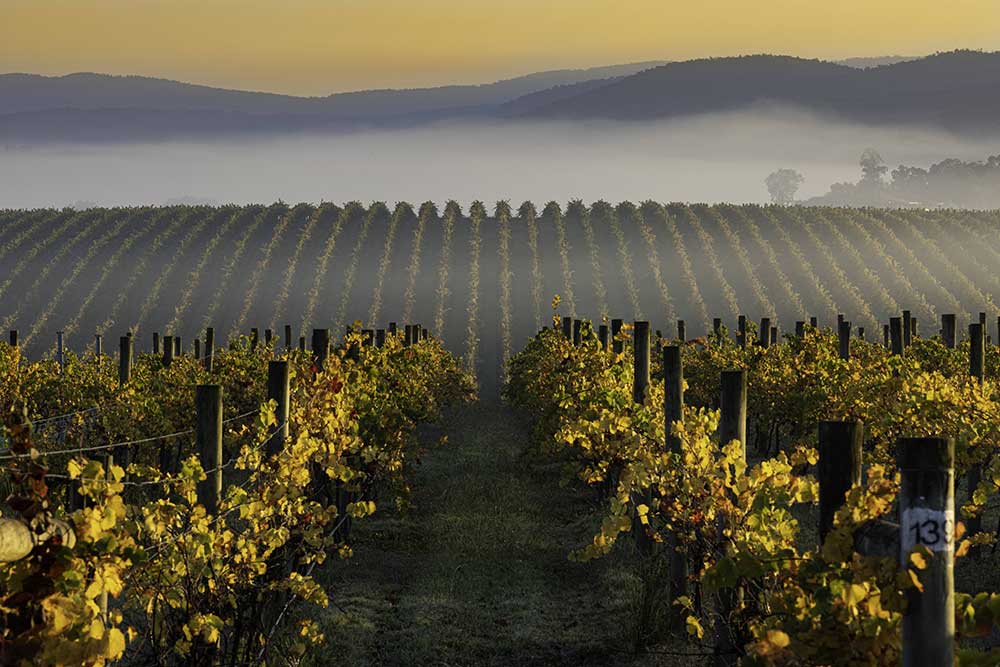
8. Compose Like a Master
The rule of thirds is a well-known photography composition technique and is one of the first things beginner photographers should master. Your Canon camera has a built in grid display which is overlaid on your image when shooting in live view. This makes it possible to quickly visualise and apply the rule of thirds to your photographs. By placing your subject on one of these grid lines, or at the point where two grid lines cross, you will create more aesthetically pleasing photographs.
Canon Tip: When shooting landscapes, many beginners make the mistake of aligning the horizon in the very centre of the frame, which visually cuts the image in two. However, applying the rule of thirds will deliver more visually appealing images.
How to use the feature: Simply select the grid display option in the settings menu.
Available on all Canon cameras.
9. Check Your Images are in Focus
You can quickly check which part of your images are in perfect focus by enabling your autofocus point display feature in the playback menu. Displayed as a red square, this useful function highlights the precise area of your image that is in focus when viewing it in playback mode. This is a convenient way to check the autofocus of your shots—a great way to help you decide which images to keep or delete.
Canon Tip: Ensuring that your subject’s eyes are in sharp focus can make or break a great portrait.
How to use the feature: You can enable this function in the playback mode via the menu.
Ready to test your new skills in celebration of World Photography Day? Head over to our Instagram page to read the brief and share your shots!

Are you ready to master camera settings and modes? We’ll explain everything from AV and TV modes, to white balance to focus modes so you are confident using them in the right scenario.

While much of street photography involves prefect timing and a watchful eye, Canon Collective Community Manager Stephen Finkel has put together some tips to capturing candid imagery.

Taking photos has never been easier with the EOS Canon EOS 200D Mark II. Have a look at what Gemma Peanut has to say about this DSLR for beginners.