- Tokyo and Kyoto: Photography Guide from @itchban
-

“It’s difficult to take a bad photo in Japan. Everything just seems so much more aesthetically pleasing over there. The cities are vast, with so much going on, and the landscapes are every bit as scenic as you’ve seen in all the films and photos.”
@itchban
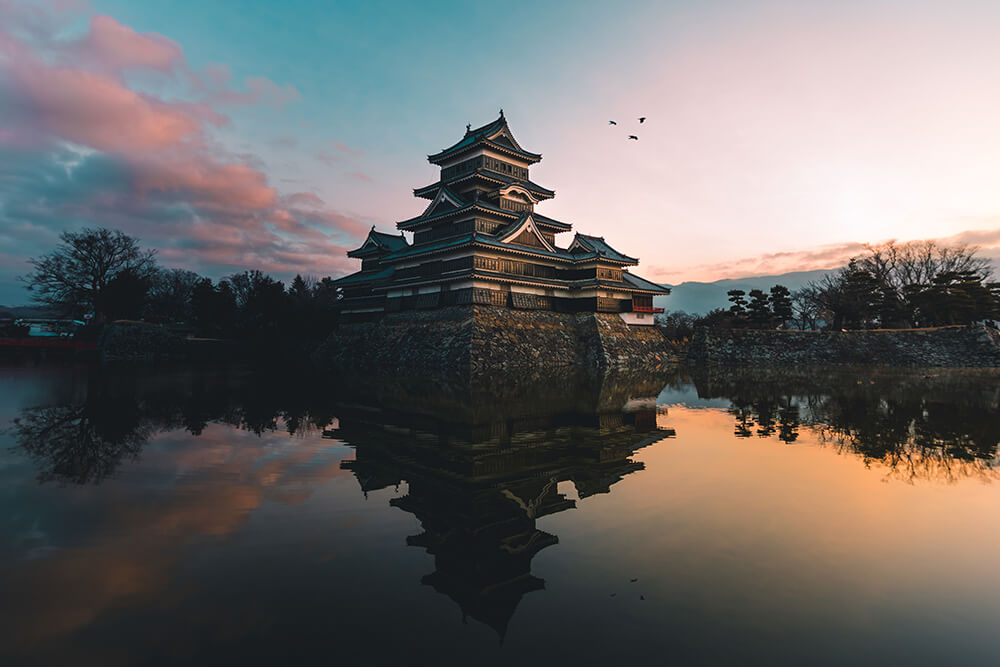
With its space-age cityscapes, bustling streets and centuries of culture to explore, Japan is one of the world’s greatest destinations for photographers. But there’s so much to see that it can be hard to know how or where to start.
Here to help hone your focus, photographer and Japanophile @itchban zooms in on his two favourite Japanese cities: Tokyo and Kyoto. Read on to discover his favourite Japanese photography spots, as well as essential etiquette tips and recommendations on camera gear and settings.
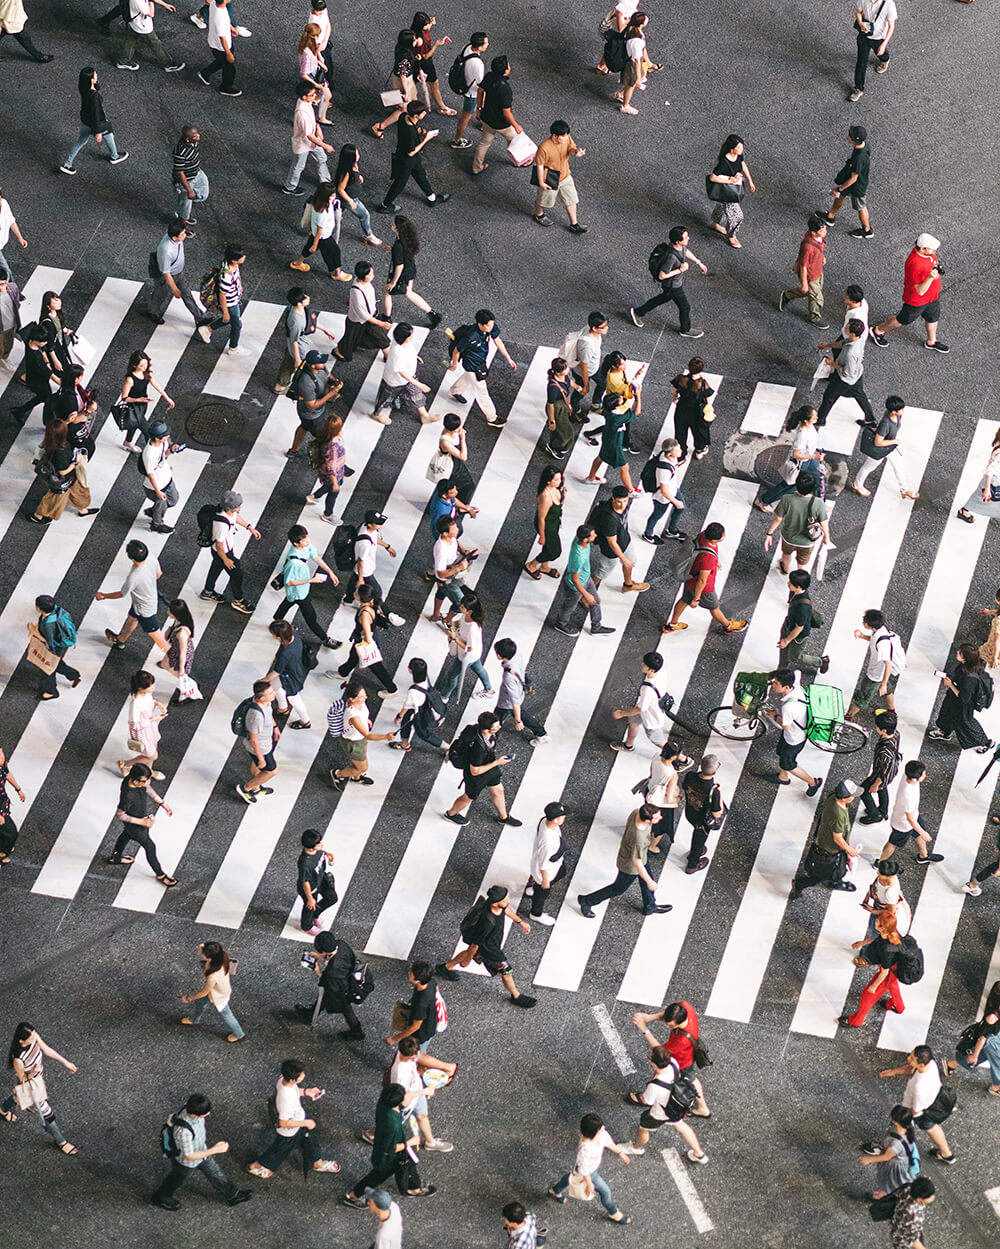
I’m the first to admit that it’s a little strange to be so in awe of a street crossing. That said, I’d highly recommend seeing Shibuya Crossing in person—especially if it’s your first time in Tokyo. Seeing thousands of people flood across a small patch of road every few minutes is definitely something unique to this sprawling metropolis.
You can go at most times of the day and it will be quite busy, but if you want to photograph it in all its glory then I’d recommend going during peak hour between 4-5PM. It’s also impressive at night, when all the city lights are lit up.
To capture Shibuya Crossing, I’d recommend shooting from street level and on the actual crossing itself. Try to get to the front of the kerb so you can see the opposite street and all the pedestrians flooding towards you.
If you want a higher and wider vantage point to capture the whole crossing, try shooting it from the windows that overlook it from Shibuya train station. There is also a new, relatively unknown, observation deck that just opened (and it’s free) located inside a shopping mall opposite Starbucks. Just follow the signs and catch a lift up to level 7.
At these two spots I’d recommend using a wide lens (anything wider than a 35mm) to capture the whole crossing and then switching to a telephoto lens to focus in on the details and subjects.
• Shinjuku
Shinjuku is an awesome place to shoot street photography. Head to the Kabukicho area, which is always an interesting shoot as there’s always something going on. The streets are so cool to walk through, with flashing neon restaurant signs (keep an eye out for the Godzilla statue). It is a great spot by day, but also worth seeing at night when all the signage and lights are on.
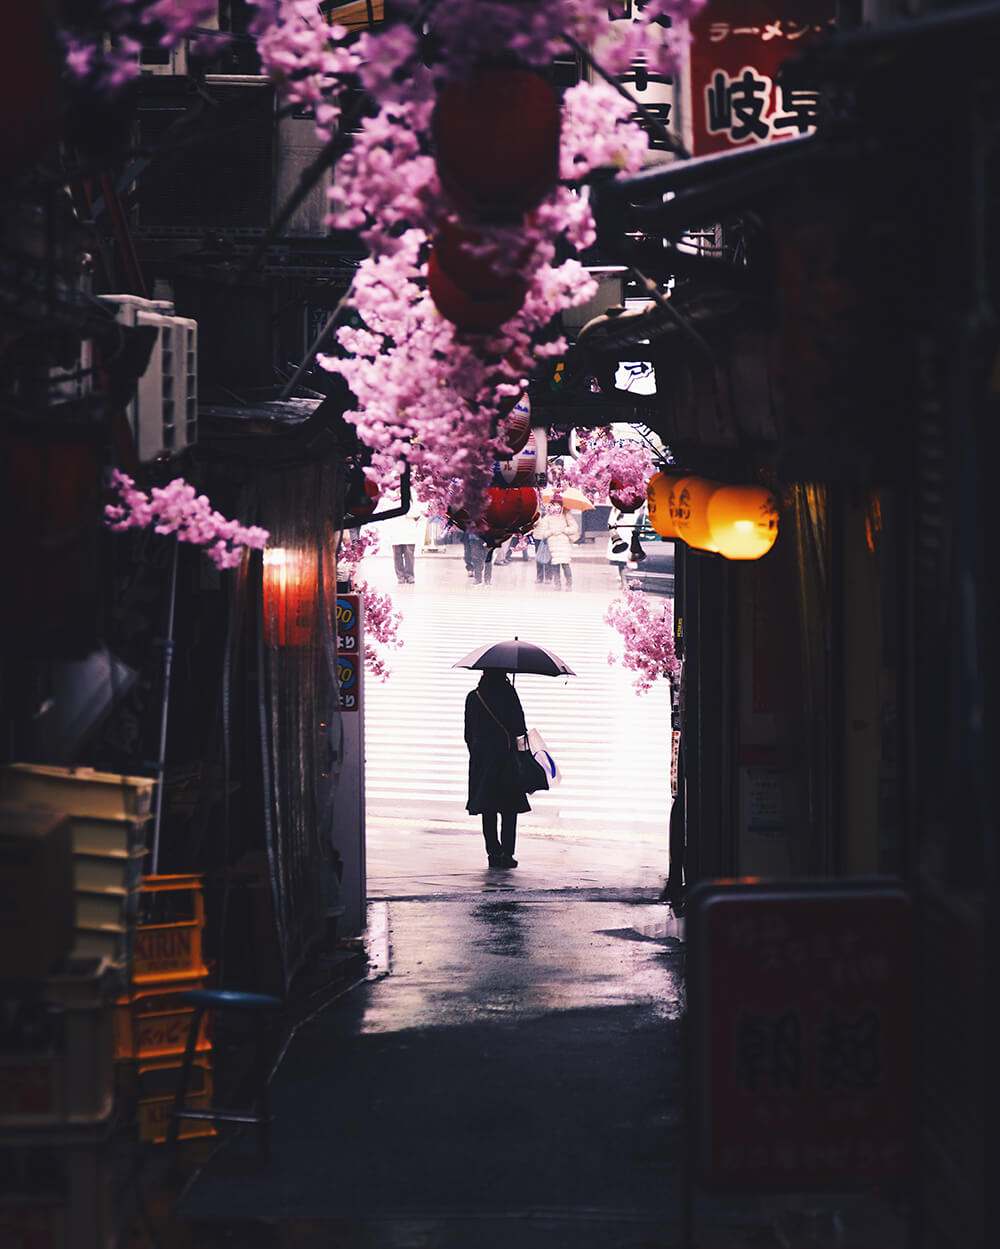
Once you’ve finished shooting Shinjuku, I’d recommend checking out Memory Lane, which is just a short walk away. With its mix of BBQ smoke and red lanterns, this narrow little alleyway is known for its traditional Japanese vibes and is one of my favourite spots to shoot street and portrait photos in Tokyo. They also hang seasonal decorations along the top of the alleyway, which change depending on the time of year you go. Just be aware and courteous of the customers and restaurant staff here, as it’s a busy spot. The food here is great too, so you know where to go once you’ve finished your shoot!
• Harajuku
Known for its bustling fashion boutiques, cafes and shopping centres, Harajuku is another one of Tokyo’s really interesting suburbs to visit and shoot. Right across the street from Harajuku station you’ll find the famous Takeshita Street. This busy area is always packed with people, making it perfect for taking portraits of local characters.
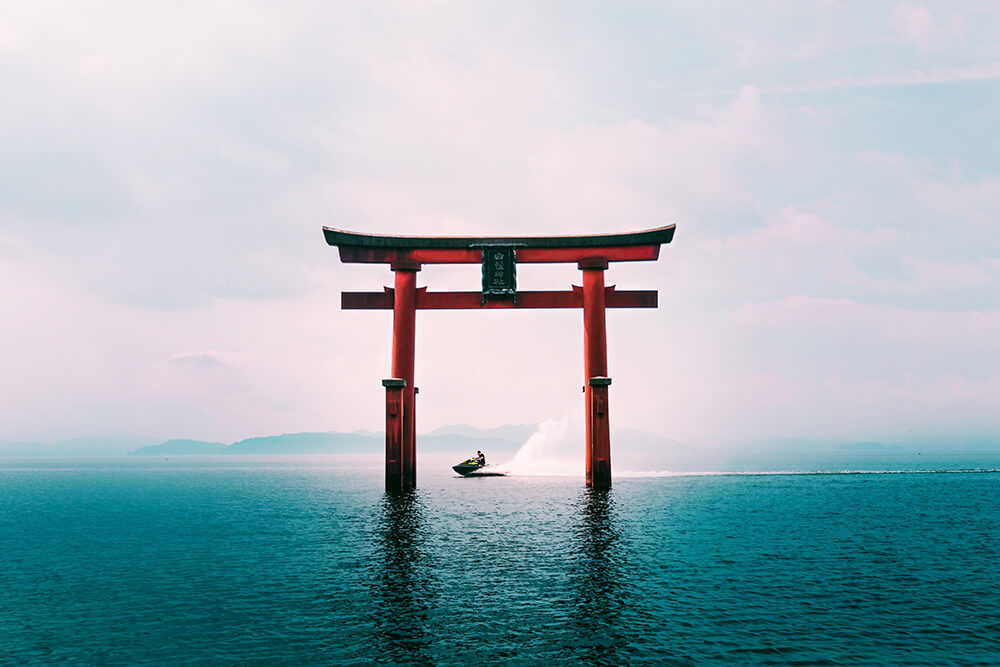
Meiji Shrine, which is also right next to Harajuku station and is another must. It’s pretty amazing that such a big, peaceful nature walk and shrine can be found right smack bang in the middle of a huge metropolitan city. The walk to the shrine will take you through a beautiful tree-covered path lined with huge Torii gates. It can get quite busy, so I’d recommend going early in the morning if you want to avoid the crowds.
• Tokyu Plaza Omotesando
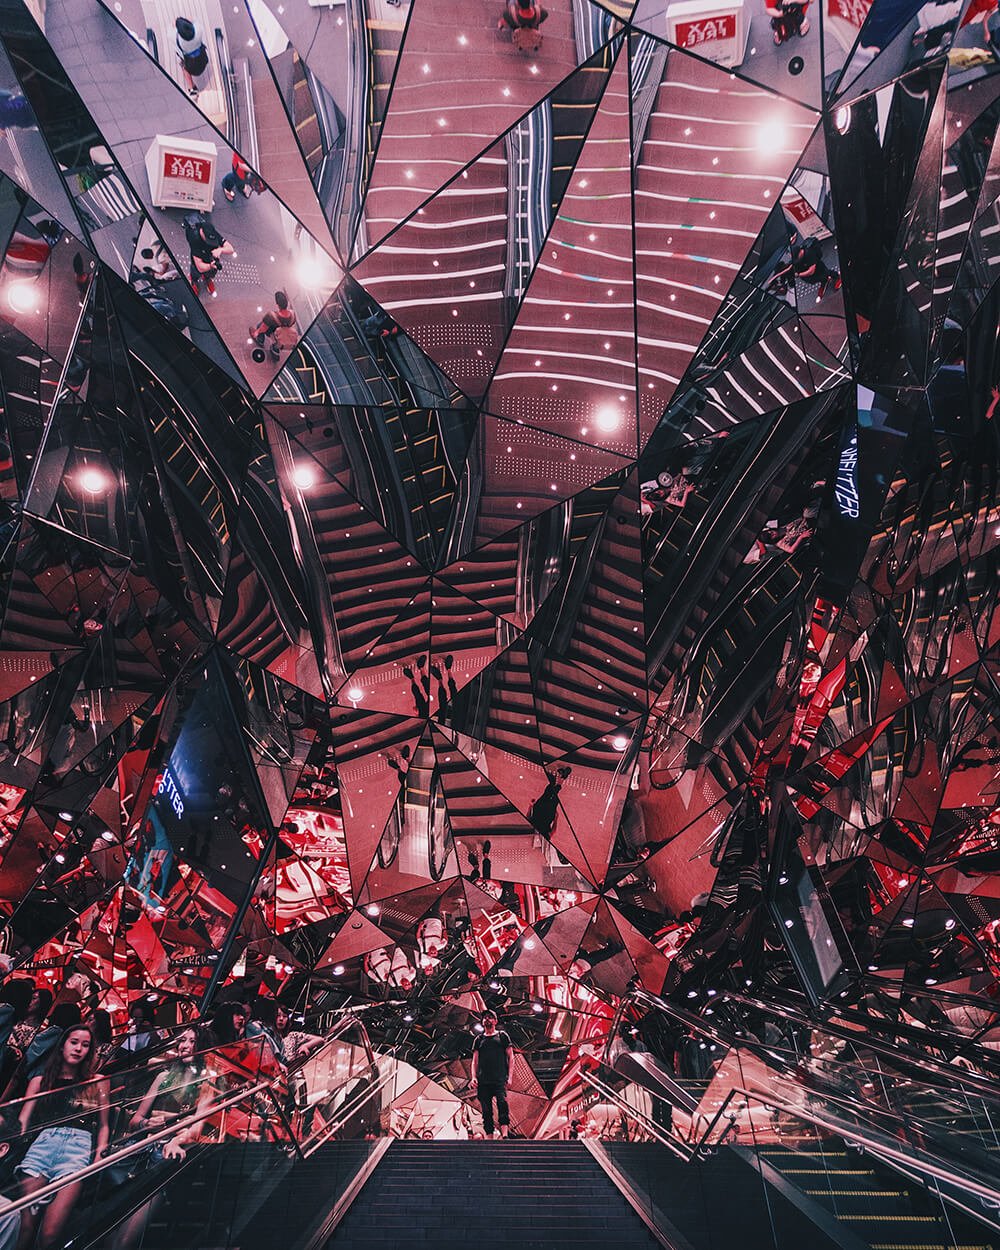
The ‘Wall of Mirrors’ is about a 10-minute walk from Harajuku station and is one of Tokyo’s most popular photography spots. To shoot this location I’d recommend using a wider lens to capture the mirrored entrance in its entirety. You can access this spot anytime during the day, but be aware that the entrance gate to the mall closes at night.
• Tokyo Skytree
Tokyo is one of the largest metropolitan cities in the world so it pays to try and get up high for a wider view of how vast the city actually is. Trust me when I say this, the city limit stretches out for as far as the eye can see.
I’d recommend going up Tokyo Skytree to capture amazing city landscapes. There is a fee to go to the top, but it’s definitely worth it (even if the staff here aren’t too fond of tripods). It can get quite busy so I’d recommend going a little earlier than sunset to make sure you get a good spot. After you’ve shot sunset, it’s definitely worth staying until night time, when all the city lights fire up.
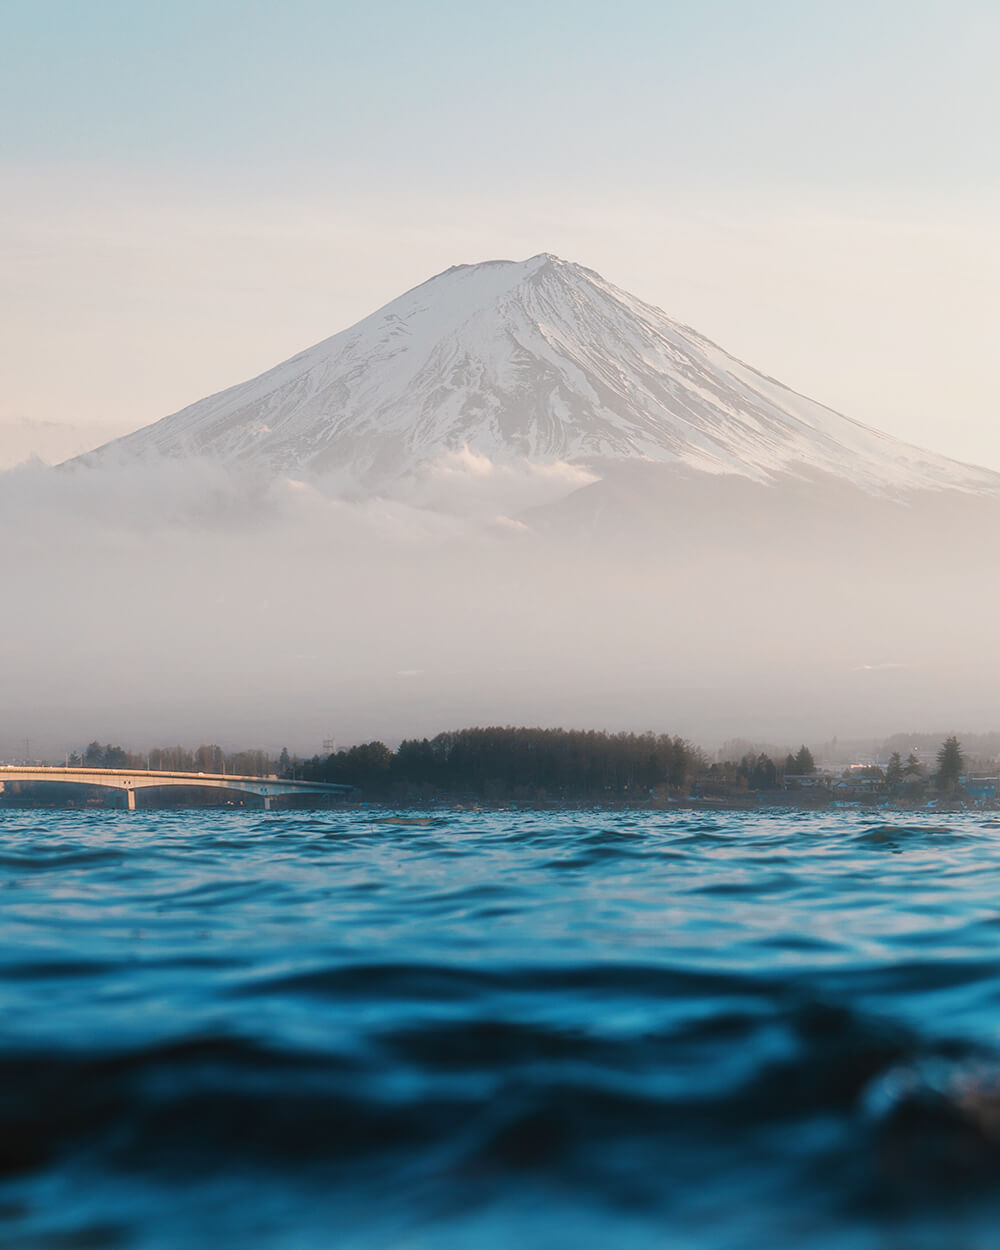
Try to plan your visit in accordance with the weather forecast. Hopefully you’ll have clear visibility and a bright sunset. If you’re lucky, you might even catch a glimpse of Mount Fuji in the distance.
• Fushimi Inari Shrine
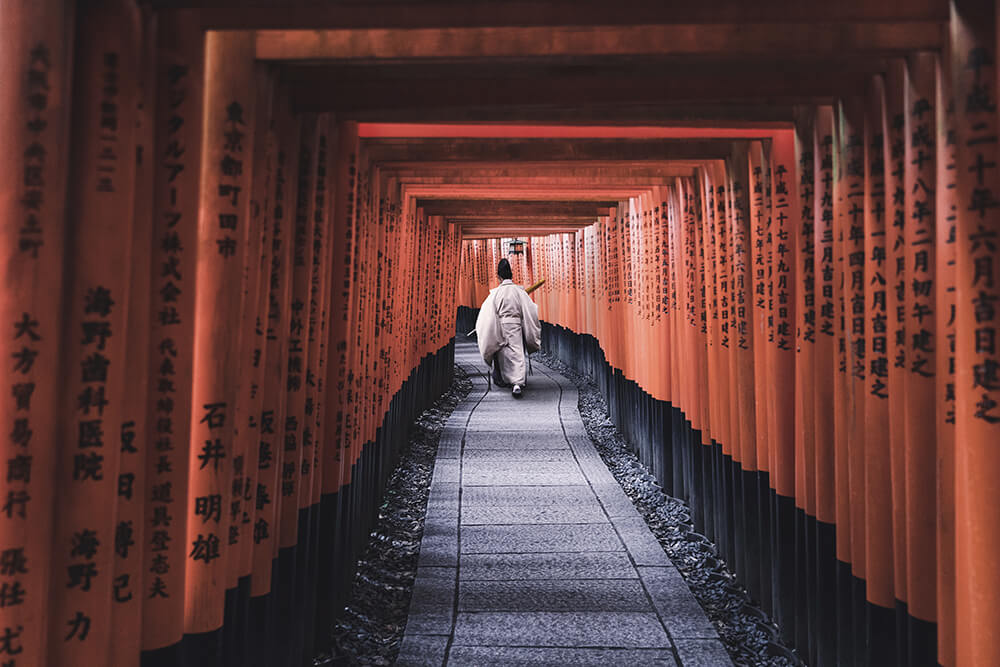
This shrine is probably one of the more iconic photography locations in Kyoto. It features a pathway lined with thousands of red Torii gates. The sheer number of gates, and the way they’re all lined up along the path, makes it a visually interesting location to shoot. The gates create depth and strong leading lines that will naturally draw your viewers’ eyes through your images.
Fushimi Inari Shrine gets very busy and I am often asked how I managed to shoot this location with few to no people in the photo. The trick is to get the very first train there in the morning before all the tourist buses arrive.
• Pontocho Alley and Gion
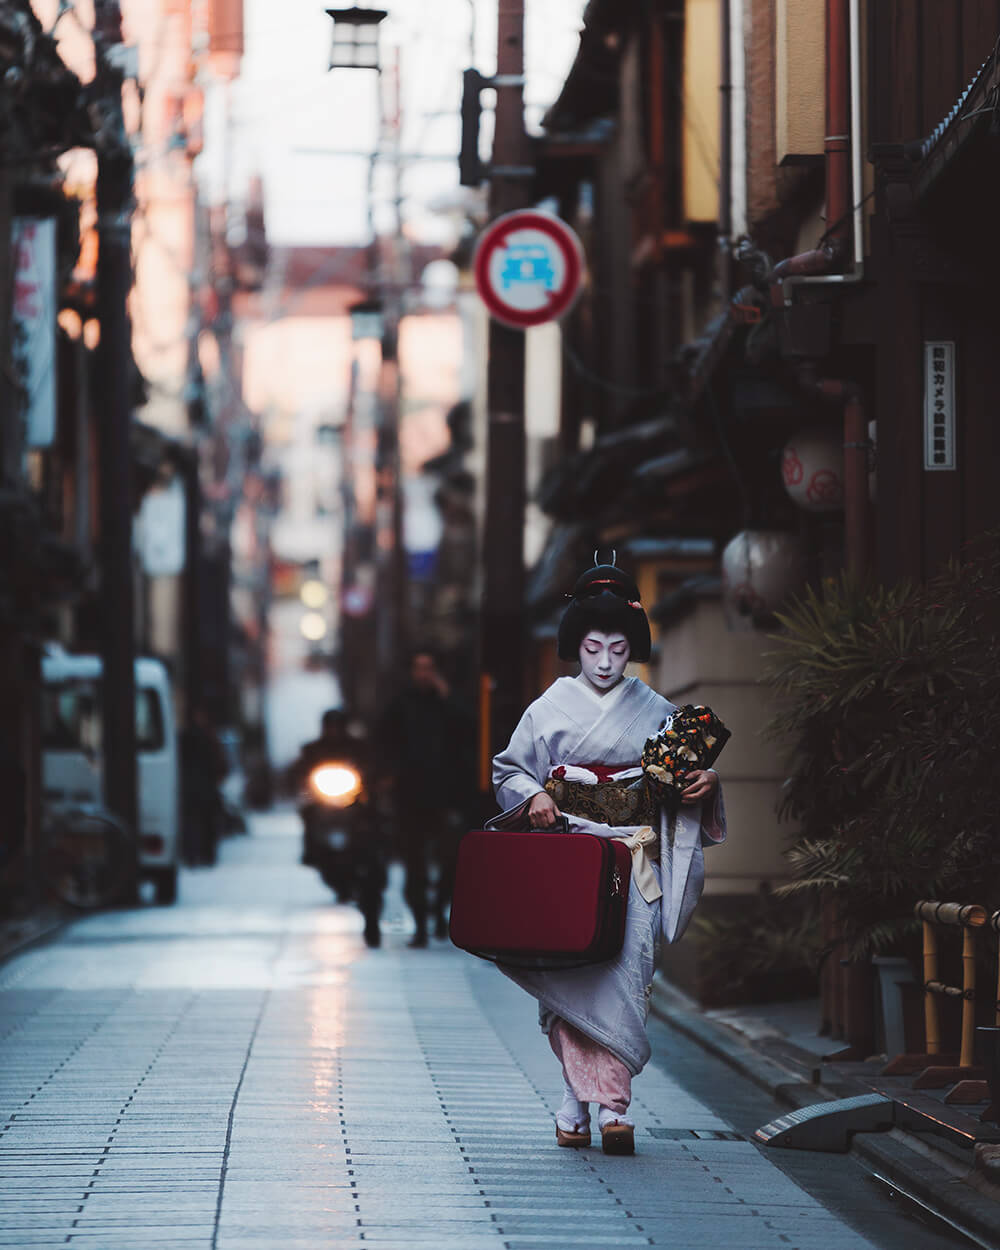
Kyoto is an extremely traditional and culturally rich city, making it ideal for street photography. The architecture and streets still have that old-world Japan feel and look spectacular in photos. I’d highly recommend wandering around Pontocho Alley, Gion and the surrounding areas to see what you can find. If you’re lucky then you might even cross paths with a Geisha and/or Maiko (trainee Geisha).
Contrary to what many travellers might believe, it’s entirely possible to visit Kyoto and not see a single Geisha during your visit—especially if you don’t know where to go or what time to be out. I’d recommend shooting the streets in the morning and also before and after dinner time to increase your chances of photographing a Japanese Geisha in Kyoto. Be aware that, when spotted, Geisha are often swarmed by tourists and photographers. Remember to be respectful and courteous when photographing them, and try to stay out of their way.
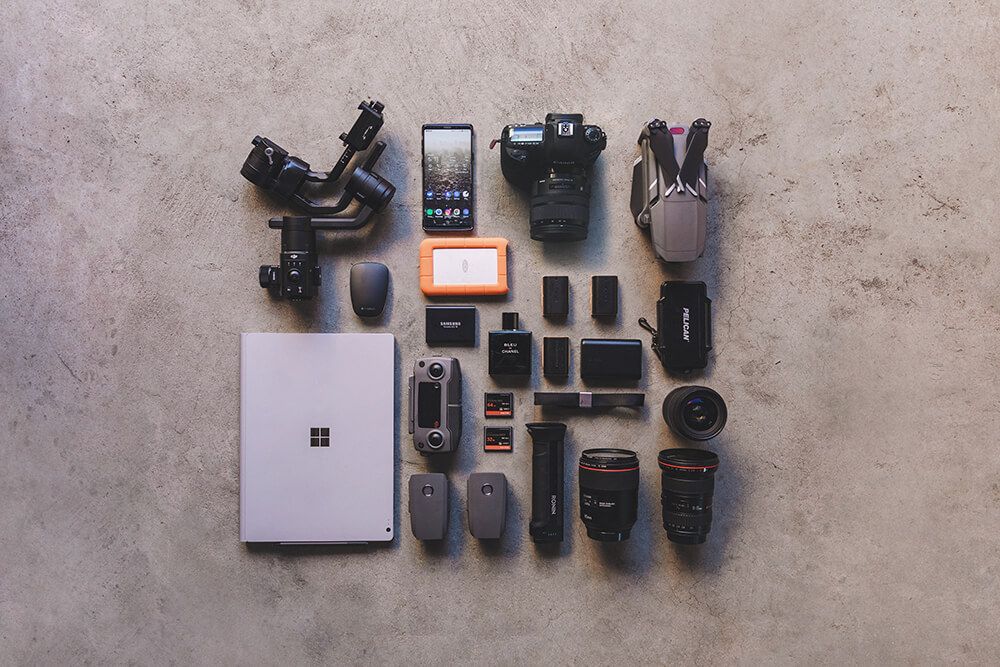
Although this really depends on your shooting style and what you like to shoot, I’d recommend keeping the gear you carry to a minimum. Japan is a highly populous country so carrying a heavy backpack with a tripod sticking out on a busy train or bus can be a hindrance.
For street photography (especially at night), I’d recommend using fast prime lenses with wide apertures. Something like f/2.8 or f/1.4.
Personally, I really like travelling with the EF 24-70mm f/2.8L II USM as my walk around lens, with a EF 16-35mm f/2.8 II USM wide and EF 85mm f/1.4L IS USM lens.
You can see the camera, lenses and settings I used on each of the photos in this article.
It’s likely that you will experience slight culture shock when you land in Japan for the first time. But don’t worry, it’s not as daunting as it sounds. The best way to approach Japan is to watch what the locals do and do the same. Even if you make mistakes, the Japanese are generally very patient and forgiving people. They’ll most likely realise that you’re a foreigner and give you a pass if you’re polite about it.
But since you’re already here, reading this guide, I’ve put together some quick tips and pointers to help you get more out of your time in Japan:
Follow @itchban on Instagram and visit his website to see more of his travel and street photography.

As 2023 takes a bow, we wrap it up with a cheer. Many moments captured, stories told, a year so grand and dear.
Travel photographer Brook Rushton shares his favourite photography spots in magical Morocco. Plus recommended camera gear, and tips on what to pack.
Travel and photograph your way through the vivid colours of India with these essential tips from travel photographer, Melissa Findley.