
- A Beginners Guide to Scrapbooking
-

Hello!
We've noticed that you are in .
Visit Canon .
Does the idea of ‘scrapbooking’ conjure up visions of ribbons, a million different types of paper and a craft room full of stamps and stickers? It can be a slightly overwhelming undertaking, especially when faced with the supplies needed in the craft aisle.
But never fear! Scrapbooking can be a really great way to create gifts, save photographs and document important milestones and events. It’s easy to create something unique and completely personalised—BlueberryCoBaby founder, Chloe Watts shows us how.
One of the reasons I love scrapbooking is because I love creating and crafting. Whenever I’m documenting anything important (say my children’s birthdays or even just a fun day at the beach) I find myself customising it using pens, paper, tape or stickers. I love creating layouts in the memory books I make for my children that reflect their individual personalities, and scrapbooking is a great way to do that.
Scrapbooking can lead you down the path of collecting lots of stationary to work with, but don’t worry, you don’t need a whole box of stickers to get started.
Right now, I’m creating memory books for my children using my Blueberry Co Monochrome Baby Book, but you can create your own memory book using blank sheets of paper, bound together.
The easiest way to start scrapbooking is to choose an important event to document, like a birthday, anniversary or a holiday. Once you’ve settled on the event, you’re ready to get started!
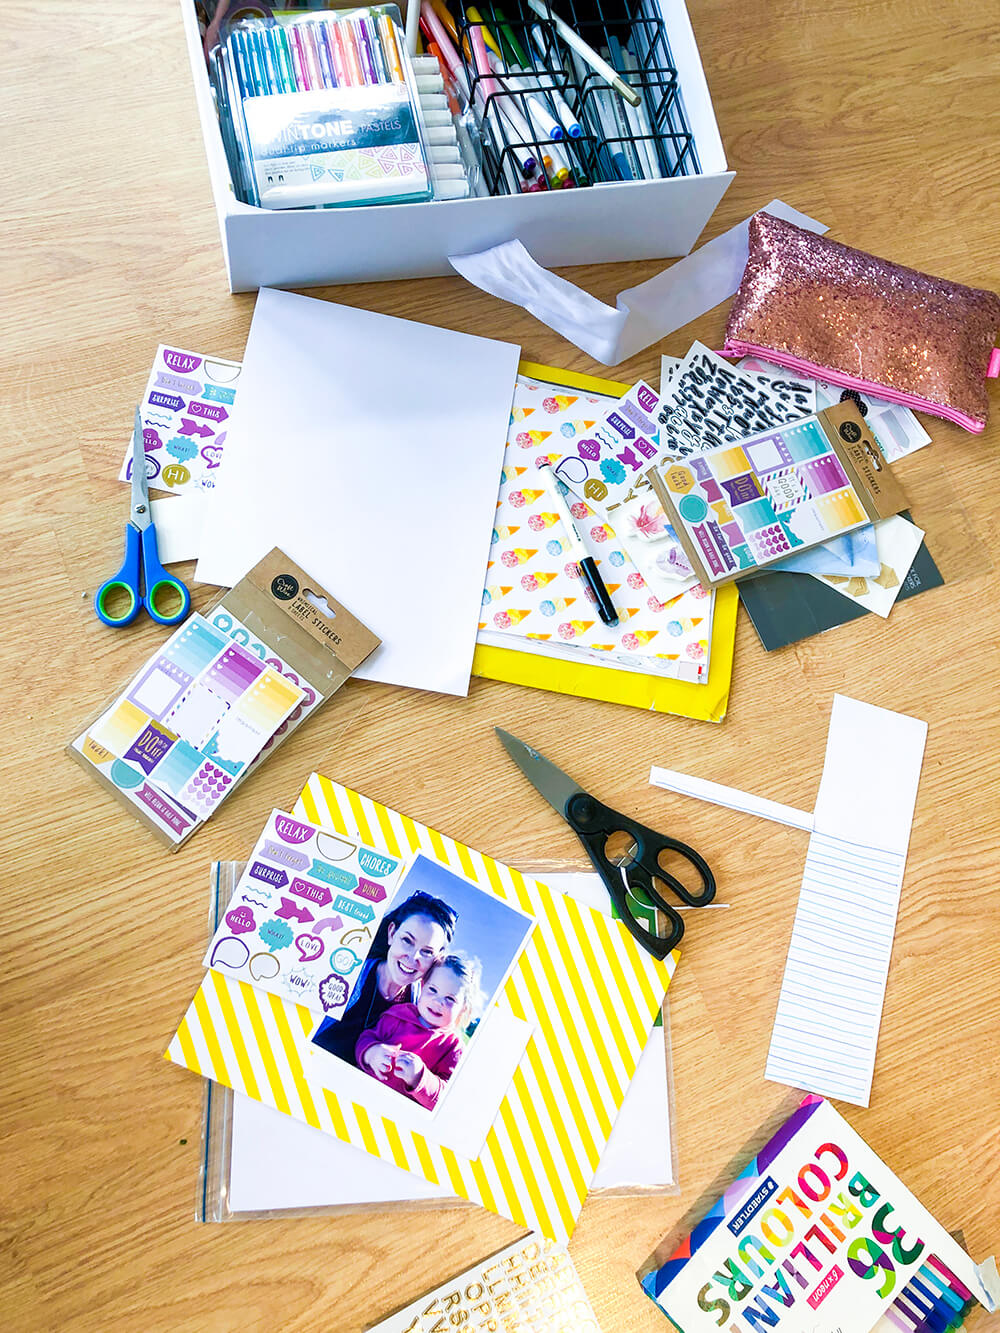
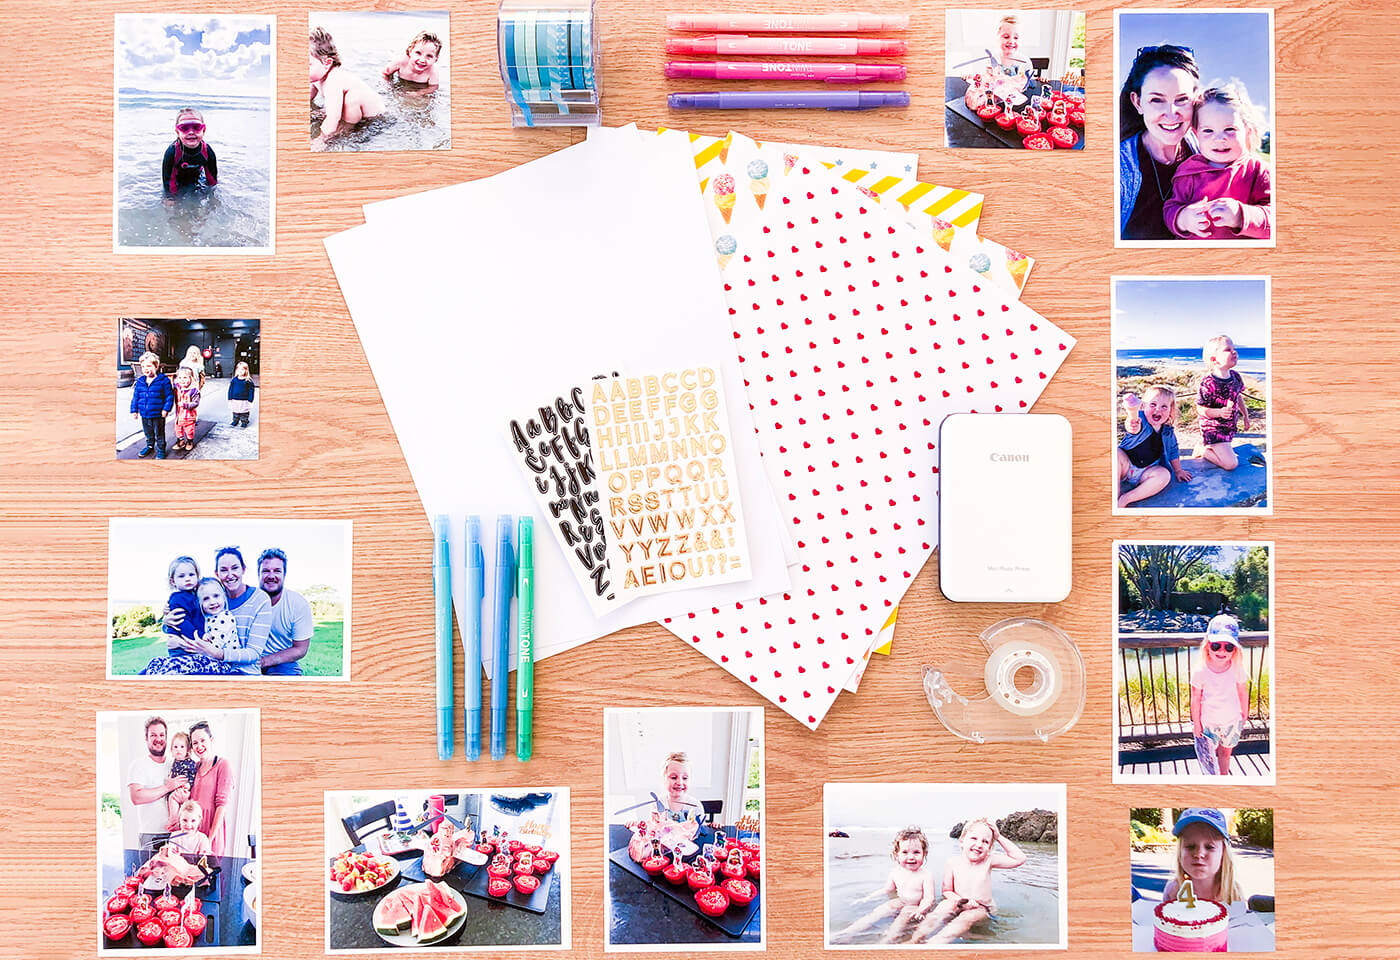
Here are a few things you’ll need to start a layout;
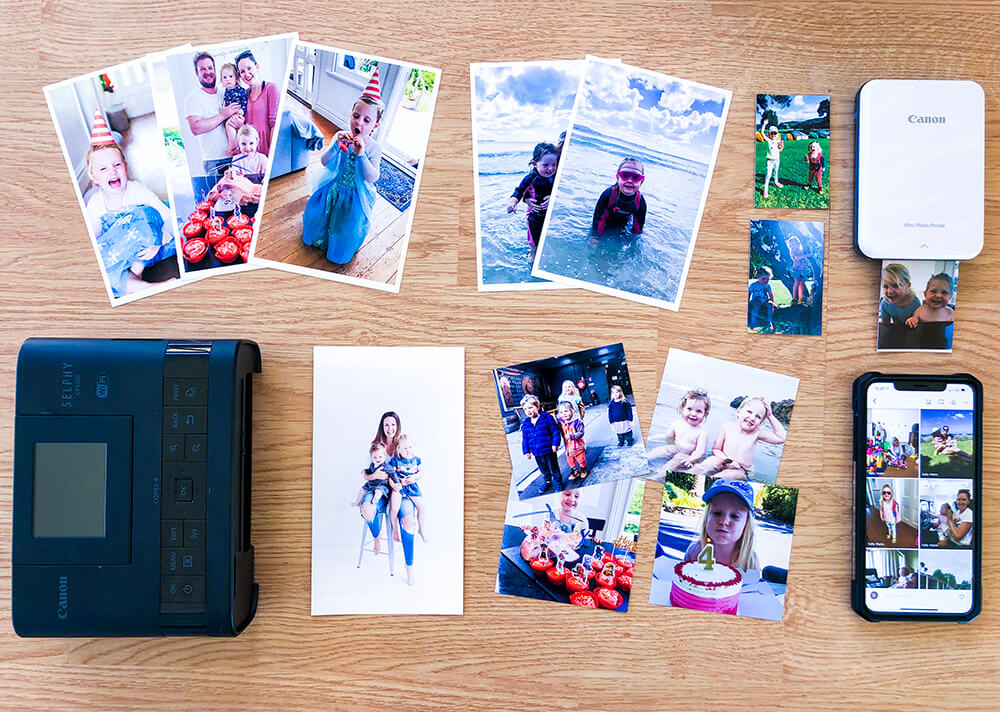
Choosing the photos can be one of the hardest things about scrapbooking. Traditional scrapbooking layouts use one photo (usually 4x6-inch) per page, and then use other elements like paper and stickers to frame that photo.
Having a printer on hand can also make a world of difference. Here are the printers I like to use for scrapbooking:
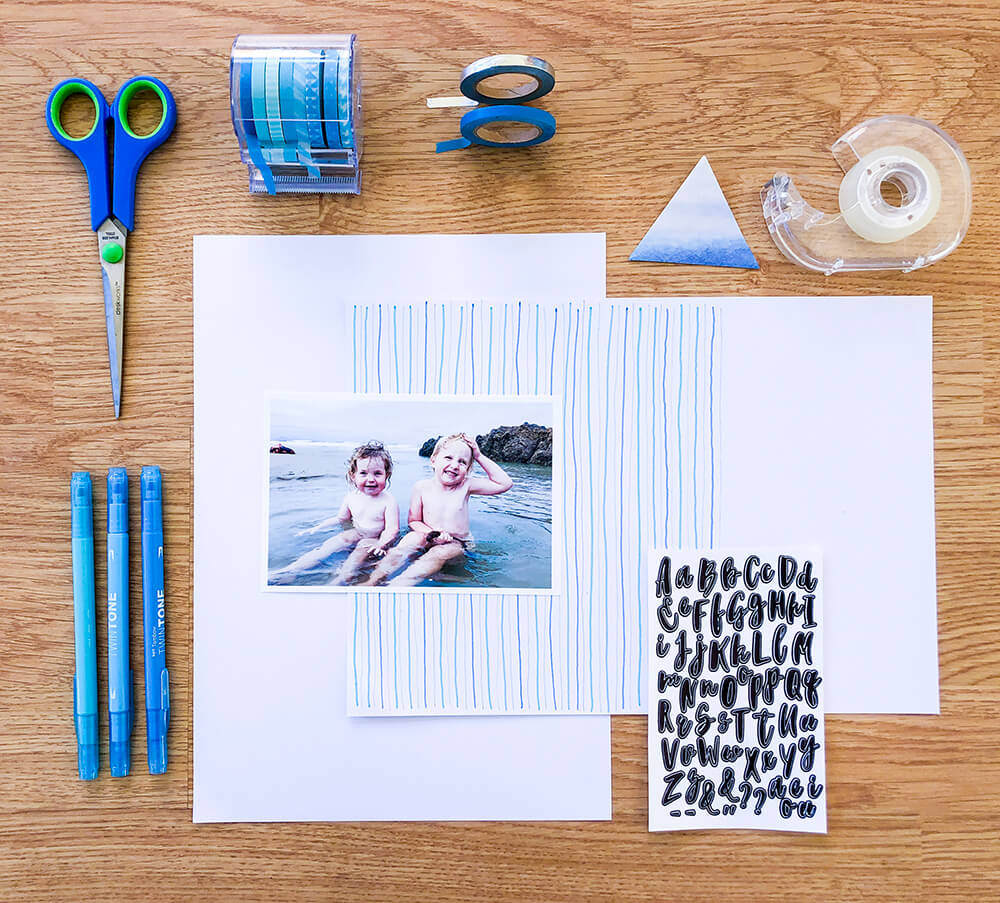
Layout One
In this example, I chose to document a few precious moments for my daughter’s memory books. I’ve layered a few things, like hand drawn patterns and stickers to bring it all together as well as adding multiple photos to each page (because photos are where the memories are). I generally look at photos from an event (e.g. a birthday) and choose four to six key images per layout.
I played around with lots of stickers and materials to get the final look I was after. The photos I want to use in this layout are dominated by blues, so I created my own hand drawn pattern to be the backdrop. I’ve played around with stickers and positioning of the photos so I have space to write a personal note about the day.
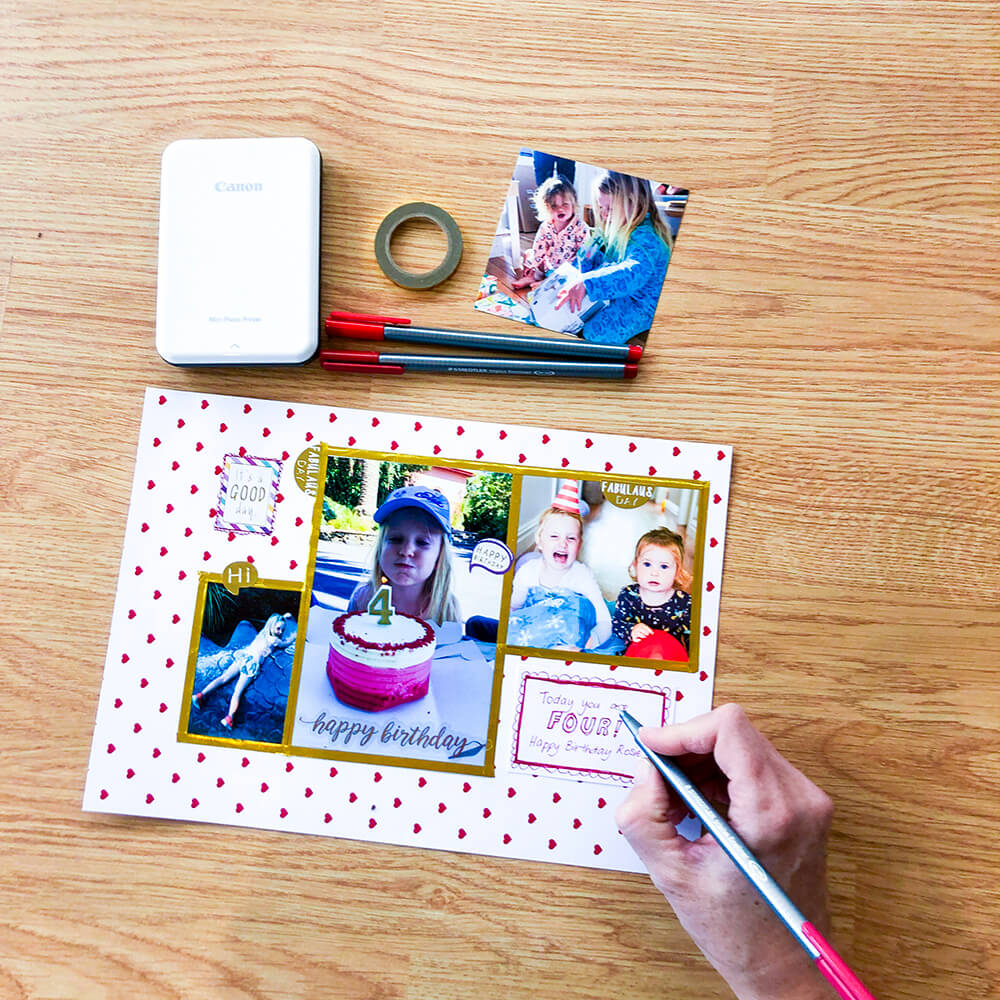
Layout Two
Choose colours that highlight the features of your photos that tell a story. In this instance the red love heart pattern (which is inbuilt into my TS9560 printer) brought out the red in my daughter's 4th birthday cake, and it’s also her favourite colour. I’ve layered washi tape, stickers and a hand written note for her birthday page.
Layout Three
Keep it simple! Sometimes the most captivating pages are the simplest, especially when you want to create a gift card or a feature page in your memory book. For example, the yellow scrapbooking pattern that I printed below is from a selection of in-built designs in my TS9560 printer and contrasts perfectly with the blues in the photo.
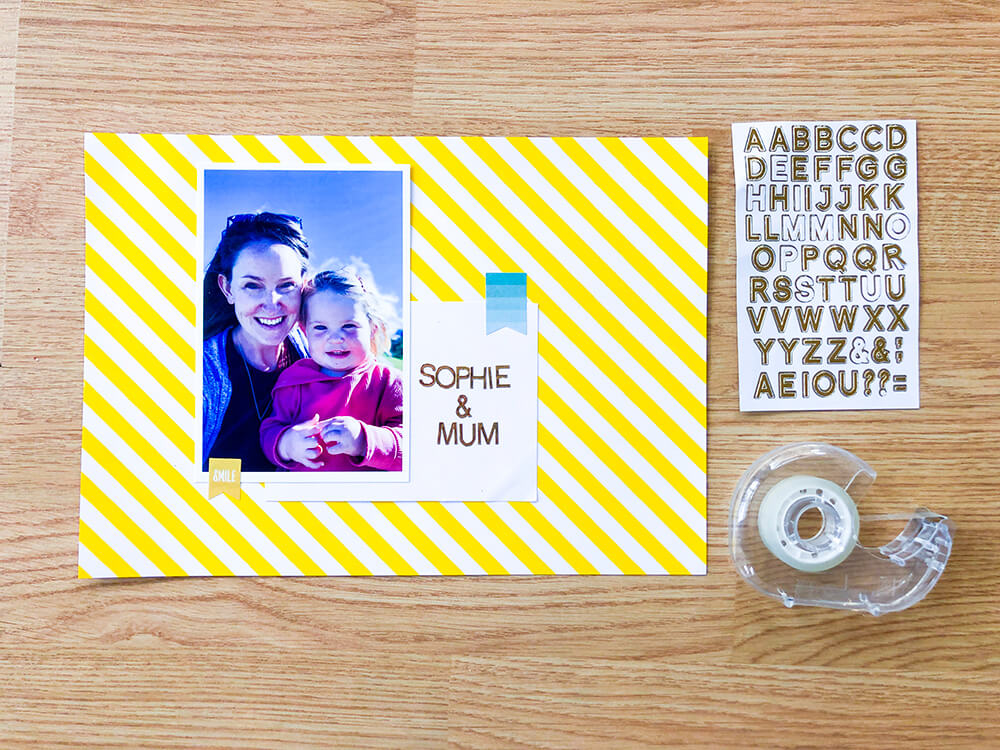
Successful scrapbooking is all about layering patterns and photos to draw attention to a specific event. I love to use complimentary colours, careful layering of printed patterns and handwritten notes to create something unique and personalised. I have a few tricks I use to achieve this:
1. Edit your photos to have the same filter/brightness. If you’re using more than one photo it’s a great idea to edit your images so they all look the same. Adjust the brightness and colours to get a consistent look for all your images. I love using the Lightroom app for mobile—it’s free and I can save my own filter presets or buy existing ones from some amazing professional photographers.
2. Look for complementary colours. Use colours that work together, both in the photos you choose and the different embellishments you add to the page. Get everything out and start pairing the colours and the patterns that look good together and set the rest aside. You don’t need to use everything you have on one page. Simple is usually best.
3. White space is your friend. Don’t be afraid to leave a little white space on your page. Scrapbooks are often packed with patterns and stickers, but the best examples often leave a bit of white space to help draw the eye towards the photo and tell a story.
4. Use your printer to photocopy and resize any special letters, notes or cards you have to add a personalised element to your layout.
5. Don’t stick anything down until you’re 100% happy with your layout!
Finished pages: My little collection of memories, all with personal notes. Memories to be treasured.
Article and images provided by founder of BlueberryCoBaby, Chloe Watts.
For more tips on how to get creative with your printer, check out our Creative Print Hub.

Spruce up your home with this easy DIY Plank Photo Display. Make a statement in your house using your favourite pictures and only a few materials.

Create a party photo booth with Creative Park

Jason Grant reveals how to find your decorating style in images.