
- 5 Aerial Photography Tips
-

Hello!
We've noticed that you are in .
Visit Canon .

Drones are all the hype, being portable, accessible and have no doubt allowed for the large progression in both aerial photography and cinematography. On the other hand, nothing compares to the feeling of soaring over a landscape and witnessing the moments through your own eyes. There is somewhat of a romance to the idea of hurling yourself through the air in what essentially is a motorized metal box that allows you to take creative challenges and access opportunities beyond the ground behind the controls of a drone.
Fortunately, I have been very grateful to spend many hours shooting commercially out of planes and helicopters, as well as chartering aircrafts for personal projects. Here are 5 top tips that I have learnt whilst working at altitude:
There is a big difference when taking off prepared and unprepared. Aerial photography is a lot about setting yourself up for success. It’s important to choose the right clothing for the flight, (I’ve had frostbite from forgetting gloves!) as you want to be both comfortable yet able to see and manoeuvre yourself easily. Additionally, having a key subject or objective is crucial when it comes to being efficient on the wallet, as more time = more fuel = more money. Knowing what you want to achieve or when to call it quits and head back to the hangar can be the difference of hundreds of dollars. Also, planning a route with the pilot and discussing a key objective sets you up to procure the desired result.
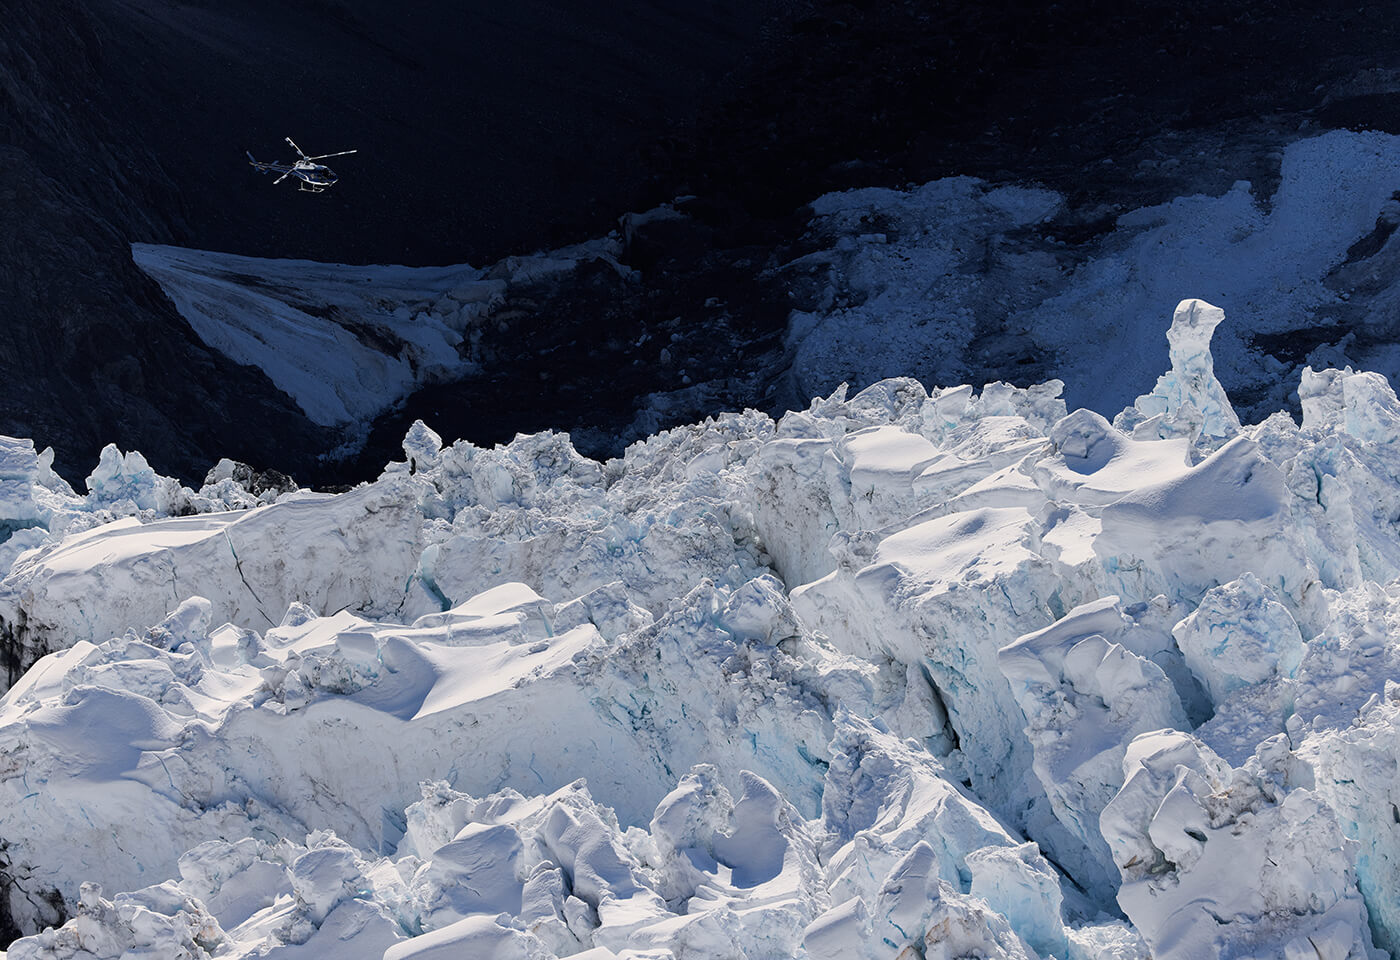
Lens choice differs across which aircraft, the window status (or lack of) and what you are trying to capture. Helicopters are much more expensive to run than planes. However, they are better at getting in close and can travel at slower speeds, so they are great for getting into hard to access areas. Helicopters also offer a wider field of view, whereas planes might offer less field of view but allow you to cover more ground as they are cheaper and faster. It’s important to choose the correct aircraft based on what you are trying to achieve. Ideally, open windows in a plane and no doors on a helicopter are preferred as shooting through perspex glass can give uneven results and soft images. If you are shooting through glass, keep your front element as parallel as possible on the window. Also, avoid shooting through curved windows or at an angle to the perspex.
For planes with open windows, 24-70mm, 70-200mm and 100-500mm are the best lenses. I leave my wide-angle lenses behind as they capture the wing in the frame.
For helicopters with doors off, 16-35mm, 24-70mm, 70-200mm and 100-500mm are all great. The 24-70mm is by far the most versatile lens for aerials as you have both the wide and the start of telephoto focal lengths packed into one. Lastly, ditch all the lens hoods as they can blow off in the high winds and become extremely dangerous. Anything loose should be tethered to ensure everything is as safe as possible when flying.
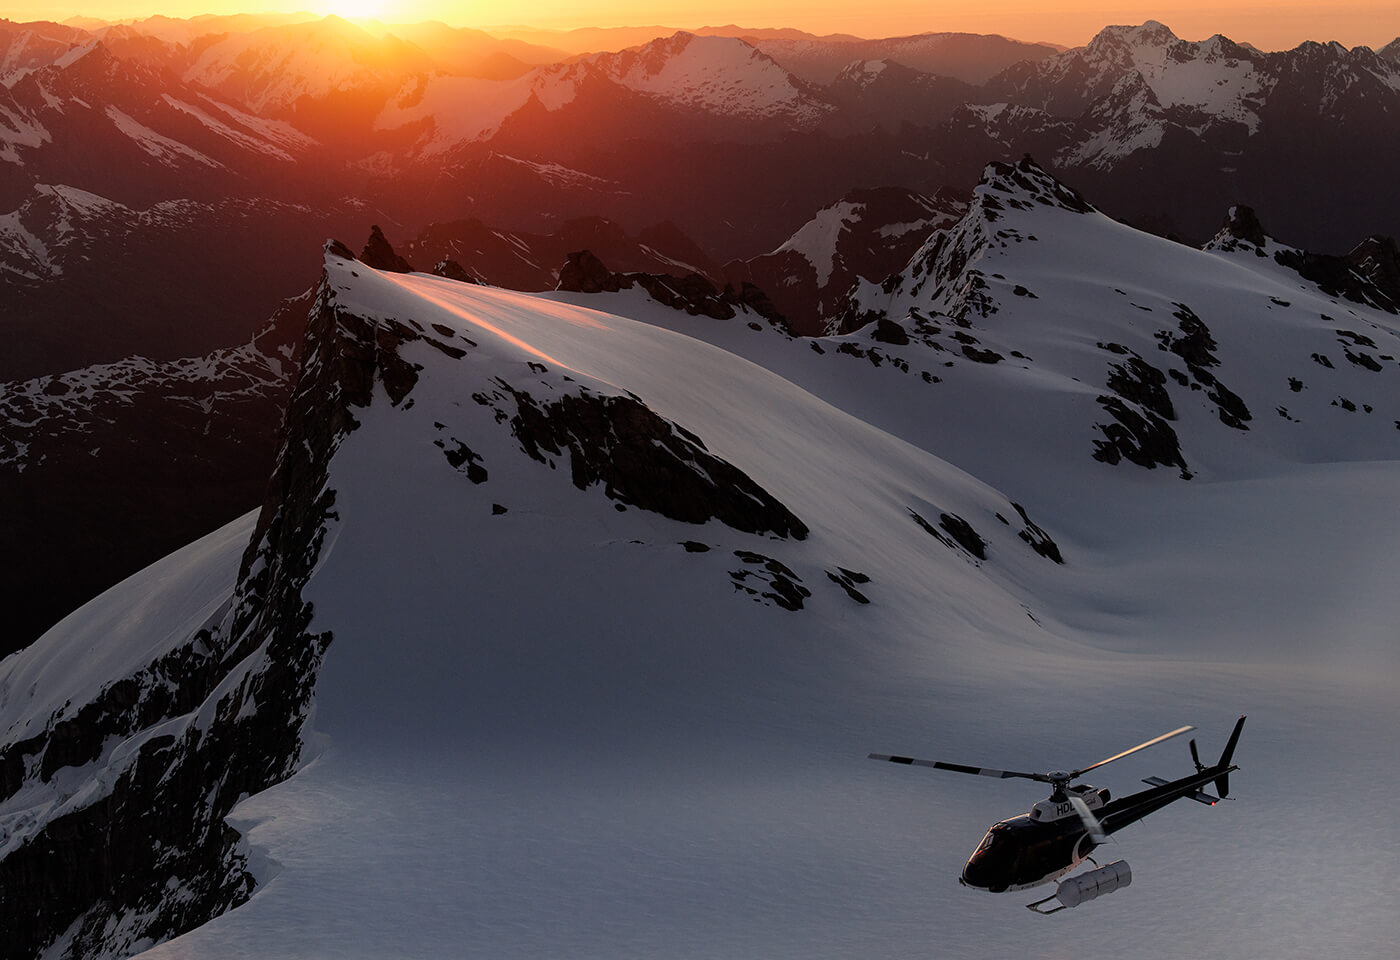
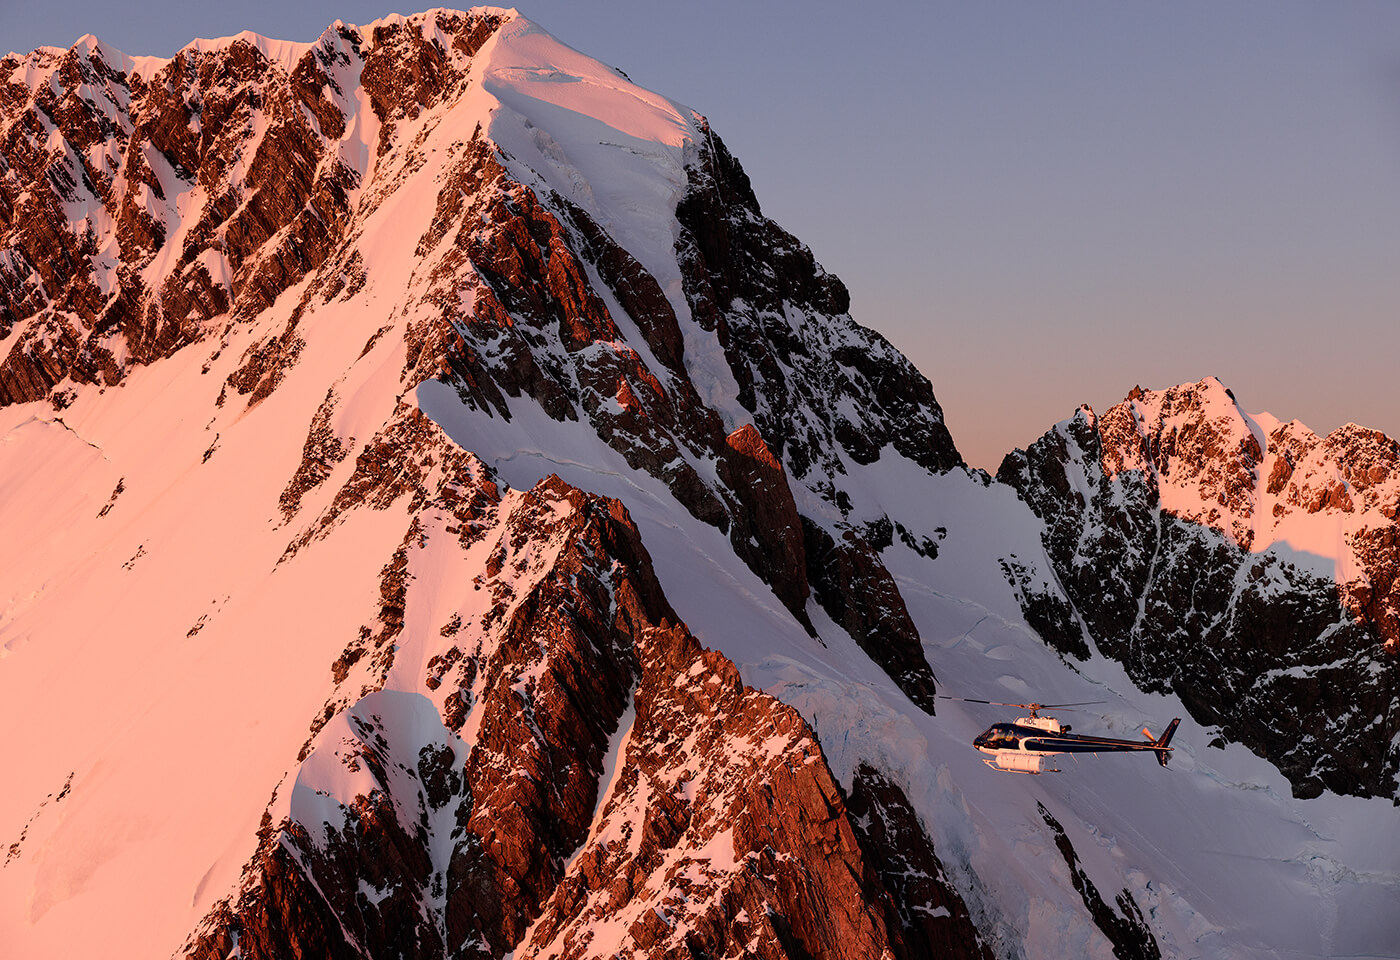
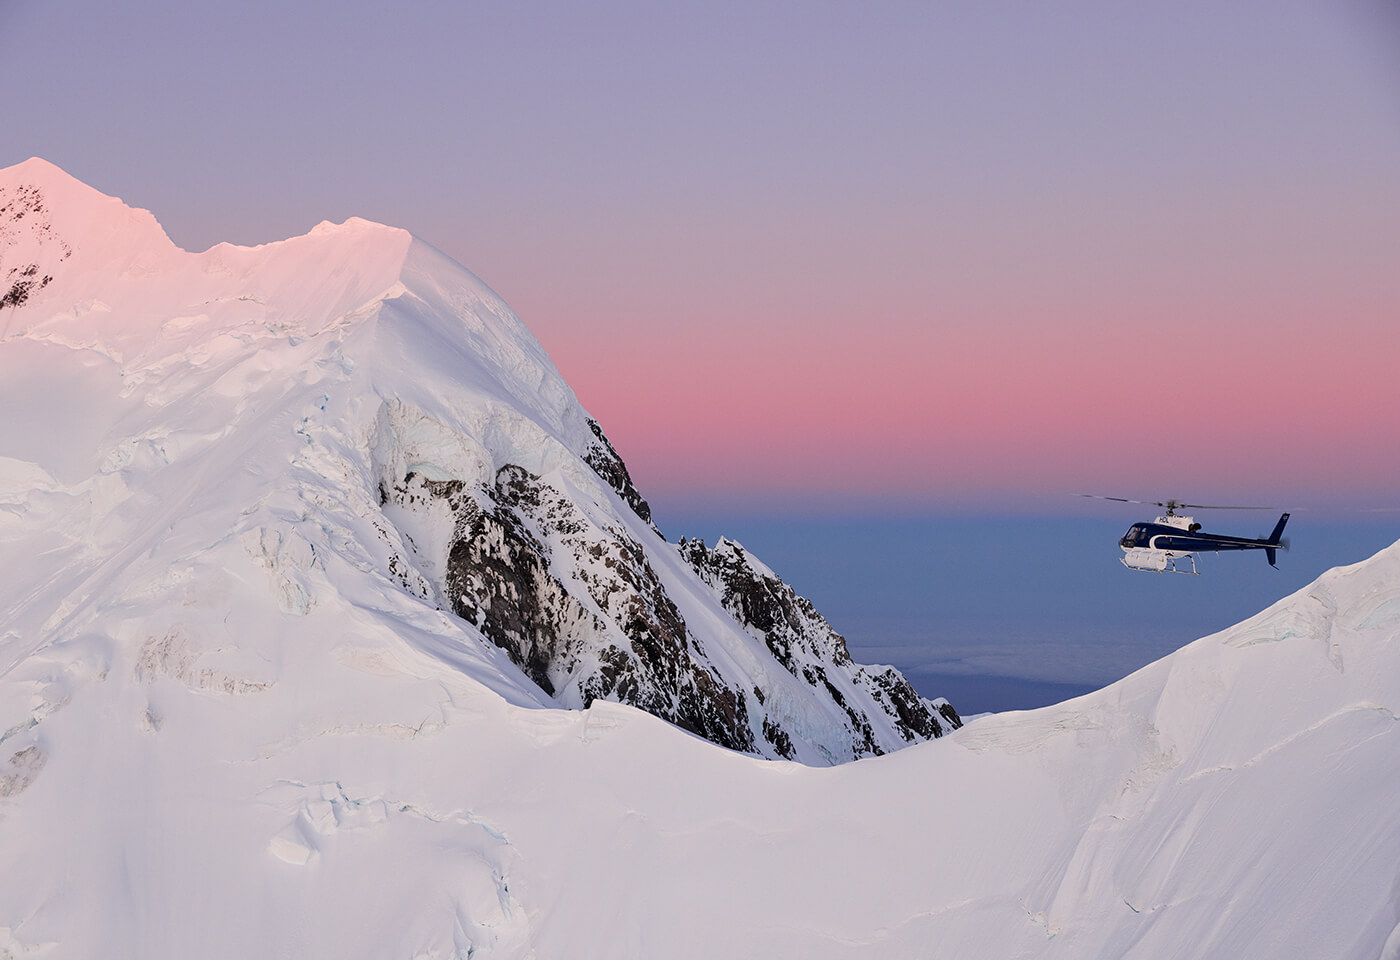
This is arguably the most important point. The weather and time of day you are flying could be the difference between a good image and a great image. Perfect, clear blue skies often lack atmosphere, which is needed to take an image to a whole new level. People usually opt for clear and the best possible weather, when in reality, the best images come from those 50/50 gambles. It’s the low cloud, the rays of light and the dynamic nature of flying in unpredictable conditions that create the most incredible flights, so take the chance. Review what you are trying to achieve with your image/s to inform the time of day to take off. Generally, the sunrise and sunset ‘Golden Hours’ are preferred as they offer the most desirable lighting for most scenarios. Also, talk to your pilot about restrictions for flying as civil twilight is when most pilots must have landed.
Having clear communication with the pilot is very helpful towards placing yourself in the best position to photograph. One of the main advantages of aerial photography is that you have many options and creative angles. Unlike being on the ground, you can change your elevation and distance from the subject in seconds. All these creative opportunities can be overwhelming at first. Be calm and very clear to your pilot when describing what you want. If you need to change altitude, carefully explain what you are after and provide examples with distances or landmarks so they can best set you in the right spot. Be ready for that split second when it all lines up!
It’s not just walking away with Gb/s of images as the only memory. The experience itself leaves the biggest impression, creating personal meaning and story behind the work.
Mirrorless cameras offers many advantages when shooting aerials. Not only can you preview your exposure through the EVF, which is extremely helpful when flying at 100+ km/h. But cameras such as the EOS R5 also have excellent ISO performance and focusing methods. If you are using only one camera body, be observant to anticipate a lens change before it’s required. Having two bodies means a faster transition from one lens to another.
Additionally, always pack extra batteries and cards in your pocket. Lastly, many photographers swear by polarized filters which I find unnecessary in Golden hour as it lets less light onto the sensor.
Before mirrorless, there was always the word of keeping the shutter 1/1000th at a minimum due to vibrations in the aircraft and the speed at which you’re travelling. However, it’s not as clear cut as that. For example, with IBIS inbuilt into both the lens and the sensor on cameras such as the R5, it's possible to drop to 1/200th of a second with a wide focal length when doing low-speed manoeuvres in a helicopter. Camera settings required greatly depend on your distance from the subject, your speed and the focal length in hand. A rule of thumb is the faster you are moving, the closer to the subject and the longer the focal length, it becomes crucial to have an even faster shutter and a small aperture. Whereas at a long distance from the subject, there is less concern for a fast shutter and small aperture as the parallax and depth are less exaggerated. It’s prefered to have the image sharp and at a desirable aperture than trying to maintain the lowest ISO possible and subsequently a burry image. Aerial photography camera settings are like juggling, it’s a balancing game trying to have all three fields in their most optimal zone and often it requires compromise.
Shutter speeds: The minimum I will generally go is 1/400th. I’ll go as fast as possible based on how much light is available. For me, the Goldilocks zone is between 1/800th - 1/3000th.
Aperture: The minimum I’ll go is 2.8 in blue hour and F/4 when there is available light. The maximum for me is F/11, but my sweet spot is F/8.
ISO: The minimum is the most ideal here. ISO 100 is preferred, but choosing a low ISO only comes when the shutter speed and aperture are at settings that best balance all three. On my R5, I will go as high as ISO 3200 if required.
Focusing: Set AF Mode to Servo as you want the camera to constantly grab focus. Set the Drive Mode to high speed continuous to allow you to burst as many photos as possible. For the AF Method, I use Face + Tracking on my R5. I’ve found it to be game-changing in the air as it will grab my main subject. If not, you can slide your finger on the screen and lock a point of interest.
Sure it’s important to have the right settings, a strong plan and a great flying atmosphere. However, the reason we fly is for the experience itself. Don’t forget to drop the camera every now and then and soak it all in as there is nothing quite like being up in the air with a camera in hand. Many times I have walked away without an image I’ve liked. In the same breath, every flight is unique, always full of experience and a way to take your creative freedom to literally new heights.
Matt Cherubino is a commercial photographer with an eye for striking imagery. Based in Melbourne but rarely home, Matt’s photography reflects a genuine approach to storytelling, with bringing his clients’ visions to life playing the central role.
Matt travels extensively for both commercial and personal work, and his portfolio is an exercise in tasteful composition and lending his unique eye to fulfilling briefs.
Visit his portfolio at https://mattcherubino.com/ and follow mattcherub on Instagram.

To celebrate the end of the year, We’ve chosen 10 of our favourite images shared by the Canon Collective Facebook Community. The quality of imagery and discussions shared in the group continues to impress and inspire us everyday!

Photographer, Michael Haluwana shares expertise in aerial photography and videography including tips on everything from staying safe, to choosing the best gear and settings for the job.

Travel and photograph your way through the vivid colours of India with these essential tips from travel photographer, Melissa Findley.