

Issue
Check 1: Restart the computer.
Check 2: Follow the steps below to make sure that the machine is recognized by the computer, and if not, reinstall ScanGear (scanner driver).
Cause and solution
Confirm(Windows)
1. On the Start menu, right-click Computer, then select Properties.
2. Select Device Manager in the task area.
1. On the Start menu, right-click My Computer, then select Properties.
2. On the Hardware tab, select Device Manager.
1. Right-click the My Computer icon, then select Properties.
2. On the Hardware tab, select Device Manager.
Cause and solution
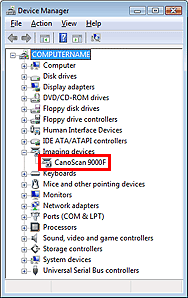
The machine is displayed under "Imaging devices."
Cause and solution
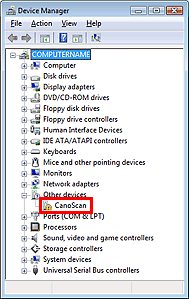
The machine is not displayed. ("CanoScan" may be displayed under "Other devices.")
Cause and solution
Confirm(Macintosh)
1. Restart the computer.
2. Follow the steps below to make sure that the machine is recognized by the computer, and if not, reinstall ScanGear (scanner driver).
(1) Select About This Mac from the Apple menu.
(2) Click More Info... in the window to display System Profiler.
(3) Click Hardware - USB.
(4) Make sure that CanoScan is displayed in USB Device Tree.
Cause and solution
Delete ScanGear.
You can delete the ScanGear (scanner driver) you no longer use.
When deleting ScanGear, close all running applications and remove the USB cable connecting the machine and computer.
Windows
1. Start Scanner Driver Uninstaller.
From the Start menu, select (All) Programs ⋗ CanoScan (model name) ⋗ Scanner Driver Uninstaller.
Caution
In Windows 7 and Windows Vista, a confirmation or warning dialog box may appear while installing, uninstalling or starting software.
Such dialog box appears when administrative rights are required to perform a task.
If you are logged on to an administrator account, click Continue or Allow (Yes in Windows 7) to continue.
Some applications require administrator account to continue. If you are logged on to a standard account, switch to an administrator account and start over.
2. Delete ScanGear.
When the Scanner Driver Uninstaller dialog box opens, click Execute.
When a confirmation appears, click Yes.
3. Complete uninstallation.
When all files are deleted, click Complete.
ScanGear is deleted.
Macintosh
1. Delete ScanGear. In Mac OS X v.10.6.x, select Computer from the Go menu in the Finder. On the hard disk on which the ScanGear is installed, browse to Library folder, Image Capture folder, TWAIN Data Sources folder, then drag and drop the CanoScan (model name).ds into the trash can.
2. Restart the computer. Empty the trash can and restart the computer.
Caution
ScanGear cannot be deleted if you are not logged in as a user with administrator privileges. For more about administrator privileges, refer to the Macintosh User's Guide.
Cause and solution
Reinstall ScanGear
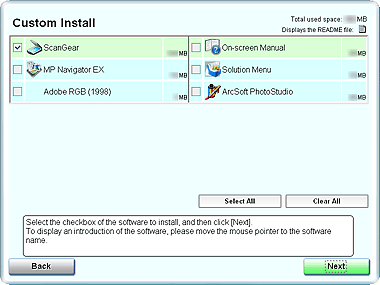
Insert the Setup CD-ROM into the computer's disc drive, click Custom Install, select the ScanGear checkbox and reinstall it.
Caution
Deselect the checkboxes to the left of applications that are already installed. These applications will not be reinstalled.
Caution
1. Place the Setup CD-ROM in the drive.
For Macintosh: Double-click the Setup icon. Enter the administrator ID and password on the authentication dialog box.
For Windows XP/Windows 2000 and Macintosh, skip step 2 and go to step 3.

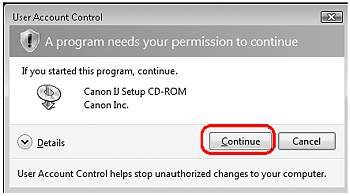
2. For Windows 7/Windows Vista, when the AutoPlay dialog box appears, run the setup program, and then click Continue or Yes to proceed when the User Account Control dialog box appears.
3. If prompted, select your language and place of residence, and then click Next.
In some countries, these dialog boxes will not appear.
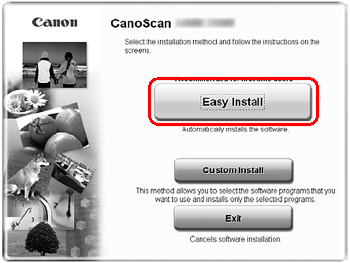
4. Click Easy Install on the main menu.
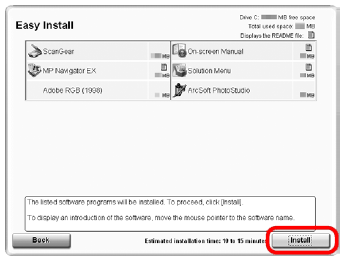
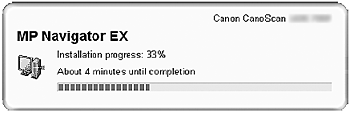
5. Click Install to start installation.
Carefully read the License Agreement, and then click Yes to proceed.
For Macintosh, skip step 6 and go to step 7.
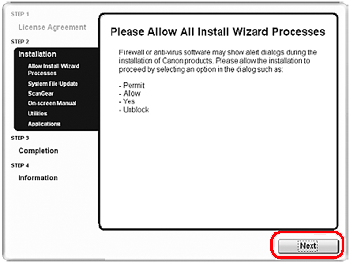
6. For Windows, carefully read the Please Allow All Install Wizard Processes screen, and then click Next.
7. Follow the on-screen instructions to perform the installation.
For Macintosh, skip step 8 and go to step 9.
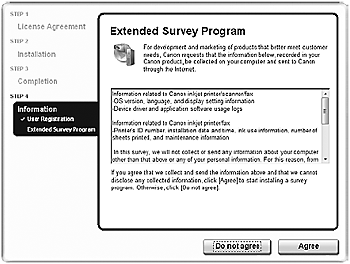
8. For Windows, when the Extended Survey Program screen appears, confirm it.
If you can agree, click Agree.
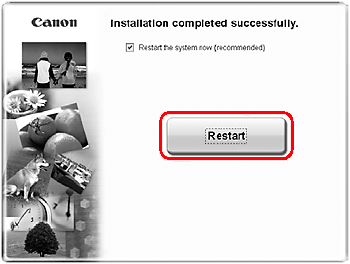
9. When the installation is complete, follow the on-screen instructions.
For Windows: Click Restart. After restarting the computer, Solution Menu will appear.
For Macintosh: Click Exit. Solution Menu icon will be registered in the Dock.
⋖Solution Menu⋗
You can select either MP Navigator EX or "On-Screen Manual".
Caution
Make sure to remove the CD-ROM from the drive and store it in a safe place.