Caution
Safety Precautions
● Before using the product, ensure that you read the safety precautions described below. Always ensure that the product is used correctly.
● The safety precautions noted here are intended to prevent you and other persons from being injured or incurring property damage.
● Be sure to also check the guides included with any separately sold accessories you use.

Warning Denotes the possibility of serious injury or death.
Do not trigger the flash in close proximity to people’s eyes. This could damage their eyesight. When taking photographs of infants, stand at least 1 (3.3 feet) meter away from your subject.
Store this equipment out of the reach of children and infants.
A strap wound around a child’s neck may result in asphyxiation.
If your product uses a power cord, the cord becoming wound around a child’s neck may result in asphyxiation.
The hot shoe cover is dangerous if swallowed. If this occurs, contact a doctor immediately.
Use only recommended power sources.
Do not disassemble, alter, or apply heat to the product.
Do not peel off the label, if the battery pack has one.
Avoid dropping or subjecting the product to severe impacts.
Do not touch the interior of the product if it is broken, such as when dropped.
Stop using the product immediately if it emits smoke or a strange smell, or otherwise behaves abnormally.
Do not use organic solvents such as alcohol, benzine, or thinner to clean the product.
Avoid contact with liquid, and do not allow liquid or foreign objects inside.
This could result in electrical shock or fire. If the product gets wet, or if liquid or foreign objects get inside, remove the battery pack/batteries or unplug immediately.
Do not look through the viewfinder or interchangeable lens (depending on which your product has) at intense light sources, such as the sun on a clear day or an intense artificial light source. This could damage your eyesight.
If your product uses an interchangeable lens, do not leave the lens or camera with the lens attached out in the sun without the lens cap on. This could result in fire.
Do not touch the product during thunderstorms if it is plugged in. This could result in electrical shock or fire. Immediately stop using the product and distance yourself from it.
Use only the recommended battery pack/batteries.
Do not place the battery pack/batteries near or in direct flame. This may cause the battery pack/batteries to explode or leak, resulting in electrical shock, fire, or injuries. If leaking battery electrolyte comes into contact with eyes, mouth, skin, or clothing, immediately flush with water.
If the product uses a battery charger, note the following precautions.
- Remove the plug periodically and, using a dry cloth, wipe away any dust and dirt that has collected on the plug, the exterior of the power outlet, and the surrounding area.
- Do not insert or remove the plug with wet hands.
- Do not use the equipment in a manner that exceeds the rated capacity of the electrical outlet or wiring accessories. Do not use if the plug is damaged or not fully inserted in the outlet.
- Do not allow dust or metal objects (such as pins or keys) to contact the terminals or plug.
- Do not cut, damage, alter, or place heavy items on the power cord, if your product uses one. This could result in electrical shock or fire.
Turn the camera off in places where camera use is prohibited. The electromagnetic waves emitted by the camera may interfere with the operation of electronic instruments and other devices. Exercise adequate caution when using the product in places where use of electronic devices is restricted, such as inside airplanes and medical facilities.
Do not allow the camera to maintain contact with skin for extended periods. Even if the camera does not feel hot, this may cause low-temperature burns, manifested in redness of the skin or blistering. Use a tripod in hot places, or if you have poor circulation or insensitive skin.
Caution
Caution Denotes the possibility of injury.
When carrying the product by the strap, be careful not to bang it, subject it to strong impacts or shocks, or let it get caught on other objects.
Be careful not to bump or push strongly on the lens. This could lead to injury or damage the camera.
Be careful not to subject the screen to strong impacts. If the screen cracks, injury may result from the broken fragments.
When using the flash, be careful not to cover it with your fingers or clothing. This could result in burns or damage to the flash.
Avoid using, placing, or storing the product in the following places:
- Places subject to direct sunlight
- Places subject to temperatures above 40°C (104°F)
- Humid or dusty places
These could cause leakage, overheating, or an explosion of the battery pack/batteries, resulting in electrical shock, fire, burns, or other injuries. Overheating and damage may result in electrical shock, fire, burns, or other injuries.
The slideshow transition effects may cause discomfort when viewed for prolonged periods.
When using optional lenses, lens filters, or filter adapters (if applicable), be sure to attach these accessories firmly. If the lens accessory becomes loose and falls off, it may crack, and the shards of glass may lead to cuts.
On products that raise and lower the flash automatically, make sure to avoid pinching your fingers with the lowering flash. This could result in injury.
Caution Denotes the possibility of property damage.
Do not aim the camera at intense light sources, such as the sun on a clear day or an intense artificial light source. Doing so may damage the image sensor or other internal components.
On products that raise and lower the flash automatically, do not push the flash down or pry it open. This may cause the product to malfunction.
Wipe off any dust, grime, or other foreign matter on the flash with a cotton swab or cloth. The heat emitted from the flash may cause foreign matter to smoke or the product to malfunction.
Remove and store the battery pack/batteries when you are not using the product. Any battery leakage that occurs may cause product damage.
Before you discard the battery pack/batteries, cover the terminals with tape or other insulators. Contacting other metal materials may lead to fire or explosions.
Unplug any battery charger used with the product when not in use. Do not cover with a cloth or other objects when in use. Leaving the unit plugged in for a long period of time may cause it to overheat and distort, resulting in fire.
Do not leave any dedicated battery packs near pets. Pets biting the battery pack could cause leakage, overheating, or explosion, resulting in product damage or fire.
If your product uses multiple batteries, do not use batteries that have different levels of charge together, and do not use old and new batteries together. Do not insert the batteries with the + and – terminals reversed. This may cause the product to malfunction.
Do not sit down with the camera in your pant pocket. Doing so may cause malfunctions or damage the screen.
When putting the camera in your bag, ensure that hard objects do not come into contact with the screen. Also close the screen (so that it faces the body), if your product’s screen closes.
Do not attach any hard objects to the product. Doing so may cause malfunctions or damage the screen.
Caution
Preliminary Notes and Legal Information
Take and review some test shots initially to make sure the images were recorded correctly. Please note that Canon Inc., its subsidiaries and affiliates, and its distributors are not liable for any consequential damages arising from any malfunction of a camera or accessory, including memory cards, that result in the failure of an image to be recorded or to be recorded in a way that is machine readable.
Images recorded by the camera shall be for personal use. Refrain from unauthorized recording that infringes on copyright law, and note that even for personal use, photography may contravene copyright or other legal rights at some performances or exhibitions, or in some commercial settings.
The camera warranty is valid only in the area of purchase. In case of camera problems while abroad, return to the area of purchase before contacting a Canon Customer Support Help Desk.
Although the LCD monitor is produced under extremely high-precision manufacturing conditions and more than 99.99% of the pixels meet design specifications, in rare cases some pixels may be defective or may appear as red or black dots. This does not indicate camera damage or affect recorded images.
The LCD monitor may be covered with a thin plastic film for protection against scratches during shipment. If covered, remove the film before using the camera.
When the camera is used over an extended period, it may become warm. This is not a malfunction.
Handling Precautions
The camera is a high-precision electronic device. Avoid dropping it or subjecting it to strong impact.
Never leave the camera near anything that has a strong magnetic field such as a magnet or electric motor. Strong magnetic fields can cause camera malfunction or image data loss.
If water droplets or dirt adheres to the camera or screen, wipe with a dry soft cloth, such as an eyeglass cloth. Do not rub hard or apply force.
Never use cleaners containing organic solvents to clean the camera or screen.
Use a blower brush to remove dust from the lens. If cleaning is difficult, contact a Canon Customer Support Help Desk.
If the camera is suddenly brought in from the cold into a warm room, condensation may form on the camera. To prevent condensation, first put the camera in a sealed plastic bag and let it adjust to the warmer temperature before taking it out of the bag.
Store the battery inside a sealed plastic bag or other protective covering. To preserve battery function, if it is not used for long periods of time, recharge around once per year, then use up the charge completely before placing in storage.
If condensation does form on the camera, stop using it immediately. Continuing to use the camera in this state may damage it. Remove the lens, battery pack and memory card, and wait until the moisture has evaporated before resuming use.
Do not touch the camera or lens contact points. Doing so may lead to camera malfunction.
The image sensor is visible after the lens is removed. Do not touch the image sensor, as this may lead to scratching.
Do not block the shutter operation with your finger, etc. Doing so may cause a malfunction.
After detaching the lens from the camera, put down the lens with the rear end up and attach the lens caps to avoid scratching the lens surface and electrical contacts.
Besides dust entering the camera from outside, in rare cases lubricant Before Use from the camera’s internal parts may adhere to the front of the sensor. If visible spots still remain after the automatic sensor cleaning, having the sensor cleaned by a Canon Service Center is recommended.
Periodically cleaning the camera’s body and lens mount with a soft lens cleaning cloth is recommended.
Use of genuine Canon accessories is recommended.
This product is designed to achieve excellent performance when used with genuine Canon accessories.
Canon shall not be liable for any damage to this product and/or accidents such as fire, etc., caused by the malfunction of non-genuine Canon accessories (e.g., a leakage and/or explosion of a battery pack). Please note that this warranty does not apply to repairs arising out of the malfunction of non-genuine Canon accessories, although you may request such repairs on a chargeable basis.
Caution
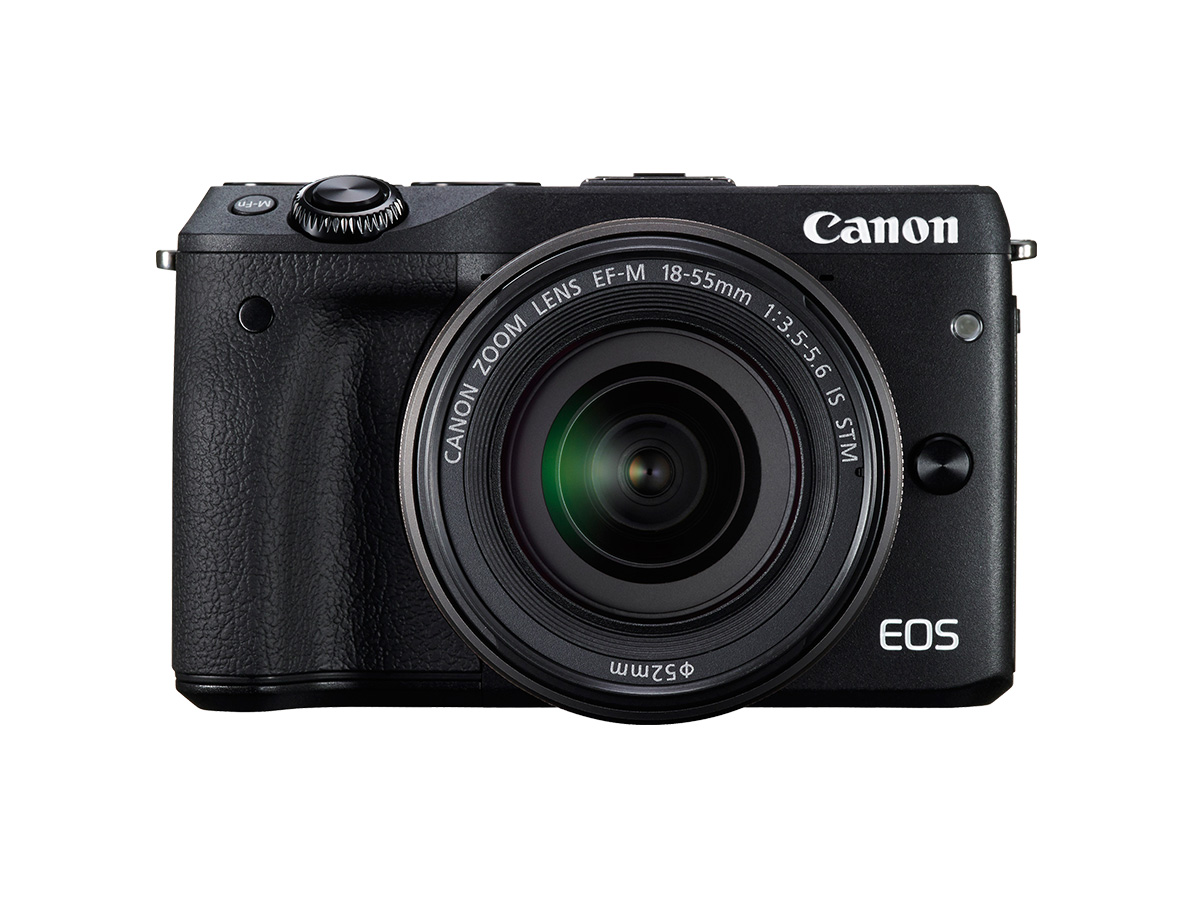
Since the image sensor size is smaller than the 35-mm film format, it will look like the lens focal length is increased by approx. 1.6x. For example, an 18–55 mm focal length would be equivalent to an approx. 29–88 mm focal length on a 35 mm camera.