- 8 Advanced Canon Camera Features You’re Probably Underusing
-

Hello!
We've noticed that you are in .
Visit Canon .
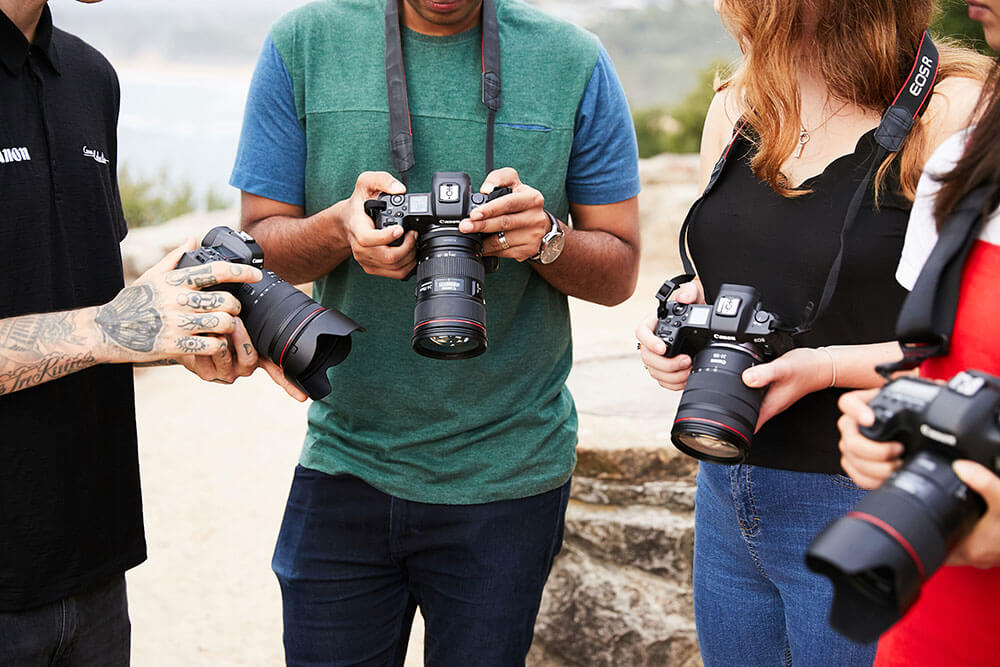
Ready to master your Canon camera’s pro features?
Discover these commonly underutilised advanced camera features and start shooting professional quality photos.
1. Back Button Focus
Back button focusing allows you to change the focus function from a half press of your shutter button to a separate button on the rear of the camera. By having dedicated buttons for focusing and releasing your shutter, you can lock focus and reduce motion blur when shooting moving subjects. Back button focusing also makes it easier to focus and recompose without having to refocus after each shot.
Pro Tip: When used in conjunction with the AI Servo continuous focus mode, back button focusing is a great way to capture sharp images of fast moving subjects.
How to use the feature: You can assign the button on the back of your camera labelled “AF-on” as your focus button in your Custom Settings menu.
Available on all Canon DSLR cameras above EOS 77D.
2. Get in Closer
The sensor line marks the point from which your camera’s minimum focus distance is measured. This lets you know exactly how close you can get to your subject while still achieving sharp images. Utilising your camera’s sensor line is particularly useful when shooting macro photography.
Pro Tip: If your lens has a minimum focal distance of 30cm, the distance should be measured from your sensor line mark and not from the front of the lens.
How to use the feature: Your sensor line is marked by a symbol that looks like a circle with a line through it and is located on the top of every camera.
Available on all Canon cameras.
3. Shoot Tethered Via Your Laptop or PC
The EOS Utility is a free piece of software from Canon that allows you to shoot and control your camera settings via your laptop or PC. By tethering your camera and computer this way, you can shoot and save directly to your hard drive and quickly preview large images on the fly.
Pro Tip: The EOS Utility software is great for product shots, still life scenes and any type of studio shooting.
How to use the feature: Download the software for free here – via “drivers and downloads”. You will need to tether your camera to your computer with a USB cable.
Available on all Canon DSLRs and mirrorless cameras.
4. Multiple Exposures
The Canon Multiple Exposure mode allows you to combine a number of exposures in-camera and save them as one single JPEG file. This is an advanced and creative way to layer exposures and convey a sense of movement in your images.
Pro Tip: Shooting in live view will provide you with a “ghost image”, displaying your first shot on your camera’s LCD screen so that you can overlay and perfectly align your next exposures.
How to use the feature: You can access Multiple Exposure mode via the settings menu of selected Canon cameras.
Available on all Canon camera above the EOS 80D model.
5. Shift Time
Get creative with Canon’s built-in Time-lapse Movie mode, which conveniently outputs movies as MP4 files. It’s quick and easy, with all of the work being done in-camera so you can save time in post processing. Some Canon cameras are also able to automatically adjust the exposure between each frame, allowing you to capture perfect day-to-night time-lapses.
Pro Tip: Time-lapses are a great way to capture the mood of your location, whether it be shooting busy city lights or clouds rolling over a dramatic landscape.
How to use the feature: Switch to Movie mode and access your Time-lapse settings via the Settings menu.
Available on all current Canon cameras except the EOS 1300D, EOS 1500D, EOS M100 and EOS 1DX Mark II. Selected availability on older camera models.
6. Process RAW Images in Camera
You can shoot RAW image files and adjust different settings in-camera, including white balance, Picture Style and cropping. You can also convert and save your RAW files as JPEG files from within your camera. This is useful because, although shooting in RAW allows for greater creative control, JPEGs are smaller and easier to share from device to device.
Pro Tip: This is great for those times when you need to quickly share your images via the Canon Camera Connect App (via iTunes & Google Play). This is especially useful if you normally prefer to shoot in RAW.
How to use the feature: Switch to Playback mode and go to In Camera Raw Processing in the Settings menu. Make sure you download the Canon Camera Connect App (via iTunes & Google Play).
Available on all Canon cameras.
7. Rate Your Images
You can give your photos a star rating from within your camera. This rating remains in the image file and makes it easier to find and select your favourite shots when you come to post-processing them at a later date.
Pro Tip: The Canon image rating feature is also compatible with popular editing programs such as Lightroom and Photoshop. This makes editing much quicker and easier, especially when you have a high volume of images to sort through.
How to use the feature: You can rate your images in Playback mode either via the Settings menu or, on some Canon cameras, via the dedicated image rating button.
Available on all Canon cameras.
8. Keep Control of Your Images
You can input your name or business name into your Canon camera and it will be stored within the EXIF data of your image files. This is a practical way to track and control the copyright of your images and will make it clear that they belong to you.
How to use the feature: You can add your name via the “Function Settings” menu under “Copyright Information”.
Available on all Canon cameras.

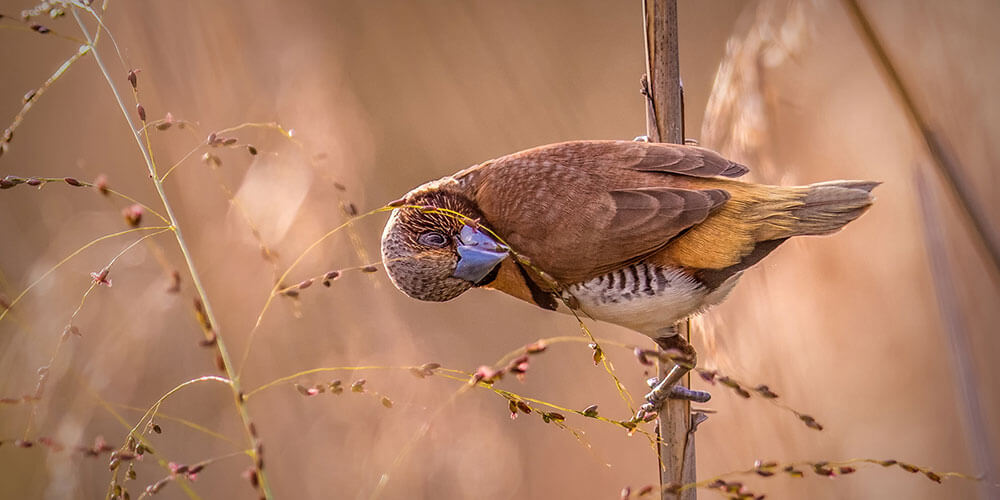
See 10 of the most celebrated images of 2021 captured by the Canon Community.

To celebrate the end of the year, We’ve chosen 10 of our favourite images shared by the Canon Collective Facebook Community. The quality of imagery and discussions shared in the group continues to impress and inspire us everyday!

This year we've seen some incredible work come through from our community. Here are 15 of the most celebrated images of 2020.