
- Make Your Own Photo Frame Wall Hanging with the Canon Selphy Printer
-

Hello!
We've noticed that you are in .
Visit Canon .
Explore the creative possibilities of your Canon Selphy square photo printer and learn how to make your own DIY rainbow photo wall hanging at home. With this step-by-step tutorial by Geneva Vanderzeil from Collective Gen, you can personalise any space in your home.
Here’s what you’ll need to bring your rainbow photo wall hanging to life:
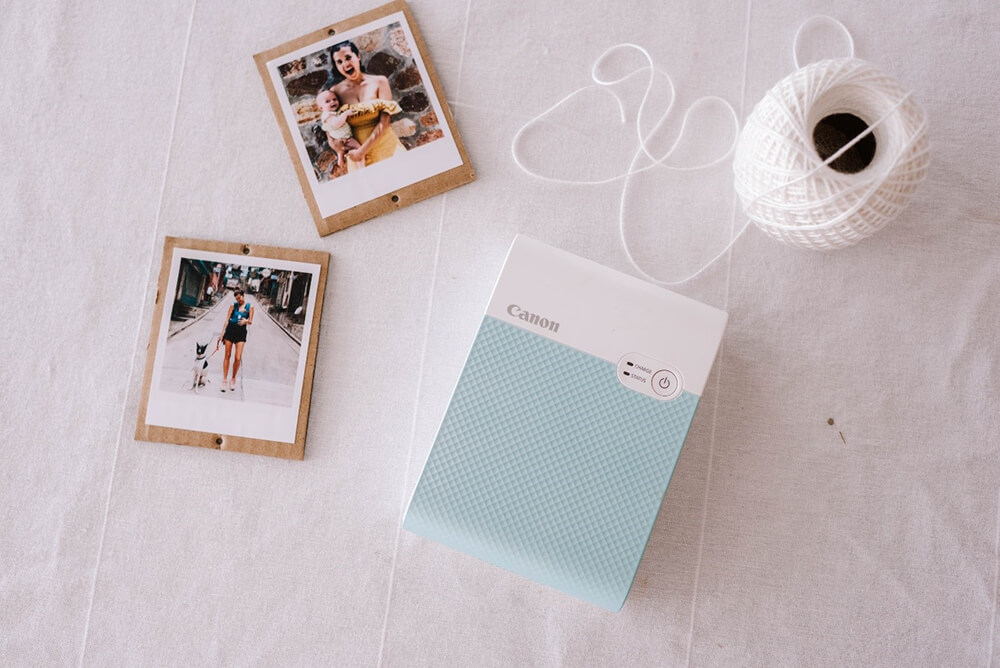
• A Canon Selphy Square QX10 – to print your photos quickly and easily directly from your phone or tablet using Canon's free to download app called SELPHY Photo Layout.
• Cardboard – this can be recycled cardboard from a box or old packaging, so you don't need to go out to buy this.
• A rainbow printout – which you can draw yourself or download directly from Geneva’s website.
• Three different colours of yarn.
• Raffia or rope.
• Scissors and/or a Stanley knife.
• A holepunch.
• A glue stick.
The first thing you’ll need to do is select and print your photos using the Canon Selphy Square printer. Choose your favourite family photos and be sure to ask your child to choose their favourites too.
Using your scissors or Stanley knite, cut your rainbow stencil print out and glue it to the cardboard. If you prefer, you can also simply draw your rainbow directly onto the cardboard itself. Then simply cut around the rainbow to give the cardboard its shape.
To finish, use a Stanley knife to cut through the individual stripes of the rainbow, so that you can pass the yarn through. Cut a one metre thread of yarn and tie it to the bottom corner of the rainbow, before wrapping it around and around, keeping it tight and inline as you go. Wrap all three sections of the rainbow like this, using a different colour yarn for each band of the rainbow. Secure the yarn by tying knots at the back of the rainbow.
Once you’ve printed out your photos you can place one on the cardboard and make a mark where you would like to cut the cardboard and create a nice frame around your photo. Canon Selphy Square Photo Paper has a sticky back, so all you need to do is peel off the back and stick it directly onto your cardboard photo frame.
Using your holepunch you can then make a hole in the top and bottom of your cardboard photo frame, which you will use later to connect your picture frame to your rainbow.
Using your holepunch, make a row of holes along the bottom of your rainbow. You can then thread some raffia or rope through the holes to add a beautiful fringing effect to the bottom.
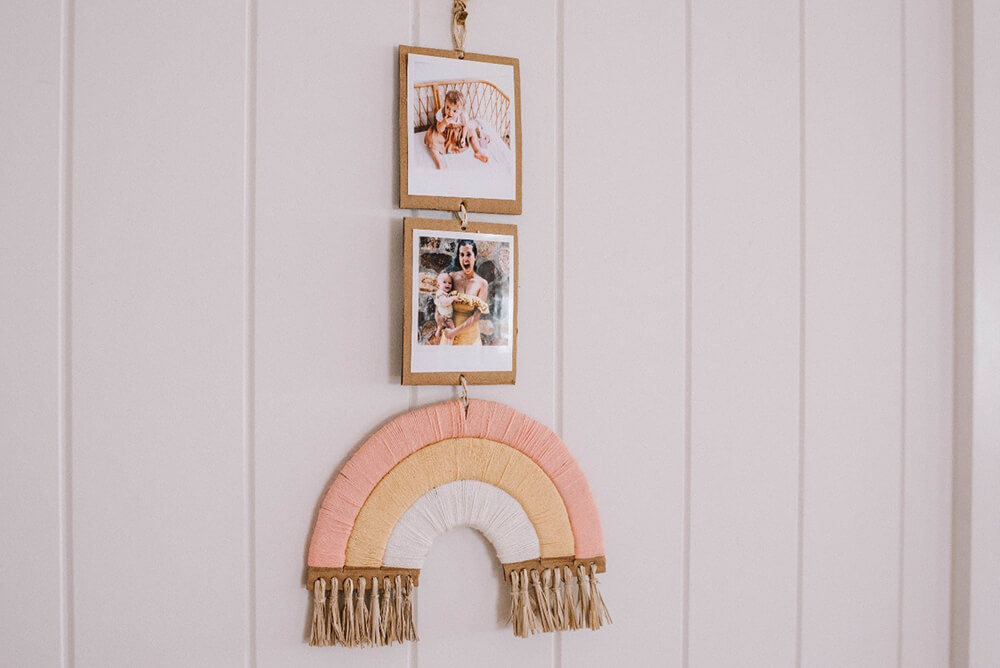
Now it’s time to tie the whole project together! Using your holepunch again, make a single hole in the top centre of your rainbow. You can then use raffia or rope to thread your rainbow to one of your photo frames, and then each photo frame to another photo frame so that they are all tied together. Add as many photos as you like and then create a loop of raffia or rope to the top picture frame so that you can hang your finished rainbow photo display on the wall.
Your beautiful rainbow wall hanging is now ready to hang in your child’s bedroom, or maybe even yours! If you and your little one enjoy the creative process then why not make a selection of rainbow wall hangings to show off your favourite photos around your house or gift to friends and family.
Find more creative printing inspiration on the creative printing page.

Print your own custom t-shirt designs at home with this fun DIY tutorial by Geneva Vanderzeil from Collective Gen with a Canon Pixma printer.

Explore the creative possibilities of the Canon Pixma printer and make your own fridge magnet game at home.

The Selphy Square QX10 photo printer is the perfect tool to explore your creative side for Mother's Day. Geneva Vanderzeil from Collective Gen shows you how to transform your Mother's day gifts into something she will remember and keep for a lifetime.