
- Simple ways to DIY design your baby's nursery
-

Hello!
We've noticed that you are in .
Visit Canon .
What better time to decorate your home than when you are welcoming a new family member. It’s going to get really busy when your baby comes home, so in the lead up take the time to get organised and be creative.
Once you have all the key furniture pieces in place and the room is ready, its time to decorate, here are two super simple ideas that you can do yourself at home, best of all they are quick and easy!
Baby room wall display
Print out your favourite photos, the baby’s name and anything else cute and cheerful. For kids its all about colour and it’s about personalising the space. Let’s be honest this is just as much for you as it is for your baby — and makes for an awesome Instagram shot too!
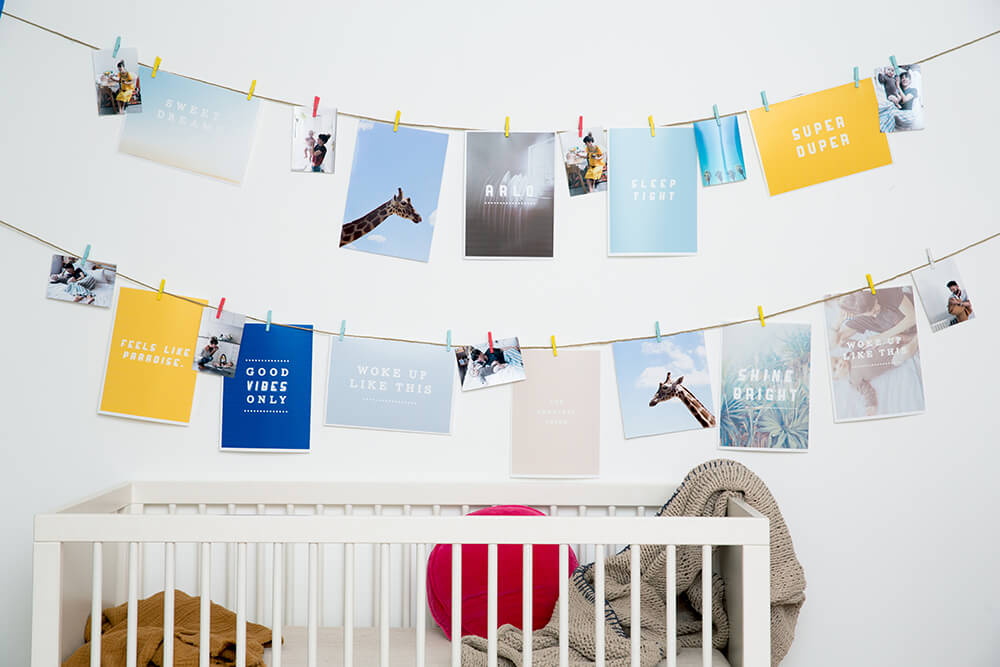
To create an interesting and easy to update display all you need is some string, clothes pegs (our colourful ones came from officeworks) and some drawing pins.
This is how you do it:
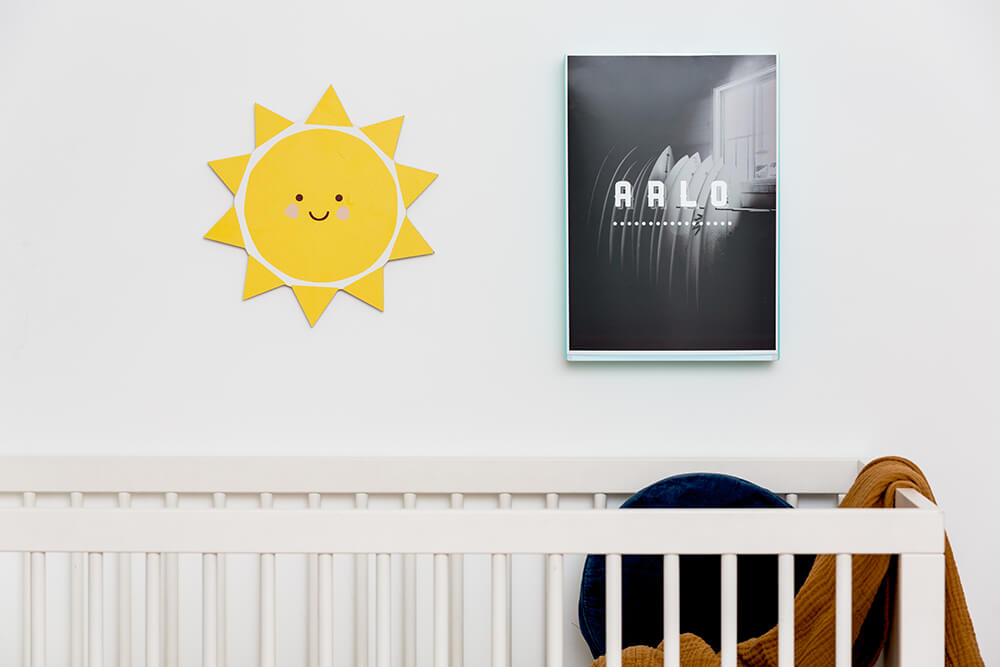
Night light Print
A nightlight is a great addition for the nursery, practical but decorative as well.
With a little creative thinking you can design a personalised night light for your new baby. It will look super cool and will be a talking point.
Here’s what you need to do:
Styling and words by Jason Grant
Photography by Jacqui Turk

Get creative with your Canon CP1300 Selphy photo printer. Pro tips and ideas from Blueberry Co. founder and designer Chloe Watts.

Kim Tucci knows about the importance of capturing life with babies better than most—she has five of them! Kim’s the mum of one-year-old quintuplets with three older siblings

Four in five Australian students print out their work as a study aid.