
- Basic Photo Editing in Photoshop: Brightness, Contrast, Colour & Canon Tips
-

Hello!
We've noticed that you are in .
Visit Canon .
Photoshop is a powerful tool for transforming everyday images into stunning visual stories. For me, editing is where the real creative magic happens – it’s how I bring my vision to life after capturing the moment. Whether I’m enhancing colour, refining skin tones, or removing distractions, Photoshop gives me complete control over the final look.
As someone who shoots dreamy, mystical portraits with EOS R5 Mark II, RF 24-70mm f/2.8L IS USM Lens and RF 70-200mm f/2.8L IS USM Lens, I rely heavily on Photoshop to emphasise emotion, sharpness, and mood. Canon’s beautiful colour science and sharp lenses provide the perfect base – especially when working with RAW files that offer maximum editing flexibility.
If you're new to Photoshop, these beginner-friendly tips will help you get started with simple but impactful adjustments that elevate your photography.
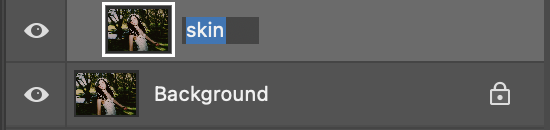
Begin by creating a new layer for each edit to maintain control. Name your layers clearly (e.g. “Skin Retouch,” “Brightness Adjustment”) to stay organised.
Photoshop’s non-destructive workflow starts with smart layer management. By editing on separate layers, you can easily make changes or undo steps without harming your original photo. Use the Layers panel to toggle edits on and off and fine-tune them individually. This is especially useful when stacking effects like brightness, retouching, or colour correction.
Use the Patch tool to clear up marks and pimples. Select the area you want to improve and replace it with a clearer section. The Stamp tool can fill gaps, such as eyebrows, for a polished look.
Start by zooming in and selecting the Patch Tool, then draw around skin imperfections and drag to a cleaner area. It blends seamlessly and maintains skin texture. For gaps (like in eyebrows or hair), the Clone Stamp lets you copy detail-rich areas without artificial smoothing. Remember: less is more. The goal is natural enhancement – not plastic skin.
When you're ready to level up, Frequency Separation allows you to separate texture from colour/tone for high-end retouching. This gives you precise control while maintaining realism.
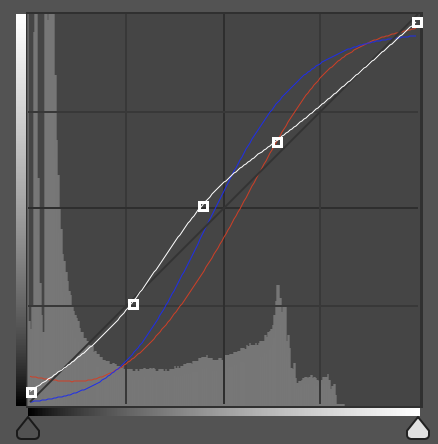
Play with the Curves tool to adjust brightness and contrast. Break the curve in the middle for a soft look, controlling overexposure while enhancing the image's magic.
Start with a soft curve by pulling down the shadows and lifting the highlights. For portraits, avoid harsh contrast – subtle shifts bring out mood without sacrificing detail. If you’re editing Canon RAW files, you’ll notice how well they hold dynamic range, especially in skin tones and hair.
Curves also allow for channel-specific adjustments (Red, Green, Blue), which helps fine-tune colour balance or warm up skin tones with precision.
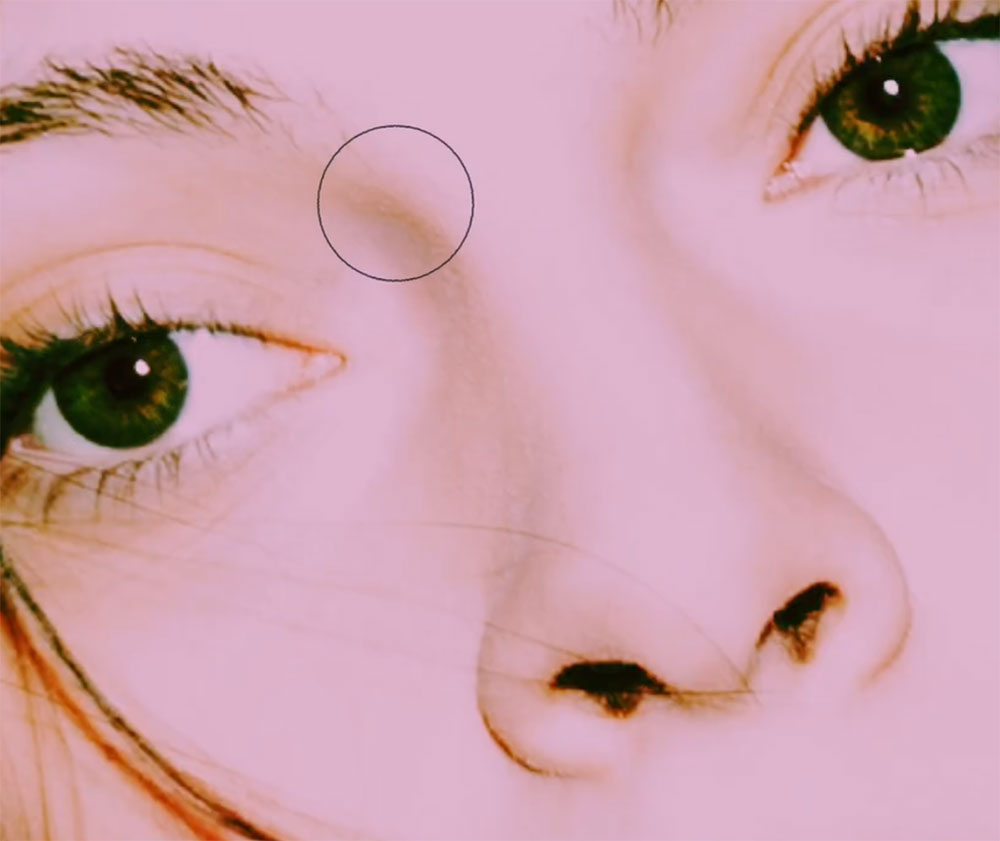
Use the Dodge tool to highlight features like the model's eyes, and the Burn tool to bring back shadows. These tools help make features pop and add depth to your image.
These tools work best on a 50% grey layer set to Soft Light. This approach gives you a flexible, non-destructive way to subtly sculpt your subject’s face. Dodge areas that catch natural light – like the bridge of the nose or brow bone – and Burn areas like the jawline or under the cheekbones. Canon’s sharp lenses like the RF 24-70mm f/2.8L IS USM Lens and RF 70-200mm f/2.8L IS USM Lens make these enhancements especially impactful, since the detail is already crisply defined.
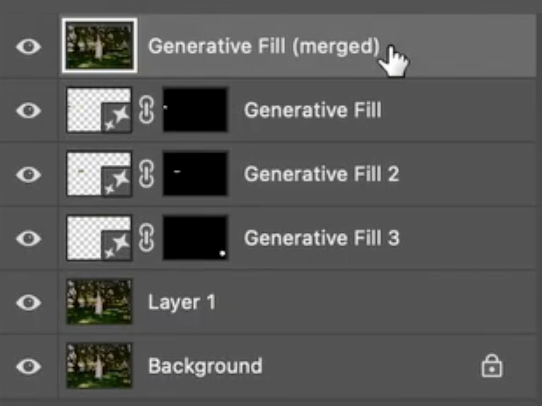
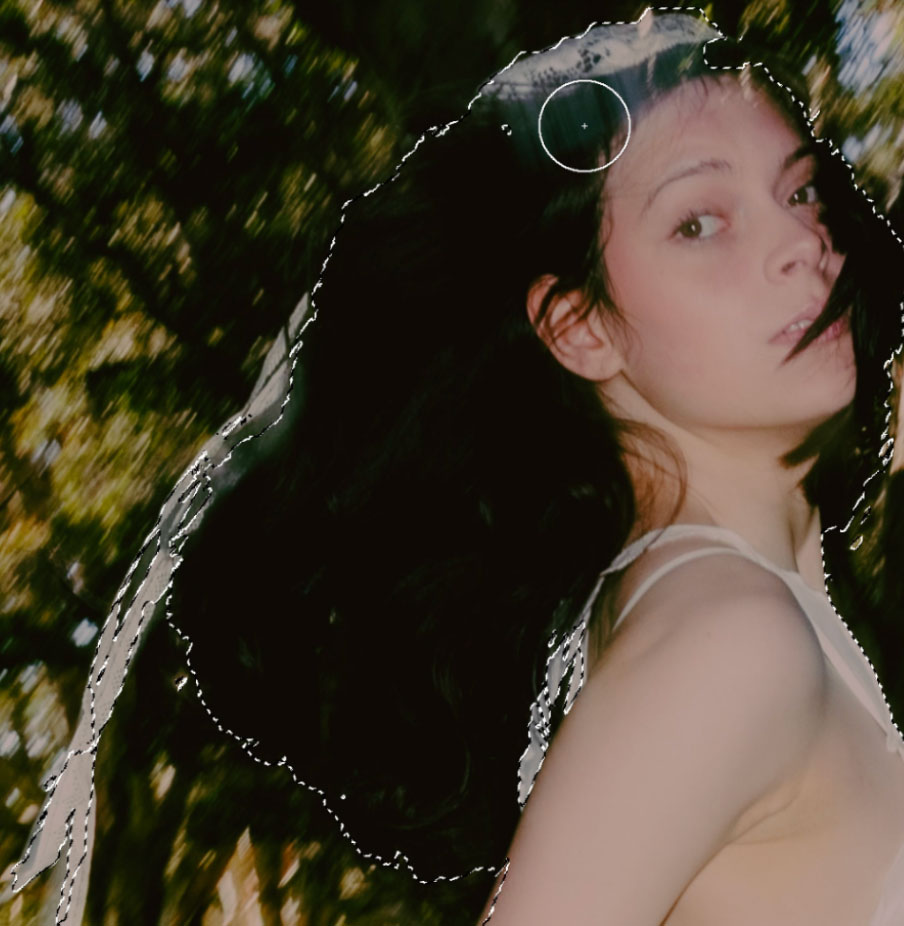
Use Generative Fill to remove distractions like people or cars in the background. Select the area, click generate, and let AI provide seamless options to maintain the mystical look.
Make a rough selection using the Lasso Tool, click “Generate”, and Photoshop will intelligently fill the space with context-aware pixels. This feature is a game-changer for portraits taken in unpredictable environments – like public parks or city streets – where you don’t always have control over the background.
For more manual control, try Content-Aware Fill or the Clone Stamp for touch-ups.

Use Command-Option-E to merge layers without losing individual edits. This technique keeps your workspace organised while allowing for comprehensive adjustments.
This is particularly useful when you’re ready to apply final effects or export your image, but still want the flexibility to tweak earlier adjustments. You can also use this layer for advanced filters like Camera Raw Filter, sharpening, or selective colour grading.
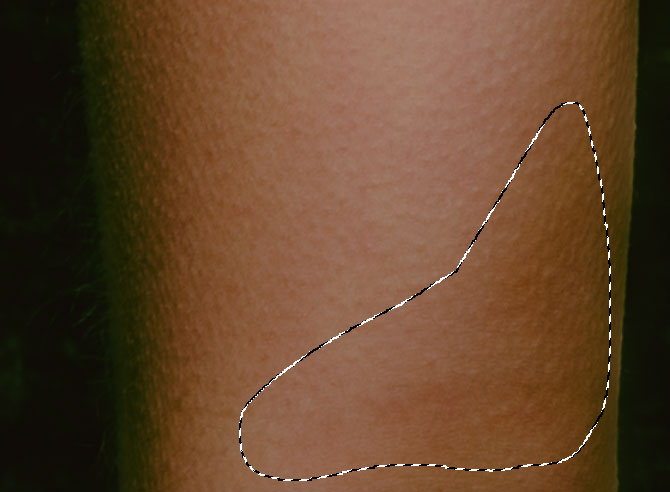
Separate the subject from the background using the Object Selection tool. Apply curves to the background and subject separately, enhancing colours to make the model pop against a mystical backdrop.
This technique allows you to subtly desaturate or darken the background while making your subject more vibrant. You can also add warm tones to skin while keeping clothing or surroundings neutral. It’s a great way to draw focus without making the edit look artificial.
The Object Selection Tool makes this fast and precise – especially when paired with Canon’s wide-aperture lenses that already create natural separation with depth of field.
Canon cameras and lenses provide the perfect foundation for editing in Photoshop. Here’s why:
• Canon RAW files retain exceptional dynamic range and detail, which means you can recover highlights, lift shadows, and tweak white balance without degrading quality.
• Canon’s colour science delivers accurate, warm skin tones that look great straight out of camera – and even better with minimal retouching.
• Prime lenses like the RF 24-70mm f/2.8L IS USM Lens produce crisp detail and dreamy background blur, giving your portraits a polished, professional look that stands out in Photoshop edits.
Photoshop can seem intimidating at first, but with a few simple tools and techniques, you can dramatically improve your photos without hours of work. Whether you're adjusting tones, retouching skin, or enhancing colour, these tips are a great starting point to develop your own unique editing style.
Watch the full tutorial in the video above, or find more photo and video editing tips here.

How to Edit Your First Video in Premiere Pro (Beginner Guide)

Learn how to develop your own signature look across photo and video using custom Lightroom presets and LUTs for Premiere Pro. Mitch shares his creative approach and Canon-based workflow for consistency and style.

Post-Production Workflow Tips With Pro Photographer Tom Noske